Monday, June 22, 2020

Continued Varnishing, Interior Paint, Cockpit Scuppers, Locker Lid Paint, and Prepping for Wire Run


June 21 & 22, 2020


I actually worked on the Allied 24 during what was supposed to be chill Father's Day, in fact it was, chill.  The work is relaxing to me, an opportunity to decompress from the day job and from all the craziness that is our current shared reality.  But I could not spend too long away from family on this important day, so I arrived and got straight at it.  There were areas within the interior that needed and freshening of paint given my coming and going with no special consideration yet on preserving surfaces.  With the launch of the old girl coming up, I needed to begin taking care that I have towels down to protect the surfaces.  So to that end, I prepared a small cup of the Interlux Premium Yacht paint, and applied it after a scuff sanding and solvent wipe down.  No pictures of this task.

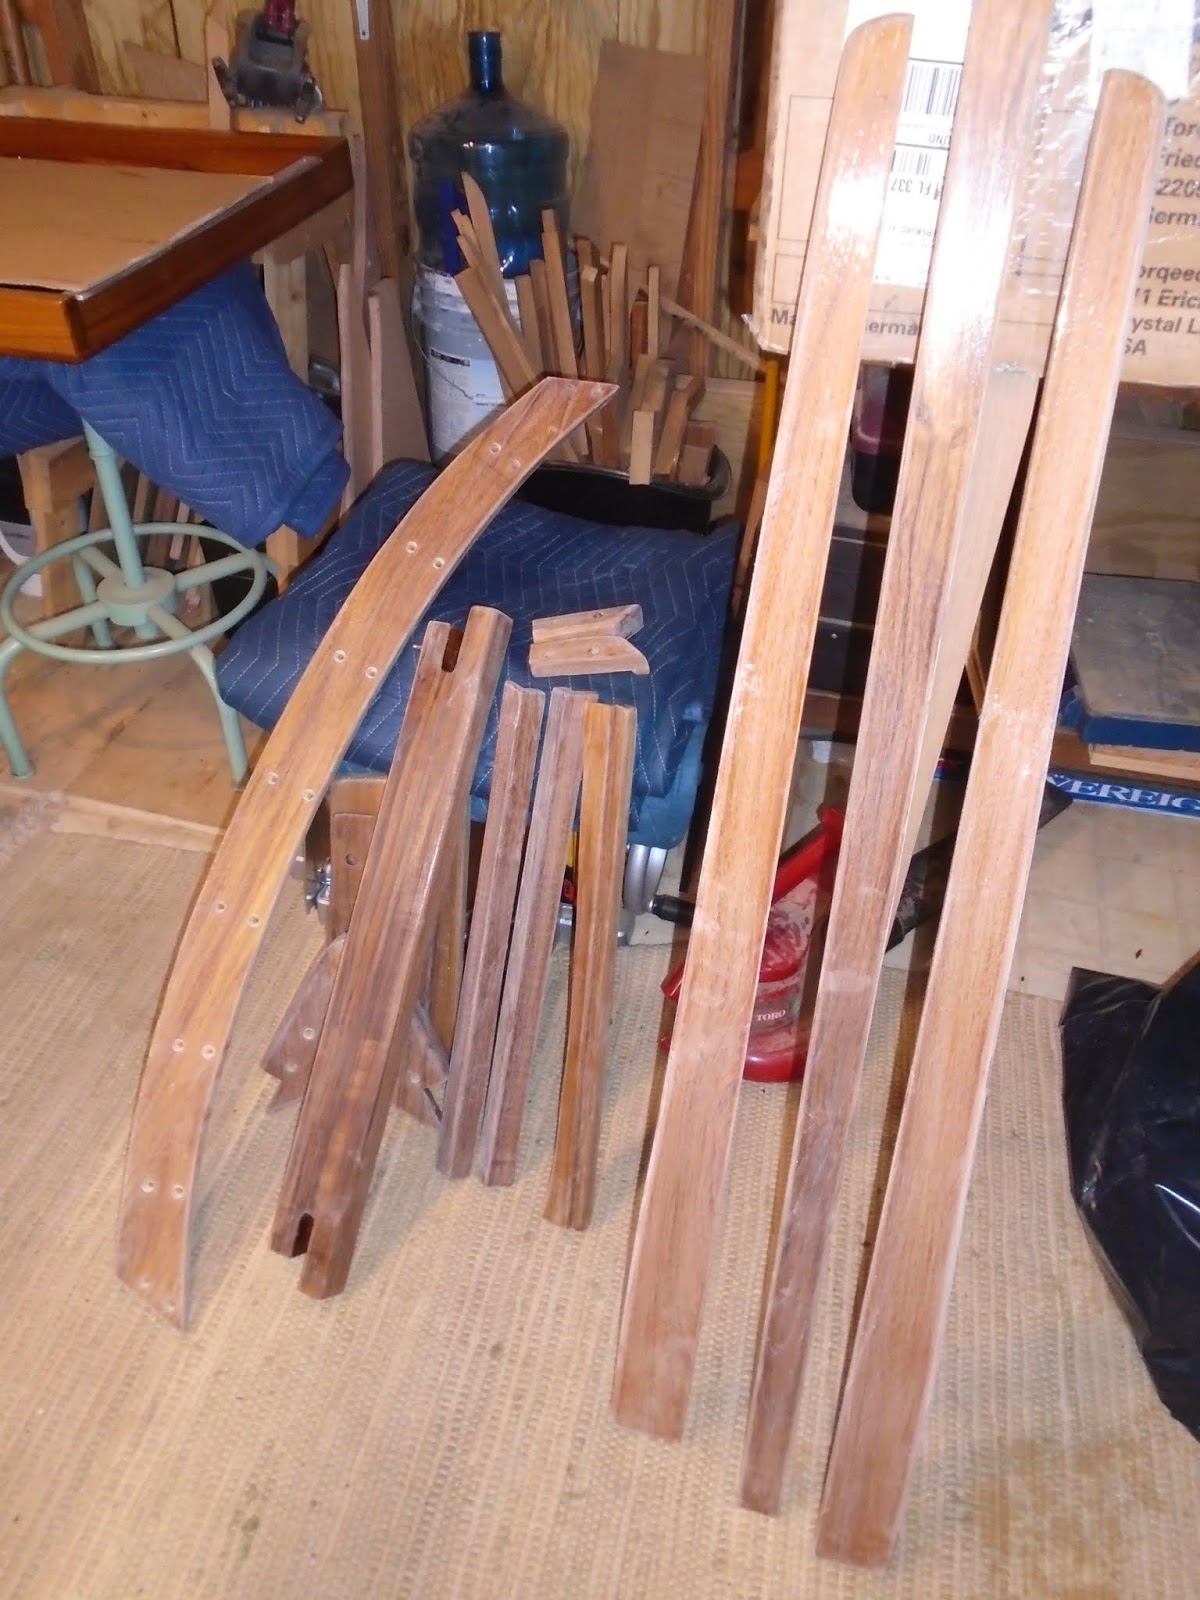
I then turned my attention to the brightwork.  I culled out the exterior pieces only, and proceeded to sand them with 320-grit paper.  Finishing the sanding, I vacuumed the surfaces and then wiped them down with a solvent.


I prepared a small cup of the Epifanes high gloss, lightly thinned, and applied it to all pieces: coaming boards, bow cap, aft toe rail caps, winch base pads, companionway threshold, companionway hatch slide rails, mainsheet traveler base trim, and the vertical companionway trim boards.  The brightwork is nearing completion with the number of coats I now have applied; likely two more coats.

I returned home, showered, grabbed the family and headed to the neighbor's pool.  We enjoyed the grill, the pool, a bit of bourbon, and good friends.  I never got around to recording the day's limited amount of work. 


After a day in the office, I headed to the Allied 24 in an effort to ensure that I meet the looming deadline for completion.  The first task today would be the cockpit scuppers.  A first attempt at installing a workable solution did not meet my intentions, so I reworked the solution and got into the install.  The primary issues was the mismatched outside diameter (OD) of the scupper drain and the seacock.  The relative short run of hose would not allow for a step-down piece to be used, so I decided to improve the look and function of the scupper drains.  I selected two scuppers with identical ODs, and then built jigs for each side to allow an easy effort at removing the laminate and core material to allow for the installations.


With the holes opened up, I then sealed the exposed core with epoxy resin to guard against any potential water ingress and deterioration of the core material.  I will do a final install in the coming days.


Back in the shop, I prepped the partial assembly of the plumbing run to drain the cockpit.


Next, I turned my attention to the cockpit locker lids.  They required their final application of topcoat paint, so I sanded the surfaces with 320-grit paper, removed the sanding dust and thoroughly wiped them down with a solvent to remove any remaining contaminates.


I mixed a small pot of Alexseal finish paint, and applied the final coat with a foam roller.


Back in the boat, I set out to prep for a wire run.  A small panel will be set on the forward starboard settee, and just aft of the primary bulkhead.  The house battery, a 100amp hour lithium ion, will be set just aft of the Torqueedo motor battery, and its wires will run within the starboard settee, forward to the panel.  I sanded four points within the interior of the settee vertical face to prepare to glue four zip-tie mounts to its surface.  After vacuuming up the sanding dust and cleaning the surface with solvent, I wet the surface with epoxy resin.  I then mixed a bit of thickened epoxy with the remaining resin, and set the tie mounts in place.  The picture is terribly out of focus, but the explanation should give you the idea.


Total Time for the 21st and 22nd:  6 hrs


Saturday, June 20, 2020

Final Coat of Paint for the Cockpit and Deck, Plus Brightwork


June 20, 2020


For some reason I managed to not get a photo of the deck paint...not sure why I am missing the boat here!  Anyway, as I arrived at the boat this morning, I my first job was to mix a pot of the Alexseal topcoat paint for the cockpit, deck and coachroof.  With the paint mixed, I set out to prep the surfaces for application by thoroughly vacuuming and wiping down with a solvent.  

With the prepping done, I returned to the shop and reduced the paint by the appropriate amount, and gathered the remaining tools for the job.  I then worked my way out of the cockpit, applying paint, onto the poop deck, and then forward.  It was good to have the final coat of paint on the deck.

With paint out of the way, I left the shop to run some errands and to grab lunch.  When I returned I got straight to work on another round of varnish for the brightwork.  I started with the toe rails.  The toe rails required a final hand-sanding with 320-grit paper, and a clean up prior to the varnishing.  Since this was the first coat of varnish for the toe rails, I thinned the Epifanes high gloss more than is typical for a build coat.  I worked my way from stem to stern, and sealed the teak with the first coat, the thinned coat of varnish.


I made it back over to the shop to begin sanding all of the brightwork.  Again, I used 320-grit paper, and worked my way through the various components.  Once I had completed all of the sanding, I vacuumed the sanding residue and then wiped the surfaces down thoroughly with a solvent.

I light thinned a small batch of varnish, and then began applying to the coaming boards...followed by the various trim components of the companionway.


I then applied varnish to the companionway hatch side rails, and the mainsheet traveler base board.


Continuing on, I applied varnish to the taff rail, bow block, companionway threshold, and the drop boards.


I saved the tilled for last, applying the first build coat to it.  I also managed to begin some electrical work, but 'managed' no picture of the installation of heat shrink and battery lugs for the #6 AWG cables from battery to panel.  


Total Time Today: 5.5 hrs (tiller work is not charged for materials or labor)


Tuesday, June 16, 2020

Varnishing Coaming Boards


June 16, 2020


I had just a bit of time at the boat this afternoon, and in light of the sparse supply of varnish on hand, I flipped the coaming boards and applied a coat to the outboard surface...and went home to order additional supplies.  The brightwork varnish build up is 50% complete at this point.  Paint will be finished this weekend, turning my full attention to installing various items and finishing out the varnish work.  Once the varnish work is complete, the installation of the brightwork will follow.


Total Time Today: 0.5 hrs

Monday, June 15, 2020

Sanding the Cockpit, Deck, and Coachroof


June 15, 2020


No pics for this session!  I finished out a day in the office, returning from ~10 weeks working from home, and headed straight over to the Allied 24.  I am a coat of finish paint away from installing brightwork and applying nonskid paint, so the motivation is elevated to get this topcoat applied.

I used 320-grit paper and methodically made my way around the cockpit, deck and coachroof, scuffing the prior layer of topcoat applied, taking down any imperfections or high spots.

In the coming days, I will lay down the final coat of deck paint - followed by nonskid paint.

Total Time Today: 2 hrs

Sunday, June 14, 2020

Brightwork (Ongoing)


June 14, 2020


I'm continuing to roll through the varnish build up on the various brightwork pieces, so I devoted much of my time today to that task.  I am also doing a bit of paint work, though I did not capture that work in photos.  All pieces have 2 or 3 coats of varnish on them currently, with 5 being the target.  

I started today by sanding all of the pieces with 320-grit paper; the sanding work was not aggressive, but just enough pressure and coverage to rough up the surface and knock down anything standing proud.  Once I completed that sanding, I followed up with a thorough wipe down with a rag and solvent.


I lightly thinned the Epifanes high gloss varnish and began applying, starting with the coaming boards.


I moved on to the winch base pads, and then the coaming return blocks.


The upper drop board was next on the varnish list,


followed by the bottom drop board.


I then moved on to the bow cap, the taff rail, the companionway threshold, and forward trim board for the companionway.


I moved on next to more companionway trim boards and two toe rail pieces that sit adjacent to the taff rail.


Finally, I completed the mainsheet traveler board, and the companionway slide rails.


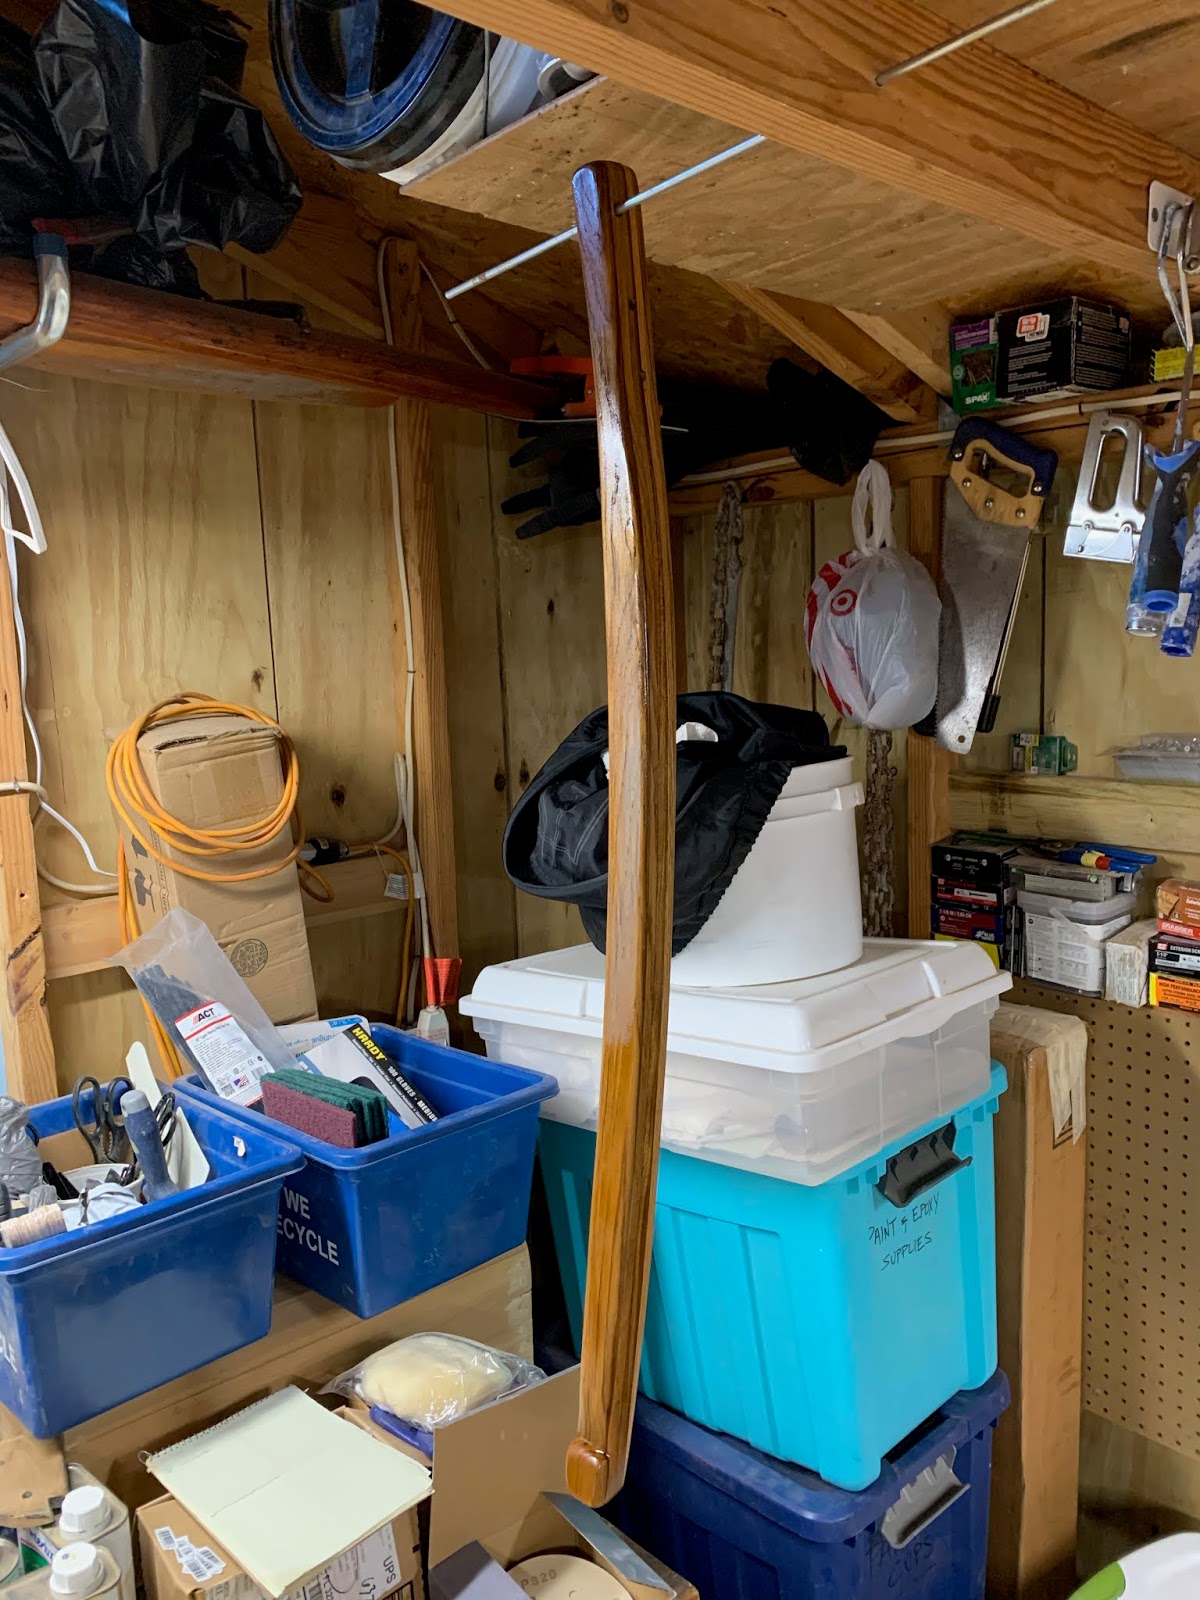
The last item I got to today was fitting the tiller onto the tiller strap (recently received from the owner, who had restored it).  After the tiller was fitted and shaped, I finished sanded it through to 320 grit paper.  I suspended the tiller and renewed the varnish effort.


Total Time Today: 3 hrs (tiller work not charged for time and materials)

Saturday, June 13, 2020

Brightwork (Ongoing)


June 13, 2020


Arriving at the shop, I unclamped the bottom drop board and sanded the surfaces fair.  There was little sanding work required, so this went quickly.  I then sanded both the bottom and top drop board through to 320 grit paper, vacuumed and wiped clean with solvent, and generally prepared for a first coat of sealer varnish.


The bottom drop board (one side) with its first coat of varnish - a thinned recipe to get a good penetration into the grain - note the small extension is virtually invisible.


The top drop board with its first coat of varnish.


While I had enough 'heavily' thinned varnish left, I decide to flip the coaming boards and apply the first sealer coat to the opposite side of each board.


Further, I quickly prepped the coaming return blocks by sanding and wiping down with a solvent, and then applied a sealer coat to the new teak that I had applied to these blocks.


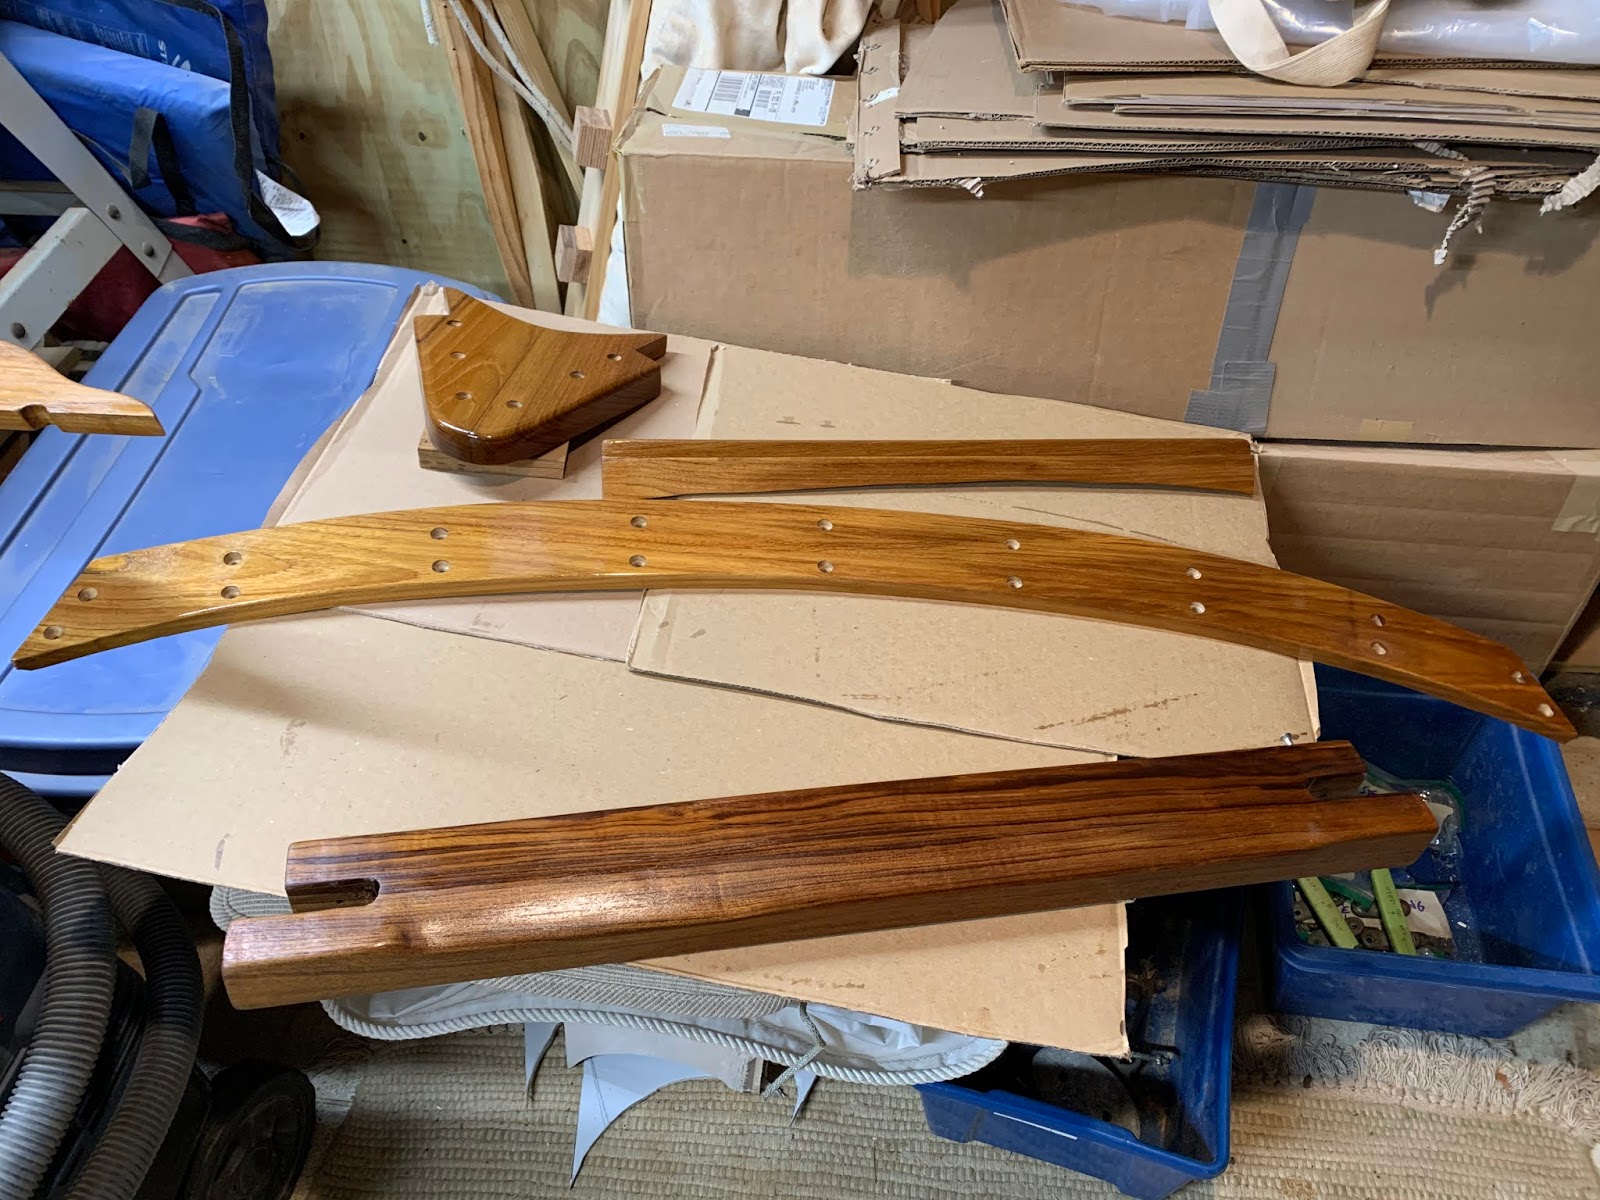
I broke from boat work to address a few projects around the [rental] house, as well as grabbing a quick bite to eat, but then settled back in for more brightwork tasks.  I methodically worked my way through all of the pieces of brightwork that either had their first of second coat of varnish applied, and sanded those with 320-grit paper to rough up the surfaces.  The complete lineup can be seen below: 


With a fresh cup of Epifanes high-gloss varnish, I worked my way through the various brightwork pieces.  I started with the companionway slide hatch rails, and the aft cockpit trim / mainsheet traveler board.


I then moved on to the various small trim pieces around the companionway, as well as a couple pieces that comprise the aft toe rail assembly.


Moving on, I hit the taff rail, bow block, and more companionway trim pieces.


Having had a good amount of time to soak in and begin to cure, I decide to flip the drop boards and hit their other side with a thinned down varnish.


I finished off with the top drop board, first [sealer] coat of varnish.  That would wrap up the day's work.


Total Time Today: 2.75 hrs

Friday, June 12, 2020

Brightwork

June 13, 2020


With the structural work finished on the Allied 24, as well as the fast approaching completion of the paint, I needed to begin the multiple applications of varnish to the exterior wood work..  I chose Epifanes High Gloss for the exterior.  

But prior to getting to the brightwork, I needed to make a small modification to the lower drop board for the companionway.  My intent was to get a tighter fit on the companionway slide hatch and the drop boards, so to that end, I glued up a strip to the bottom-most drop board.  This project will become apparent in the coming weekend.


The companionway drop boards out of the way, I then turned my attention to the various brightwork components - interior, exterior, small, large, etc.  I began sanding from 80-grit to 120-grit, and setting the pieces to the side.


Tonight's varnish session was both made up of previously sanded components, as well as non-varnished components  


I worked my way through the various components - sanding the previously-applied varnish components with 320-grit paper; and then turned my attention to the non-varnished pieces with both 180-grit paper and 320-grit paper.


I ended up sanding the taff rail, companionway threshold, all of the companionway trip...and the coming coaming boards.


The coaming boards sanded, solvent-washed, and ready for varnish.


With all of the brightwork sand ad ready for varnish, well, I began to varnish the teak.  


For some, I noticed that a different application would be required, so Adjusted my technique to match the existing for.


The brightwork was coming along nicely - always a portion fo the project that I enjoy! 


I began taking pictures of the finished companionway trim, taff rail, and other miscellaneous items.


However, in the end, this boat WILL SHINE!


Total Time Today: 4.75

July 29, 2020 The day had arrived!  Time to apply the name of the vessel...S/V Sea Hagg, hailing out of Key Largo (there's on...