Saturday, May 16, 2020

Landing Platform Trim, Finishing the Cabin Deadlight Trim Rings, and Spraying the Cockpit Locker Lids


May 16, 2020


On the way over to the Allied 24, I stopped by a retailer to pick up a small, disposable paint sprayer.  In reading some restoration work done by a long admired New England sailor and accomplished boat restoration expert, I came across the use of a disposable paint sprayer.  I have for years thought of stepping into the realm of HVLP paint application, but alas the work area I have does not lend itself to atomizing tiny skulls and crossbones drifting over to my neighbors' yards.  It's also a bit intimidating to be honest.  However, the idea of using these small sprayers was an interesting one, given the part or location on the boat to paint.  I decided that I would experiment with this process today, and chose the cockpit locker lids as my lab rats.  But first I needed to knock out a couple tasks.

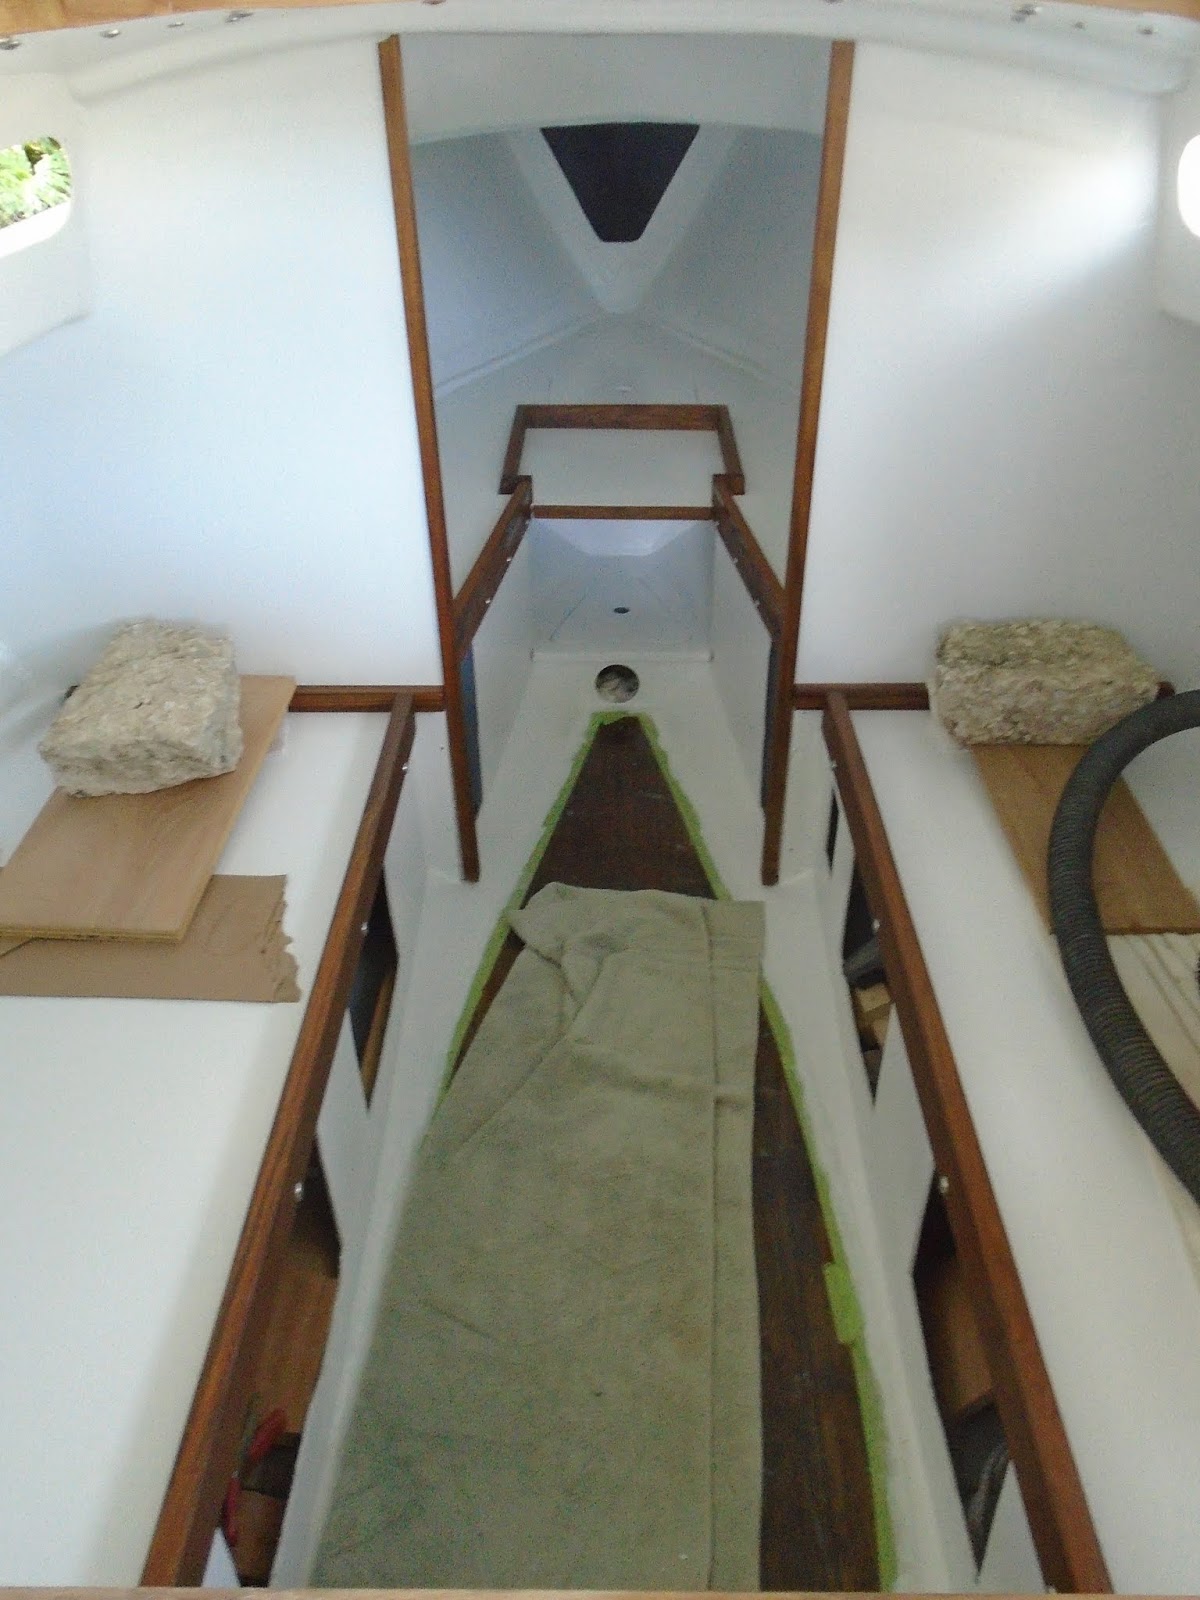
I pulled the lining platform top shelf from the boat and brought it back to the shop.  This shelf, platform, would also serve as a liftable lid for the 48V Torqueedo lithium ion battery, and would have trim around three sides of it.  I had previously milled the trim boards, complete with miter cuts on the port and starboard corners.  Today, I set out to pre-drill and mount them prior to applying teak oil to the surfaces.


After marking the location for the fasteners, I selected nine  1.25"-long #6 screws (three for each side), with a cup washer to finish their installations.


In my excitement to get to the oiling of the wood, and thereby bringing out the beautiful teak grain, I forgot to snap a photo of the dry-fitted assembly.  I did manage a photo of one of the side trim pieces in situ; trying to stay considerate of billable time, I decided to not take the ~15 minutes for just a photo.  


I pulled the last trim board from the landing platform, and prepared a small amount of teak oil.  With a clean rag, I applied the oil to each piece of trim, and then set them to the side to dry.


My next task was to start painting the locker lids, so I went to the boat to pull those three locker lids and take them back to the shop.  I started by finish sanding the top surfaces, followed by wiping them down to remove the sanding dust.  I then covered the underside of the lids to protect those surfaces from overspray.  With the locker lids prepped for paint, I mixed a small pot of paint, a total of 6 ounces including thinning agent, and proceeded to apply the first coat of finish paint, Alexseal Oyster White.  I needed about 30 to 45 minutes between coats of paint, so I used the time to address other areas of the restoration. 


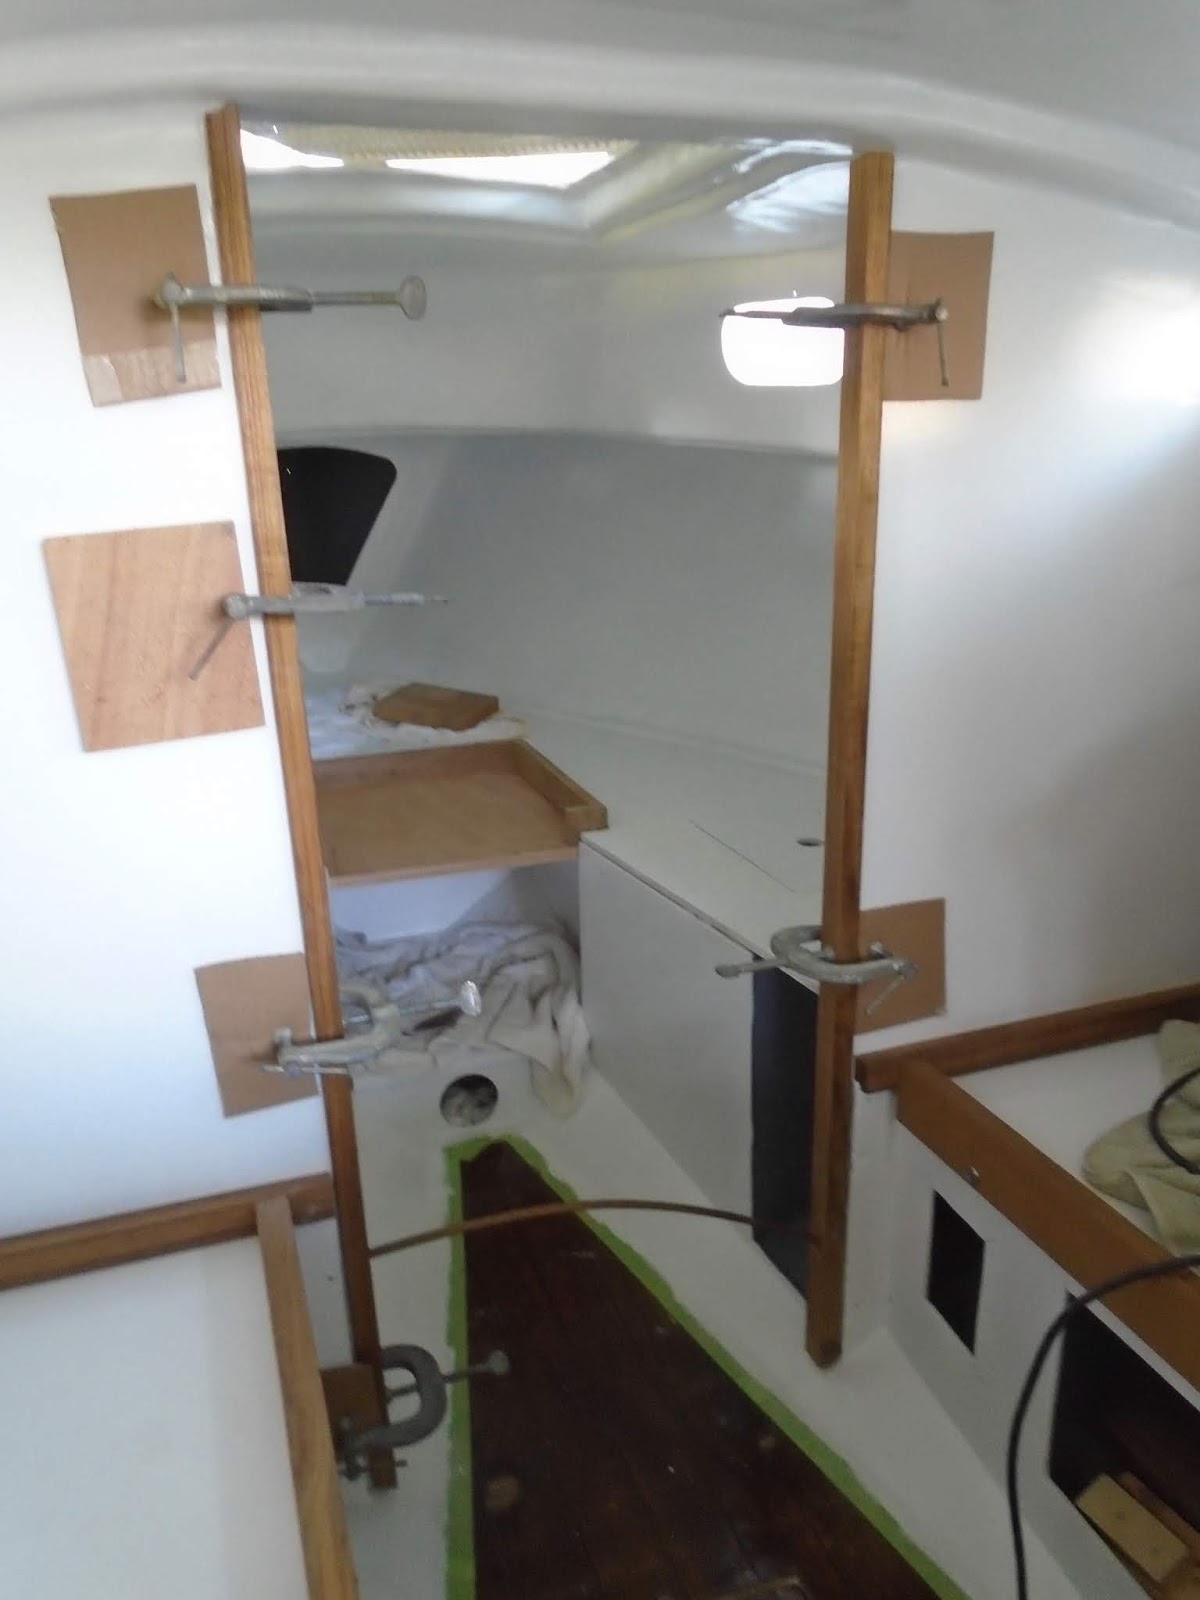
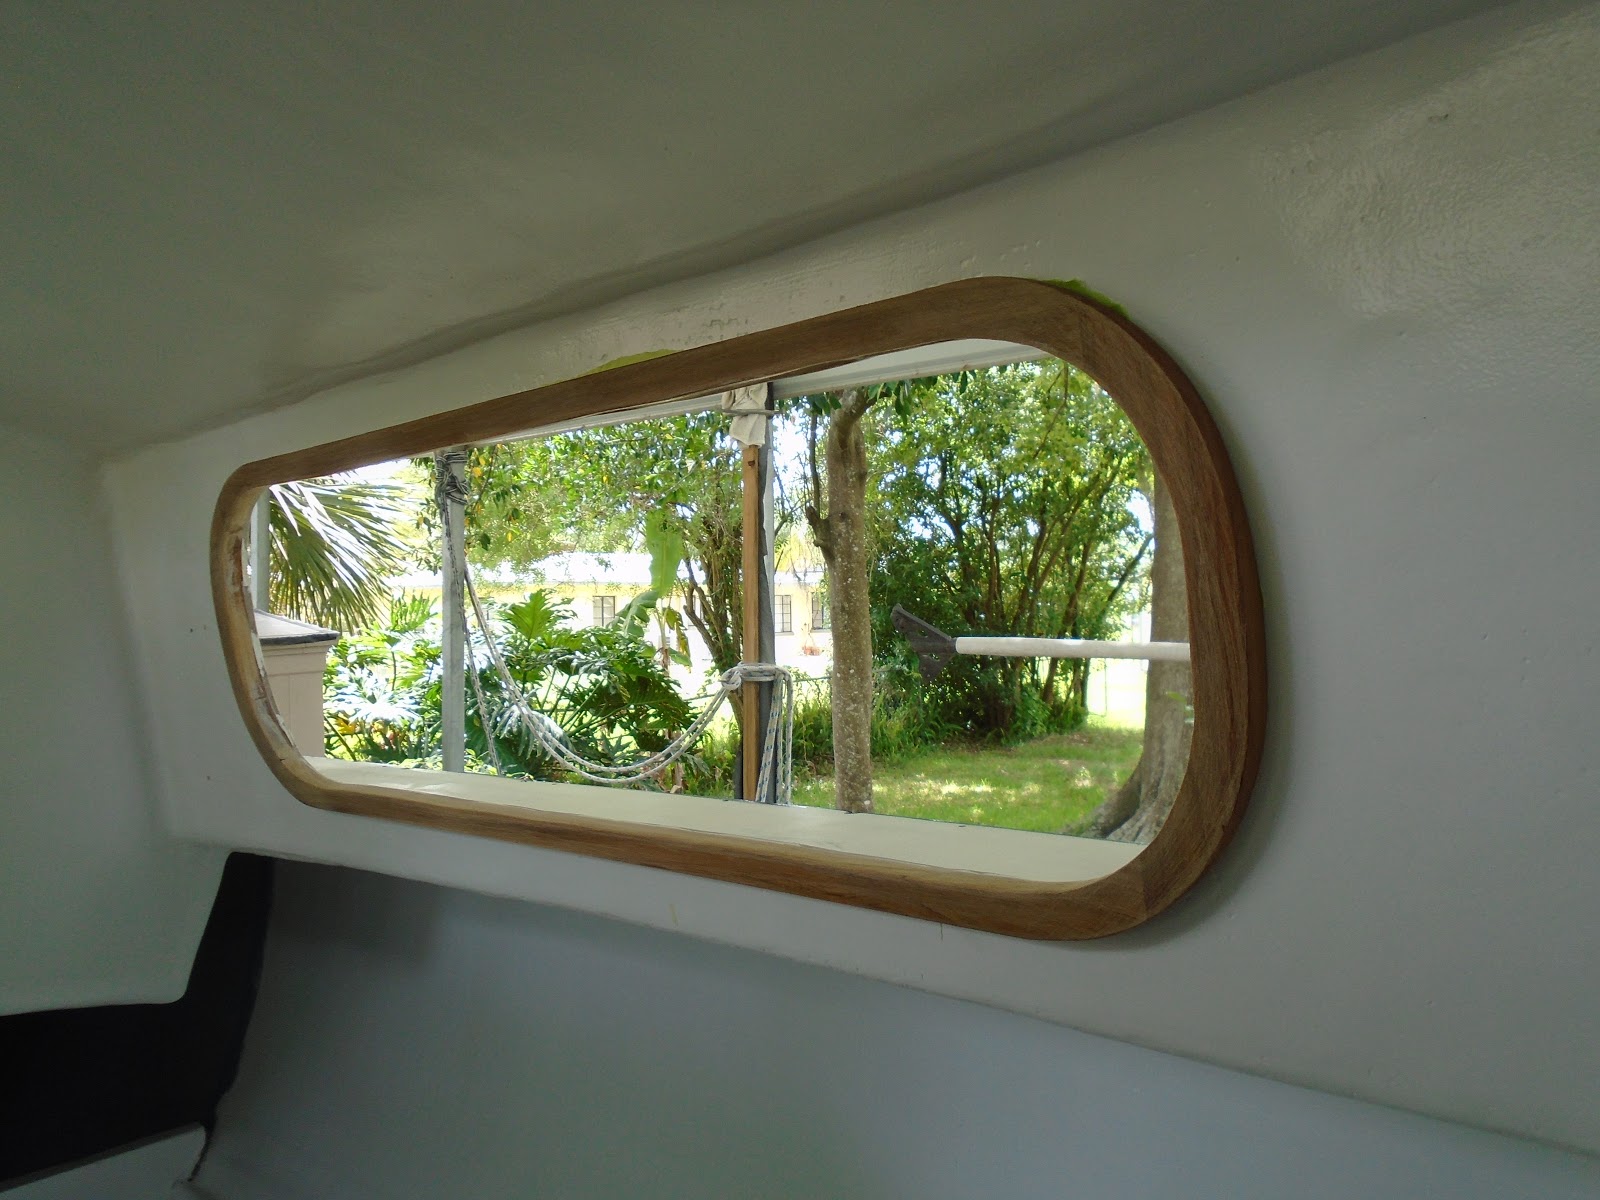
In between the first and second coats of paint, I grabbed the Makita 1" belt sander and headed over to the boat.  After removing the clamps I had installed to secure the deadlights trim rings to the cabin sides through the curing of the thickened epoxy, I sanded any part of the rings that stood proud of the original deadlight opening.  


I did much of the sanding with the 1" belt sander, but came behind it with a rough grit paper and hand-sanded the balance.  As I completed that task, it was time for the second coat of finish paint on the locker lids.  I headed back to the shop, donned the respirator, and headed back into the "paint booth" for an additional coat.


 I ended applying three coats of paint, and the surfaces really laid out beautifully.  Perhaps a more proper shop may be in my future, as I would love to upgrade to spraying on topcoat paint like Alexseal and Awlgrip.  I'm looking forward to handling the lids tomorrow to closely examine the results.


Total Time Today: 4.5 hrs

Friday, May 15, 2020

Forward Hatch Install & Trim for Cabin Deadlights


May 15, 2020


Looking to get all the deck and coachroof details tucked away so that topcoat paint can be applied, I set out to get the forward hatch installation completed.  I oriented the hatch around the raised fiberglass trim (underneath the hatch) to provide equal dimension around all four sides.  I then set the hatch hinges 2" inboard from the outboard edges.


Back in the shop, I pre-drilled to tap #8 fasteners, and then over-drilled the interior surface with a 1/2" forstner bit to recess the nut.


I assembled the hinges on the forward hatch, and then set out for the boat...


Aboard the Allied 24, I pre-drilled for #8 fasteners and then tapped the holes to accept the machine screws.  


The forward hatch mounted and partially opened.


A view of the forward hatch from the companionway.


With the forward hatch complete, I then turned my attention to the trim for the cabin deadlights.  The deadlights used on this Allied 24, and the deadlights to be reused, had a dimensions too thick for the fiberglass cabin sides and required a spacer of sorts.  I fabricated the spacer out of teak stock, and not set out to glue them in place.


I clamped the trim to the interior of the cabin sides and applied a layer of protective tape - to catch any epoxy squeeze out.  After applying the tape and removing the trim rings, I sanded the interior surface down to bare fiberglass to prepare for the epoxy resin.  With a quick vacuum and solvent wipe down, I applied the "neat" epoxy resin,  followed by the thickened epoxy.  With the thickened epoxy applied to the interior of the cabin sides, I then set the trim rings in place.  Clamping the rings ensured good contact between the trim and the interior cabin sides.  I came back an applied thickened epoxy to any gaps that remained.  Finished sanding and installation of the deadlights will follow.


Total Time Today: 3.75 hrs

Tuesday, May 12, 2020

Final Install of Interior Trim


May 12, 2020


I worked this afternoon to complete the interior trim installation.  After bringing the completed v-berth insert to the boat and setting it into place, I turned to the completing the primary bulkhead trim. With several grits of sand paper, I hand-sanded the trim in order to remove saw marks and to round over the edges.  After cleaning up of the surfaces by vacuuming and a quick acetone wipe down, I applied a couple coats of teak oil.  


I then prepped the surfaces of the trim pieces that would dress the intersecting planes of the bulkheads and the cabin settees aft and then the bulkheads and v-berth forward.  I sanded the surfaces of the trim where they would engage the cabin structure, as well as the settees, v-berth, and primary bulkheads.  After cleaning up, I wetted the surfaces with epoxy resin and then bonded them in place with thickened epoxy - using larger chunks of concrete to weight them and secure them inlace while the epoxy cured.  

I then mounted the balance of the v-berth trim forward, and then mounted the cabin settee trim aft.  


Total Time Today: 2.5 hrs

Saturday, May 2, 2020

Final Coat of Interior Paint & Oiling the Interior Trim


May 2, 2020


I grabbed a couple hours on the Allied 24 today to complete the interior painting, as well as moving the interior trim to the point of being ready for installation.  I sanded all surfaces with 180-grit paper, followed by a thorough vacuuming and wipe down with a solvent-laced towel.  


I applied the final coat of Interlux Premium Yacht Enamel to the v-berth and cabin, rolling it out with a 6" foam roller.  After completing the interior of the Allied, I moved back to the shop to apply paint to the v-berth insert.


After paint, I gathered the interior trim that I had recently finish-sanded.  After wiping them down with a solvent to remove residual sanding dust and teal oils, I applied a 'teal oil' to treat the and preserve the wood.


I applied the oil to as much of the surface area that I could, but knew that additional work here would be required.


Total Time Today: 2 hrs

Wednesday, April 29, 2020

Completing Cabin & V-berth Trim


April 29, 2020


I managed to get a few hours on the boat today, with a focus on completing the cabin and v-berth trim work.  What is left is dry-fitting the v-berth fiddles and then final shaping by sanding and easing edges for comfort.  I also need to permanently install a couple of the longitudinal trim pieces with epoxy resin, and then paint the v-berth insert.

In the photo below, I made the final dimensioning cuts on the fiddles, and then moved on to measuring for the fasteners.


In the shop, I chose three #10 machine screws per fiddle, port and starboard.  These fasteners will include finish washers, and be backed by washer and nylon locking nut.


I managed to mark, pre-drill, and then tap for the #10 machine screws - 3 per side.  I then installed the fiddles.  With that completed, all trim work was checked off the list.  Next step: remove the trim, final sanding, application of teak oil, and then final installation.


I removed all trim from the boat and carried it over to the shop.  I disassembled the v-berth insert, and installed bungs in the v-berth insert trim.


I then applied tape to protect the inserts center trim piece, and prepped the board for primer paint.  After mixing the Interlux Primekote and waited through the 20-minute induction / catalyzing period before applying the primer.  I removed the fasteners from the underside of the insert and applied primer paint to that surface.  After applying the primer paint, I reinstalled the screws to use them as a platform in order to paint the top surface.


I then applied the primer paint to the top surface of the v-berth insert.


With the painting complete, I turned my attention to working each of the trim pieces making up the v-berth and cabin trim.  I sanded through 150 and 180-grit discs until  I reach a surface ready for teak oil, which will come over the next few days.


Total Time Today: 3.5 hrs

Monday, April 27, 2020

V-berth Trim (Part 2)


April 27, 2020


I had only a little bit of time to work on the Allied 24 today, so I chose to continue working on the v-berth trim.  In a previous work session, I had assembled the v-berth insert, to include epoxy-gluing the center trim piece.  Today, I removed the protective tape and generally cleaned up the surfaces by hand-sanding, easing the sharp 90-degree edges on the center trim piece.  Next steps for the v-berth insert was to disassemble the outboard trim boards, paint, and then reassemble.


Next, I worked on the v-berth fiddles, located just aft of the insert.  After rethinking how I wanted the trim to come together in the v-berth, I needed to extend both fiddles by roughly 3/4".  In the previous session, I glued extensions on the ends of the fiddles, replicating the angles to which they would encounter the aft portion of the v-berth insert.  Today, I carefully removed material in the extension to continue the rabbit cut into the surface that would mate with the v-berth itself.


After removing the unwanted material from the extensions, I thoroughly sanded the surfaces, including easing edges, to prep for installation.


Total Time Today: 1 hr


Sunday, April 26, 2020

Installing Cabin Trim & Applying the 5th Coat of Topsides Paint


April 25th and 26th, 2020


Over the last couple of days, I have been working to prep the topsides for her 5th coat of paint as well as addressing various tasks associated with the cabin and v-berth trim.  Early this morning, I applied the 5th coat of Alexseal - which laid down very nicely!

Yesterday was mostly spent working on the trim components.  The first of the trim I installed, with a permanent installation by use of epoxy, were the inboard edges of the primary bulkheads.  These pieces would never need to be removed, so I decided to bed them in thickened epoxy, using 406 colloidal silica.  I sanded the inboard edges of the bulkheads to expose raw would, and then followed that up by vacuuming up the sanding debris and cleaning all surfaces with acetone.  I wetted the surfaces to be glued with epoxy and followed that up with application of the thickened epoxy resin.  Three-point clamps were used to keep the trim tight to the bulkheads, with cardboard protecting the painted surface of the bulkheads.


With the bulkhead trim in place and curing, I moved on to the settee trim in the cabin.  Four #12 machine screws would secure each trim board (fiddle) to the settee, and would use a finish washer. 


The small section of trim aft of the primary settee fiddle would be secured by three #6 wood screws, also with a finish washer.


I placed the fiddle on the settee, and then marked for where fasteners would be used.  I evenly spaced the fasteners along the length of the trim piece, and then pre-drilled in order to tap the holes for the threaded fasteners.  The installation went without issue after spending time thinking through the location of the fastener on the trim piece and the method of securing them.  The small, aft section of trim cannot be seen in the picture below, but resides just aft of the primary settee fiddle and outboard of the landing platform.  In fact, this small section of trim is fastened to the side panels of the landing platform itself.


Having had previously cut the various trim components for the v-berth's removable insert (well, almost all of them), I made some additional measurements and plans to complete the assembly of it.  I removed the insert and trim pieces, taking them back to the shop, and proceeded to assembly them.  I first assembled the trim components, countersinking #10 wood screws at the butt joints, and then fastened that frame to the meranti plywood.  I sanded the edges to ease them for ease of handling and comfort, and then set the insert back in place.  From here, I gathered some additional measurements using the v-berth trim boards just aft of the insert, and carried those measurements (and the v-berth trim boards) down to the table saw.  I needed to fill in roughly 3/4" of length between the v-berth trim and the insert trim, so I transferred the angles cut onto the ends of the trim to the table saw blade with a bevel, and proceeded to cut the filler pieces that I required.  While at the table saw, I also cut a piece of trim for the center portion of the v-berth insert.


I carried the insert, its center trim piece, and the v-berth trim boards with their extension pieces back to the shop, but I was out of time for the evening.  I'd pick up things in the morning.


I arrived at the shop well before sunrise in order to complete the glueing that was required on the v-berth trim boards and the insert's center trim piece.  I wanted to use this pre-dawn time to knock out the epoxy work prior to getting into the topsides paint application.  This task was straight forward: cleaned the surfaces to be glued with solvent, wetted the surfaces with resin, and then assembled them with some additional thickened epoxy resin.  I have a bit of finer detail work to clean them up for installation, and that would come once they had fully cured.


I also glued the v-berth insert's center trim piece in place, protecting the surrounding surfaces with tap and assembling with clamps.  It was now time to paint!


I had a bit of minor sanding to do on a couple spots, so I knocked that out rather quickly and got straight into prepping for the paint application.  Back in the shop, I mixed the pot of two-part Alexseal topsides paint and set it to the side for its induction/catalyzing period.  While the paint was doing its thing, I wiped the surface of the boat down thoroughly.  I first used slightly water-dampened rags to pick up a majority of the remaining paint dust, and then came behind that with rags dampened with a solvent to complete the prep.


Paint went on with no issue, and the finish coat ratio of thinner I used behaved well in the early morning temperatures, leveling out beautifully.


Other than the random small insect, which should not impact the paint job harshly, the finish coat looks beautiful.  On to the cockpit and deck paint!


Total Time over 2 Days: 6.75 hrs

July 29, 2020 The day had arrived!  Time to apply the name of the vessel...S/V Sea Hagg, hailing out of Key Largo (there's on...