Saturday, March 16, 2019

Sanding & Fairing


March 16, 2019


The interior work is drawing to a close, at least the larger items.  There is the matter of the small bulkheads to enclose the aft portion of the v-berth platform, the anchor locker / collision bulkhead, and the strengthening of the chainplate knees, but those were rapidly drawing to a close as well.  Today, I set out to complete the foredeck repair (from within) and generally sand to a fair surface the various areas that I have been addressing as either core replacement or old control faces / fastener holes.  I began by water-washing all of the previous epoxy work in order to remove the waxy amine blush.  I then got started by sanding the overhead in the forepeak - this was the repair made to the foredeck.  The surface is now ready for either paint or tabbing to secure the future anchor locker / collision bulkhead.


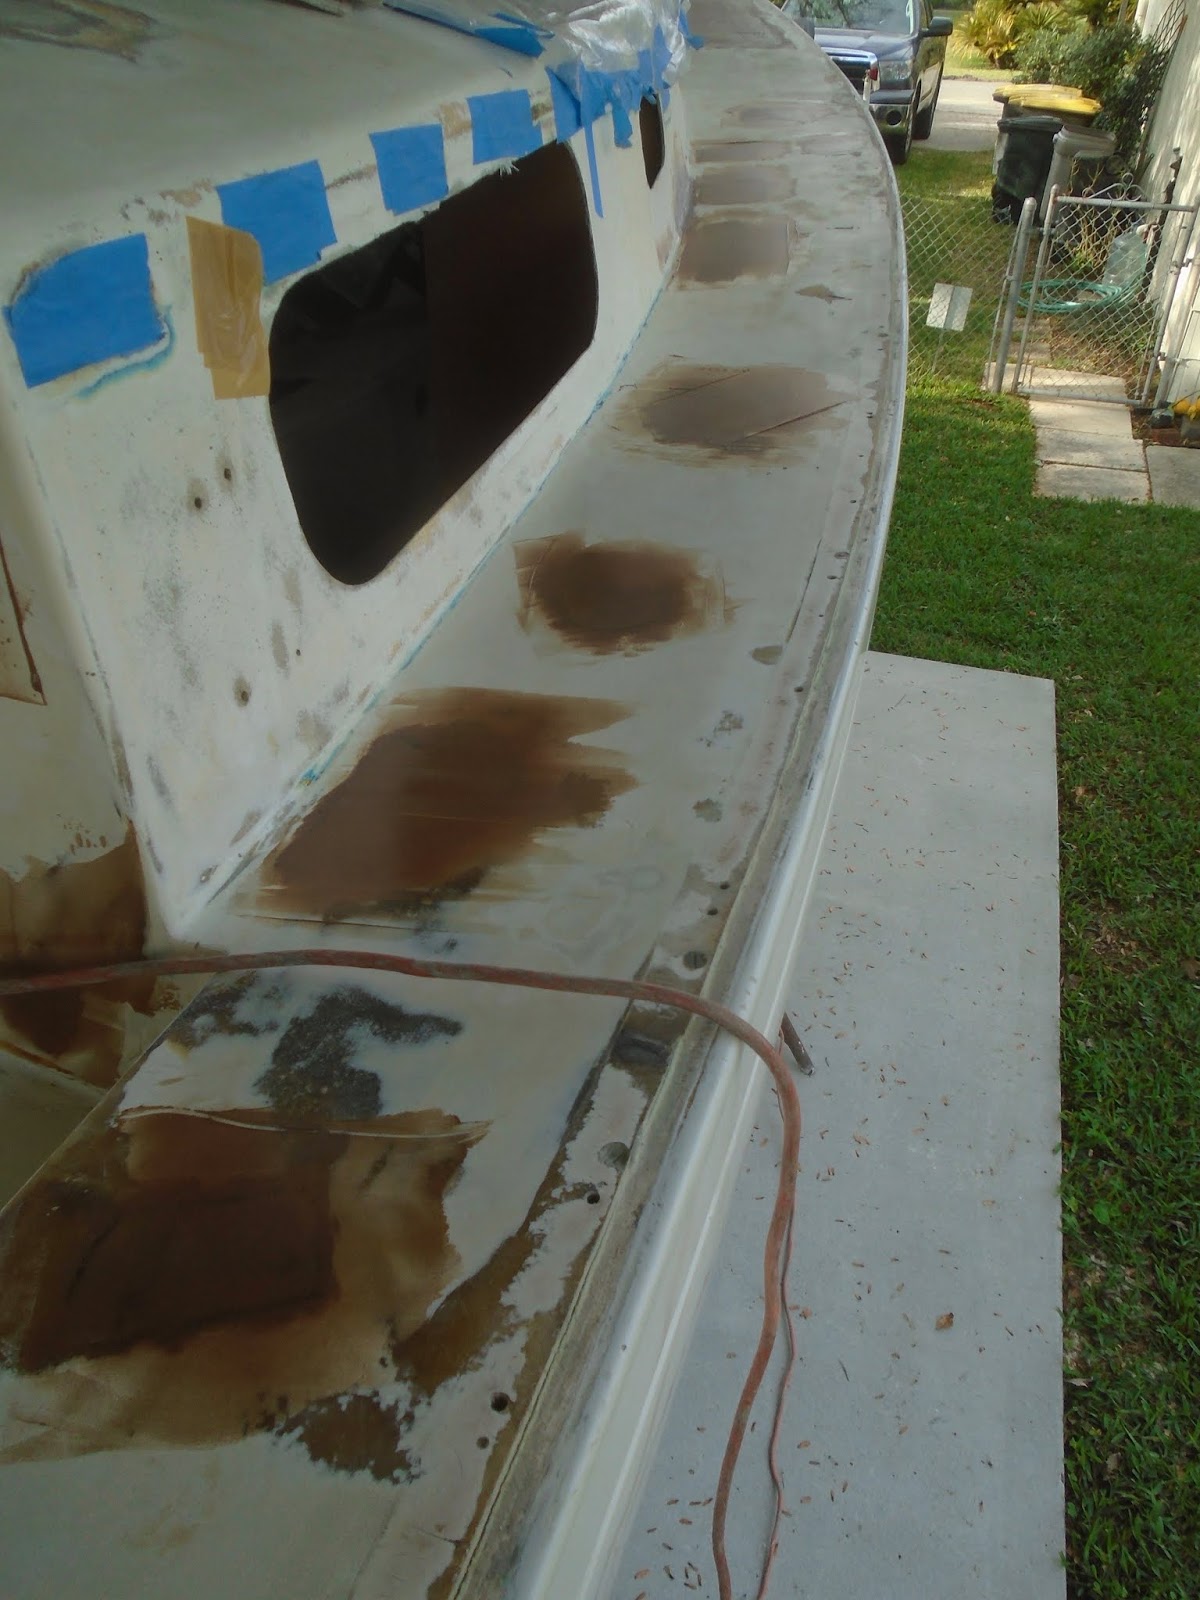
I then turned my attention to the various spots on the deck and cockpit that I had filled (whether new balsa core or fiberglass), and began to sand the prior application of fairing compound.  I began with the aft deck and worked my way forward.


I sanded the forward portion of the cockpit well,


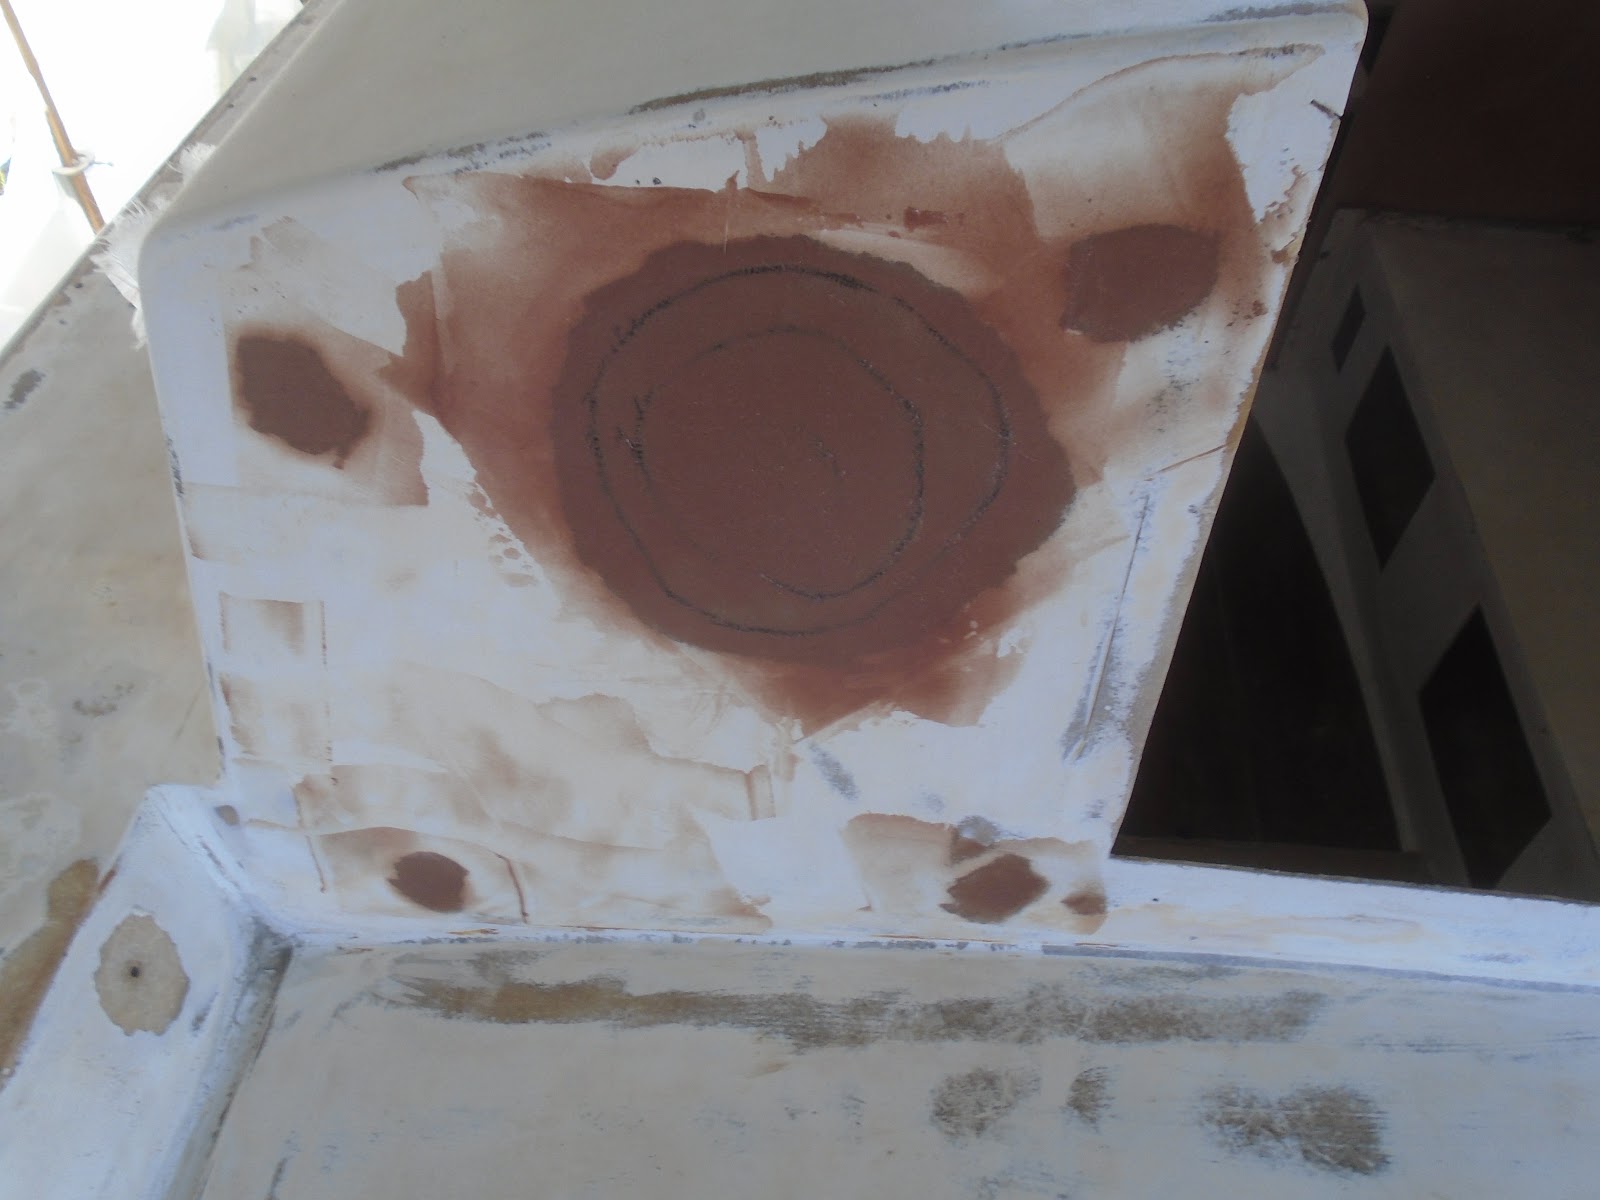
and moved up onto the bridge deck, aft bulkhead of the cabin, and the coachroof itself.


I then moved over to the starboard side deck to continue bringing these areas into fair.


I then worked my way forward on the starboard side deck, with just minimal sanding required with 80-grit discs.


I finished the sanding with the foredeck, but recognized areas that required additional coats of fairing compound.


To that end, I vacuumed and solvent-washed the recently sanded surfaces, and then mixed the first of three pots of thickened epoxy.  I began the new round of fairing on the foredeck.  With a 12"-long knife, I drew the fairing compound across the foredeck repair area with the intent to fill the low spots.    


                      The next round of sanding will reveal areas requiring further work, if any. 


I then worked my way aft on the starboard side deck, filling the various pinholes and voids with the fairing compound.


As I approached the aft of the cabin, I worked my way up on the coachroof and then the aft bulkhead of the cabin itself.


I finished out the day by fairing the various spots in the cockpit, as well as the aft deck.  The prep work to create a great looking finish topcoat of paint really is equal to the labor one is willing to direct to it.  There are spots within the cockpit that I have yet to address...I'm thinking that those will be on tomorrow's docket.   


Total Time Today: 5.5 hrs


Sunday, March 10, 2019

Forepeak Overhead Tabbing, Various Sanding & Fairing


March 10, 2019


I got started today in the forepeak of the boat.  There was a bit of tabbing left to do on the forward-most portion of the deck repair.  So to that end, I solvent-washed the area to be addressed, returned to the shop and mixed a small pot of epoxy resin to wet out those surfaces.  With that "priming" process complete ( I wet out the fiberglass with epoxy resin not thickened), I then mixed a batch of epoxy resin thickened with 406 colloidal silica and 407 low-density filler.  With a small plastic squeegee, I worked the thickened epoxy in to form fillets that would enable the tabbing to lay down nicely with good contact.  I then wet out the various pieces of tabbing (1708 biaxial fiberglass), and then placed them into position.  With surplus thickened epoxy, I applied a fairing skim coat on portions of the new overhead.  I will come back to sand this area prior to the application of topcoat paint.


With the forepeak overhead repair work done for today, I went up onto the foredeck to apply a skim coat of fairing compound (same filler mixture as used below).  I will be scrutinizing the fairness of the new foredeck in the coming week, and may end up applying a lightweight fiberglass cloth (10oz) to assist in the effort.  For now, I was focused on getting a "rough" coat of fairing compound on the repaired surfaces.


From the foredeck, I went back below armed with the small DA sander...and of course my fingers for the inevitable tight spots.  I seemed to skip the pictures on this part of the session, but for the those that enjoy the read (as well as the pics), I completed sanding of the newly tabbed primary bulkheads.  Just prior to sanding, I water-washed the new tabbing to remove the amine blush - due to not applying a layer of peel ply to prevent amine blush from forming on the cured epoxy.  I then moved up into the cockpit and sanded old fastener holes that I laid glass onto.  This was done to prep for the fairing compound.  I made my way around the cockpit, sanding those areas that I intended to fill today, to include the two larger areas on the poop deck that I had installed new core material in.  I finished with a good vacuuming and solvent-wash of the entire aft portion of the boat. 

With the sanding finished, I paused the work clock for the day and went in for a shower to remove the itching fiberglass fibers.  The shower served to refresh me, and I came back out eager to begin work on the last tasks of the day - filling and fairing.  The starboard side deck had a number of spots where the gelcoat required removal, filling and fairing.  With the first round of fill-fair-sand complete, I was ready to come back for a second skim coat to fill any small pinholes or missed voids.  I solvent-washed the areas to be spot faired, mixed a small pot of thickened epoxy, and 6" knife skim-coated them to fill the voids.


I worked my way aft, addressing the areas that required the second fairing coat.


Next, I applied fairing compound to the aft bulkhead (exterior) of the coachroof - four areas on the starboard side and four on the port.  I then moved around the boat and filled small fastener holes that I had dished out with the small belt sander.  These areas were small enough so as to not require fiberglass cloth, and are not located in a load-bearing location.  


The final item on the sessions to-do list was to fiberglass and fair three larger areas around the companionway: to port and starboard of the companionway on the coachroof, and the aft bulkhead of the coachroof on the port side.  I solvent-washed the areas, as per usual, and then created patterns for layers of 10oz fiberglass cloth that I would apply to strengthen the repair.  I returned to the shop with the patterns, and cut them out of the new 10oz cloth material.  With the patches ready for installation, I then mixed a small pot of resin and wet out the three repair areas with straight epoxy resin - the priming process.  I started with the port coachroof:  I laid down the larger patch, wet it out by using a foam brush and resin, and then applied the second smaller patch, repeating the wet out process.


I moved over to the starboard coachroof, and repeated the installation technique on the 10oz fiberglass cloth patches.


Lastly, I moved over to the aft bulkhead of the coachroof, to port, and installed the 10oz cloth patches.


With the fiberglass laminated in to the repair areas, I applied a skim coat of fairing compound.  I started on the port side of the coachroof. 


I then moved over to the starboard side of the coachroof, and similarly applied the fairing compound.


Finally, I applied the fairing compound to the aft bulkhead of the coachroof/cabin.  There will be subsequent rounds of sanding on these repair areas, but this is required in order to achieve a satisfactory topcoat paint finish.  Sanding....got to love it!


Total Time Today: 5.5 hrs

Saturday, March 9, 2019

Tabbing Primary Bulkheads & Prep Sanding


March 9, 2019


I began the day by water-washing the previous session's epoxy work: glueing in the starboard primary bulkhead.  I dry the surfaces well, and then began some spot sanding to further prepare for the fillets required on the bulkhead.  While I had the sanding equipment out, I continued on to the v-berth platform, and sanded this surface down to the original gelcoat.  I then made my way to the foredeck, where I had cored, with new bottom and top skin, a previous repair that was not executed well.  I had cut out the previous repair attempt, leaving a gaping hole in the foredeck, and then enclosed it with a proper repair.  I removed the peel play layer that was protecting the laminate, and then proceeded to rough sand the outer perimeter.  There is fairing work to be done here, but that would have to wait for another session.  With the sanding completed for the day, I moved onto to general clean up of the interior, and then scratched out a list of tabbing lengths and locations for the primary bulkheads.  My list in hand, I made my way over to the shop and cut the individual lengths of 1708 biaxial "tape" that I would need to tab in the bulkheads.  With the lengths cut and labeled, I cleaned up the surfaces in the boat and then wet them out with straight epoxy resin.


I worked in sections: first, the aft side of the starboard bulkhead, and then the forward side; I then moved over to the aft port side , and then the forward side of that bulkhead.  The tabbing is in place, and will now require some sanding and light fairing work.  More on that later.


Total Time Today: 5.25 hrs

Friday, March 8, 2019

Installing Starboard Primary Bulkhead


March 8, 2019


With the rebuilding phase well on its way, I sought to grab some time in the afternoon to pattern, cut out, and install the starboard primary bulkhead.  There was little variation between the surfaces of the port and starboard side of the boat, so I was then able to use the door skin pattern created for the port primary bulkhead.  I mounted the pattern on the starboard side, aligning it with the now installed port primary bulkhead, and secured it with a combination of clamps and small wood blocks hot-glued to the hull and pattern.  With the pattern secured, I used a small compass and transferred the hull, cabin sides, and overhead surfaces onto the board.


I secured the pattern on the same sheet of 3/4" meranti used to produce the port primary bulkhead, and further transferred the dimensions to the meranti board.  I then cut out the new bulkhead with a jigsaw, and finished the edges with sandpaper to remove sharp corners.


I walked the new bulkhead over to the Allied 24, and made sure to bring the jigsaw, compass, and level.  Once in the boat, I attempted to mount the new starboard bulkhead, but immediately was faced with a cantankerous sheet of meranti.  Over the course of about 5 to 6 test fittings, and subsequent fine-tuning with the jigsaw, I was able to secure the new bulkhead in proper position.


I returned to the shop and procured solvent, rags, a small pot of neat epoxy resin, and a chip brush.  With supplies in hand, I set out for the boat to begin the install of the bulkhead.  I first solvent-washed the surfaces to be worked, and then painted them with the neat epoxy - to include the outboard edge of the bulkhead itself.  With the surfaces primed, I headed back over to the shop to mix a pot of epoxy resin, and this time thickened with the usual 406 colloidal silica and 407 low-density filler.  I returned to the boat with the thickened epoxy, and with various applicator tools placed the thickened epoxy along the outboard surface of the hull where the bulkhead would make contact.  With those same applicators, I cleaned up the squeeze out and also worked the surplus epoxy mixture into any voids between the bulkhead and fiberglass.  


Both bulkheads are in, and both will be tabbed in the next work session.


Total Time Today: 3.5 hrs

Wednesday, March 6, 2019

Sanding Interior & Exterior Repairs


March 6, 2019


I grabbed a few hours in the evening to sand the recent repairs to the exterior, the port primary bulkhead fillet, and the cabin settees.  I began by water-washing all of the areas I intended to sand today.  This process removes the amine blush that forms on cured epoxy resin - that is on resin that a layer of peel ply is not placed on, and thereby preventing the amine blush from forming.  This waxy substance is a surface contaminate if not removed, and will interfere with subsequent lamination layers, fairing work or paint application.  With all surfaces free of this surface contaminate, I thoroughly dried them off and started sanding the port bulkhead fillet.  This fillet of thickened epoxy that I created at the intersection of the bulkhead and the hull/overhead/cabin sides will allow the fiberglass tabbing to lay down in a smooth radius, ensuring full contact of the fiberglass to the bulkhead and boat surfaces.  I sanded most of the surface of the fillet with a small DA random orbital, and hand-sanded the tight spots.


I covered the bulkhead fillets both forward and aft.


While I was in the boat, I sanded the settees, both port and starboard.


I removed any uneven surfaces, where paint was applied too thick and resulted in runs, as well as anything material loose and flaking.


I then moved up into the cockpit of the boat, and worked the recently filled holes - the larger/primary holes.  I also worked around some of the tighter spots by hand as well as with the smaller DA sander.


Next, I brought out the larger DA sander and hit the starboard side deck.  Here the repairs were larger spots of cracking and crazing gelcoat that I had completely sanded off down to bare glass.  I laid up a layer of 10oz fiberglass cloth and then faired the surface (filling the weave of the cloth and low spots) with thickened epoxy.


I worked these areas with 60-grit discs, changing discs as their effectiveness diminished. 


I moved from the forward part of the side deck to the aft of it, and finished on the aft portion of the starboard settee.


Total Time Today: 4 hrs

Sunday, March 3, 2019

Installing Primary Bulkhead (Port)


March 3, 2019


I picked up where I had left off in the previous work session - completion of the port side primary bulkhead.  I laid the door skin template of the port primary bulkhead on the fresh sheet of 3/4" meranti plywood, and secured it in place with a couple clamps.  From there, I traced the template onto the meranti, and then used a small compass to transfer a few adjustments to what would be the final bulkhead.  In test-fitting the rough / door skin template, I noticed a few areas that would need some adjustment, so at that time I took note and made reference marks to account for the needed adjustments.


With the template transferred to the sheet of meranti, as well as the minor adjustments that I had accounted for, I cut out the new port side primary bulkhead.


I brought the bulkhead over to the Allied 24, and with sanding tools at hand, I worked to fine tune the fit of the new port side primary bulkhead.  A primary focus for me was a good installation of the bulkhead so that the integrated mast support beam would transfer weight onto the bulkhead and ultimately onto the hull of the boat.  The primary bulkheads would be tabbed to the overhead and hull, and would help transfer and spread the load of the mast. 


I placed the mid-ships chainplate in position to help align the bulkhead, but noticed that the prior positioning of the bulkhead as related to the chainplate was not optimal.  The Allied 24's orientation in the work yard is in a bow up position, and working out that compensation revealed that the chainplate would need a shim to then provide a good mounting foundation.  


Satisfied with the placement and position of the bulkhead, I used a hot glue gun and small wood blocks to "lock in" the position of the bulkhead.


I used the saloon settee as the aft framing structure for the bulkhead, and after manipulating the alignment of the bulkhead, I then used the wood blocks as the forward alignment points.  The hot glue gun is an extremely useful tool for the solo refit specialist, the perfect tool to place alignment blocks! 


Satisfied with the alignment, I removed the bulkhead and vacuumed and solvent-washed the work surfaces. I then painted neat epoxy on to the outboard surface of the bulkhead as well as the hull surface itself.  


I then mixed a couple pots of thickened epoxy to spread onto the hull surface where in which the bulkhead would make contact.  


With the thickened epoxy placed onto the hull and overhead surfaces, I set the bulkhead in position.  I worked the squeeze out thickened epoxy into the small gaps here and there, making sure that the bulkhead was in good contact with the hull and overhead surfaces either directly or through the thickened epoxy mixture.  My final task was to create a fillet between the bulkhead and overhead/hull surfaces to create a radius that the eventual tabbing would lay down nicely on.  The fillet prevents harsh angles, allowing for the fiberglass tabbing to make good contact from bulkhead to overhead/hull.  My next task for the port side primary bulkhead will be water-washing and sanding to prep for tabbing it onto the hull/overhead.


Total Time Today: 4.25 hrs

Patterning Primary Bulkhead (Port)


March 2, 2019


With plans made for later in the day, I go to work in the morning on the port side primary bulkhead.  I wanted to prepare, and possibly install, the new primary bulkheads for the Allied 24 in the coming week.  I began on the port side of the boat using bits of cardboard, and with a hot-glue gun made a rough pattern of the shape.  I then used a compass to mark the unique surface contours onto the cardboard template.


I removed the cardboard from the boat, and back in the shop, I then transferred the pattern to a piece of 1/4" door skin.  I cut out the port primary bulkhead with a jigsaw.


Back in the boat, I continued to trim and shape the door skin template of the port primary bulkhead until I was satisfied with the fit.  I made a few notes on the template that would allow me to more accurate fit the actual new bulkhead.  For example, I had a couple areas where the space between the boat and the fiberglass needed to be reduced (the overhead and hull), and these areas would be corrected while transferring the pattern from door skin material to the 3/4" meranti marine plywood.


While I was working on the port side of the boat, I prepared a template for the aft of the v-berth locker.  I would enclose this area with a small meranti bulkhead.  


Total Time Today: 2 hrs

July 29, 2020 The day had arrived!  Time to apply the name of the vessel...S/V Sea Hagg, hailing out of Key Largo (there's on...