March 10, 2019
I got started today in the forepeak of the boat. There was a bit of tabbing left to do on the forward-most portion of the deck repair. So to that end, I solvent-washed the area to be addressed, returned to the shop and mixed a small pot of epoxy resin to wet out those surfaces. With that "priming" process complete ( I wet out the fiberglass with epoxy resin not thickened), I then mixed a batch of epoxy resin thickened with 406 colloidal silica and 407 low-density filler. With a small plastic squeegee, I worked the thickened epoxy in to form fillets that would enable the tabbing to lay down nicely with good contact. I then wet out the various pieces of tabbing (1708 biaxial fiberglass), and then placed them into position. With surplus thickened epoxy, I applied a fairing skim coat on portions of the new overhead. I will come back to sand this area prior to the application of topcoat paint.

With the forepeak overhead repair work done for today, I went up onto the foredeck to apply a skim coat of fairing compound (same filler mixture as used below). I will be scrutinizing the fairness of the new foredeck in the coming week, and may end up applying a lightweight fiberglass cloth (10oz) to assist in the effort. For now, I was focused on getting a "rough" coat of fairing compound on the repaired surfaces.

From the foredeck, I went back below armed with the small DA sander...and of course my fingers for the inevitable tight spots. I seemed to skip the pictures on this part of the session, but for the those that enjoy the read (as well as the pics), I completed sanding of the newly tabbed primary bulkheads. Just prior to sanding, I water-washed the new tabbing to remove the amine blush - due to not applying a layer of peel ply to prevent amine blush from forming on the cured epoxy. I then moved up into the cockpit and sanded old fastener holes that I laid glass onto. This was done to prep for the fairing compound. I made my way around the cockpit, sanding those areas that I intended to fill today, to include the two larger areas on the poop deck that I had installed new core material in. I finished with a good vacuuming and solvent-wash of the entire aft portion of the boat.
With the sanding finished, I paused the work clock for the day and went in for a shower to remove the itching fiberglass fibers. The shower served to refresh me, and I came back out eager to begin work on the last tasks of the day - filling and fairing. The starboard side deck had a number of spots where the gelcoat required removal, filling and fairing. With the first round of fill-fair-sand complete, I was ready to come back for a second skim coat to fill any small pinholes or missed voids. I solvent-washed the areas to be spot faired, mixed a small pot of thickened epoxy, and 6" knife skim-coated them to fill the voids.
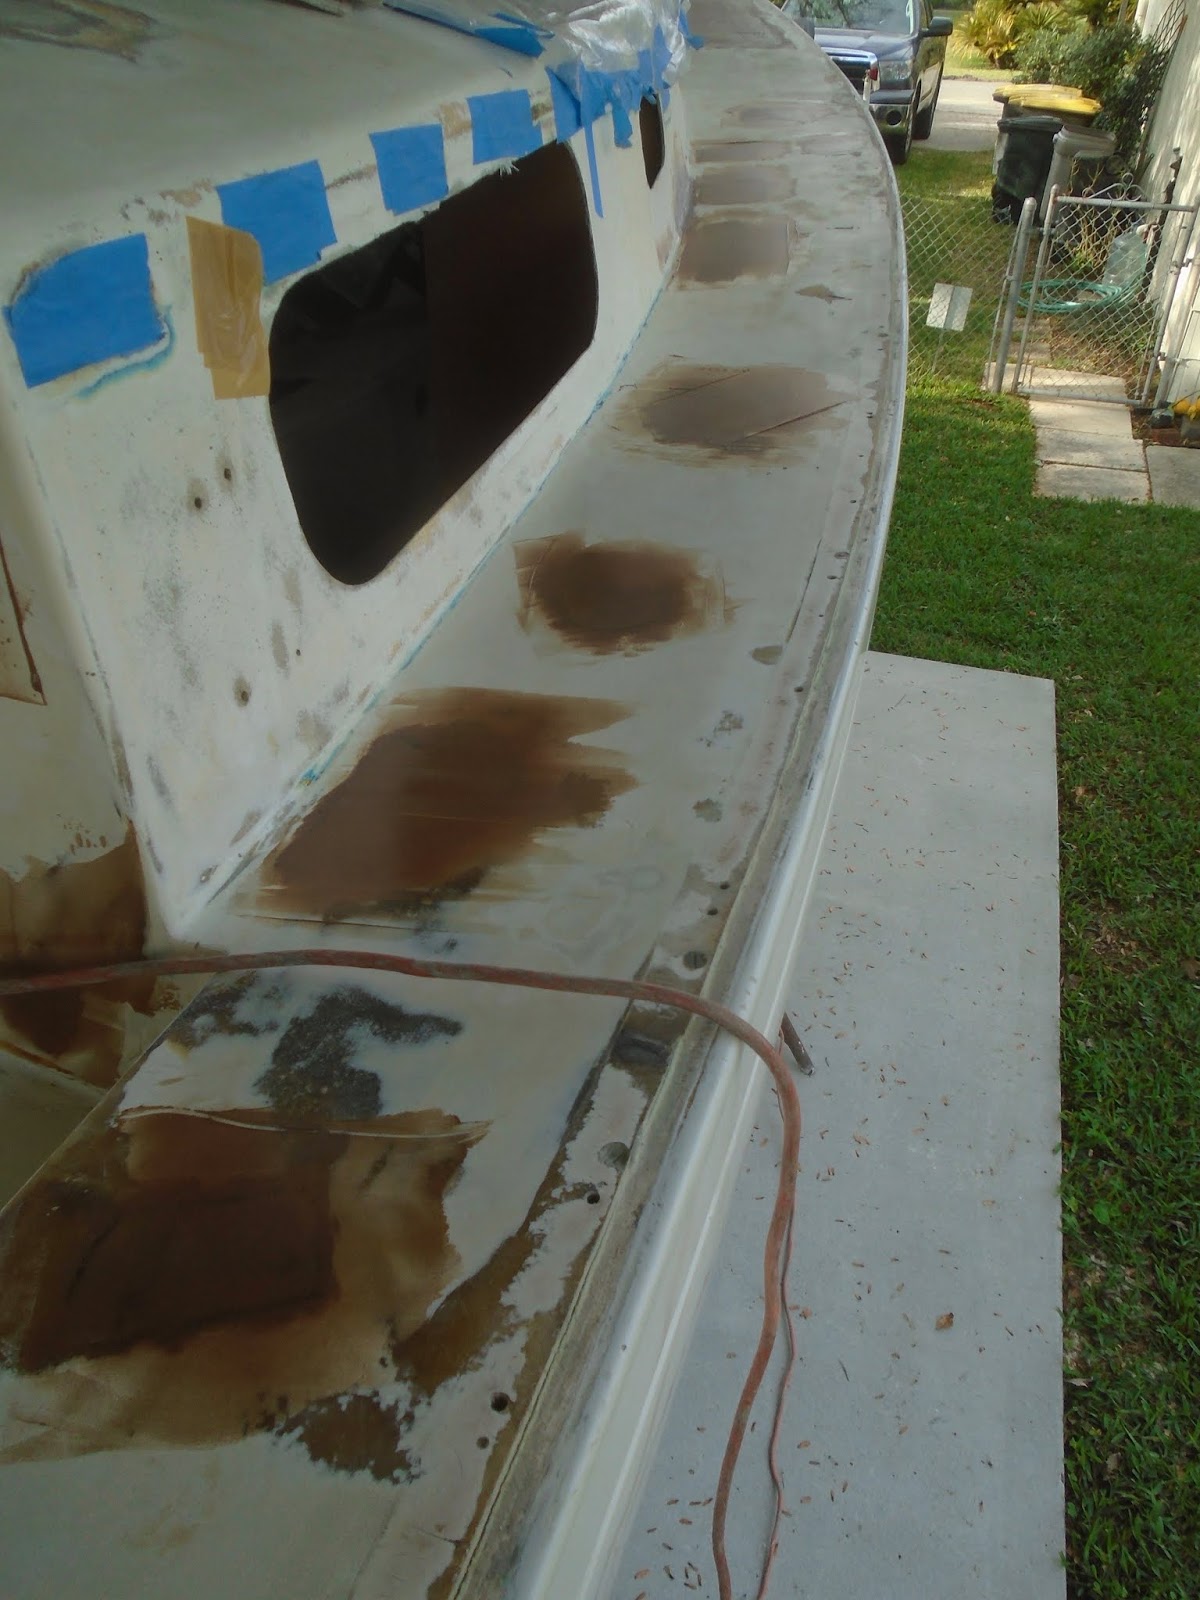
I worked my way aft, addressing the areas that required the second fairing coat.

Next, I applied fairing compound to the aft bulkhead (exterior) of the coachroof - four areas on the starboard side and four on the port. I then moved around the boat and filled small fastener holes that I had dished out with the small belt sander. These areas were small enough so as to not require fiberglass cloth, and are not located in a load-bearing location.

The final item on the sessions to-do list was to fiberglass and fair three larger areas around the companionway: to port and starboard of the companionway on the coachroof, and the aft bulkhead of the coachroof on the port side. I solvent-washed the areas, as per usual, and then created patterns for layers of 10oz fiberglass cloth that I would apply to strengthen the repair. I returned to the shop with the patterns, and cut them out of the new 10oz cloth material. With the patches ready for installation, I then mixed a small pot of resin and wet out the three repair areas with straight epoxy resin - the priming process. I started with the port coachroof: I laid down the larger patch, wet it out by using a foam brush and resin, and then applied the second smaller patch, repeating the wet out process.

I moved over to the starboard coachroof, and repeated the installation technique on the 10oz fiberglass cloth patches.

Lastly, I moved over to the aft bulkhead of the coachroof, to port, and installed the 10oz cloth patches.

With the fiberglass laminated in to the repair areas, I applied a skim coat of fairing compound. I started on the port side of the coachroof.

I then moved over to the starboard side of the coachroof, and similarly applied the fairing compound.

Finally, I applied the fairing compound to the aft bulkhead of the coachroof/cabin. There will be subsequent rounds of sanding on these repair areas, but this is required in order to achieve a satisfactory topcoat paint finish. Sanding....got to love it!

Total Time Today: 5.5 hrs


No comments:
Post a Comment