June 7, 2020
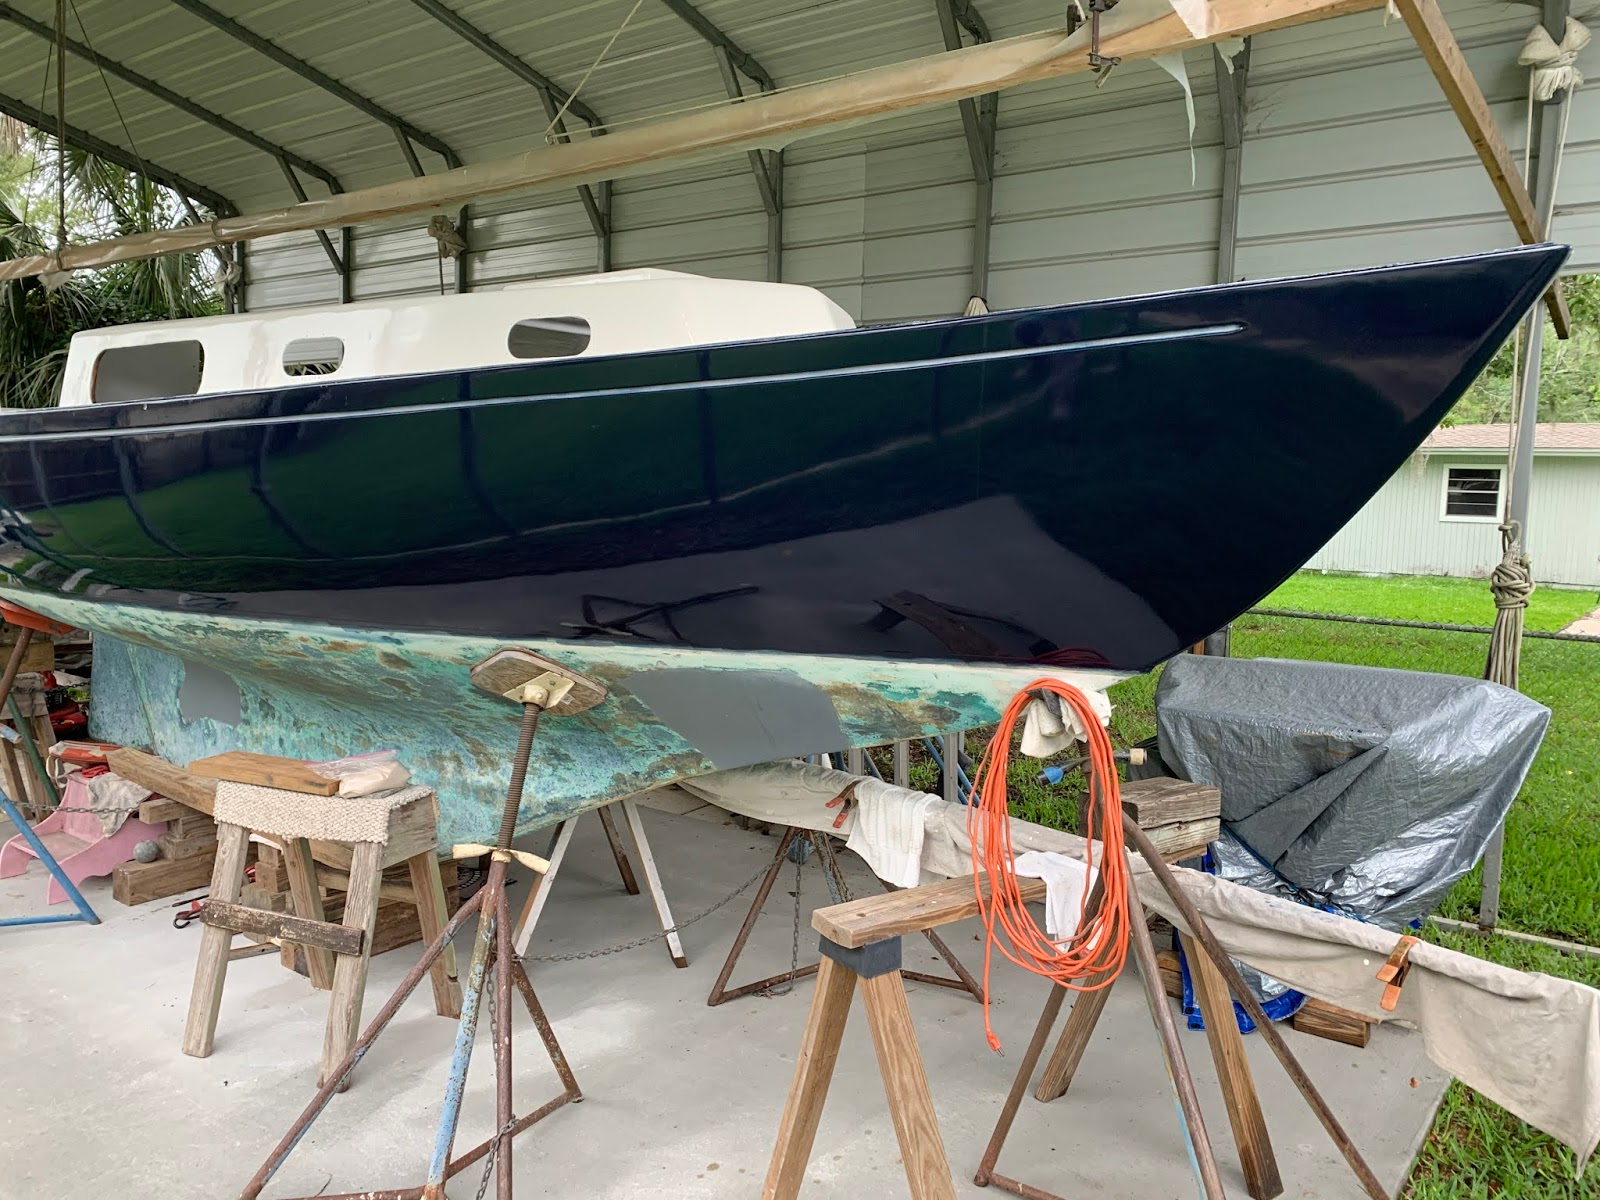
I wanted to lead with a photo of the fresh deck-cockpit-coachroof paint from yesterday. I little far to get the full effect, but she's improved greatly from the sheer line up.
Today I got started on installing the pull for the companionway slide hatch. I acquired a piece of teak for the job, looking a little aged and forewarn, so I started by taking down the worst of the battered varnish.

With the pull taken down to the point of being ready to be built back up, I then created a pattern that matched the previous fastener holes, and used that pattern to establish a centered installation.

Finding the center of the hatch and then the center of the pattern, I arranged it onto the hatch and drilled for fasteners.

I secured the hatch pull with silicone bronze wood screws, countersunk on the interior face of the hatch frame.

While I was at it, I installed a plate on the same interior surface of the hatch frame - a prayer and blessing of sort for the vessel. This plate was also installed using two silicone bronze wood screws.

Flipping the companionway slide hatch over, I wanted to snap a photo of the pull installed.

With the pull dry fit, I uninstalled it and prepared the surfaces for a coat of Epifanes varnish. I slightly thinned the varnish before applying it with a foam brush - the instrument of choice for varnish work. While I had the varnish out, I also applied a coat of varnish to portions of the other two hatches.

And of course, I also applied varnish to the companionway slide hatch pull.

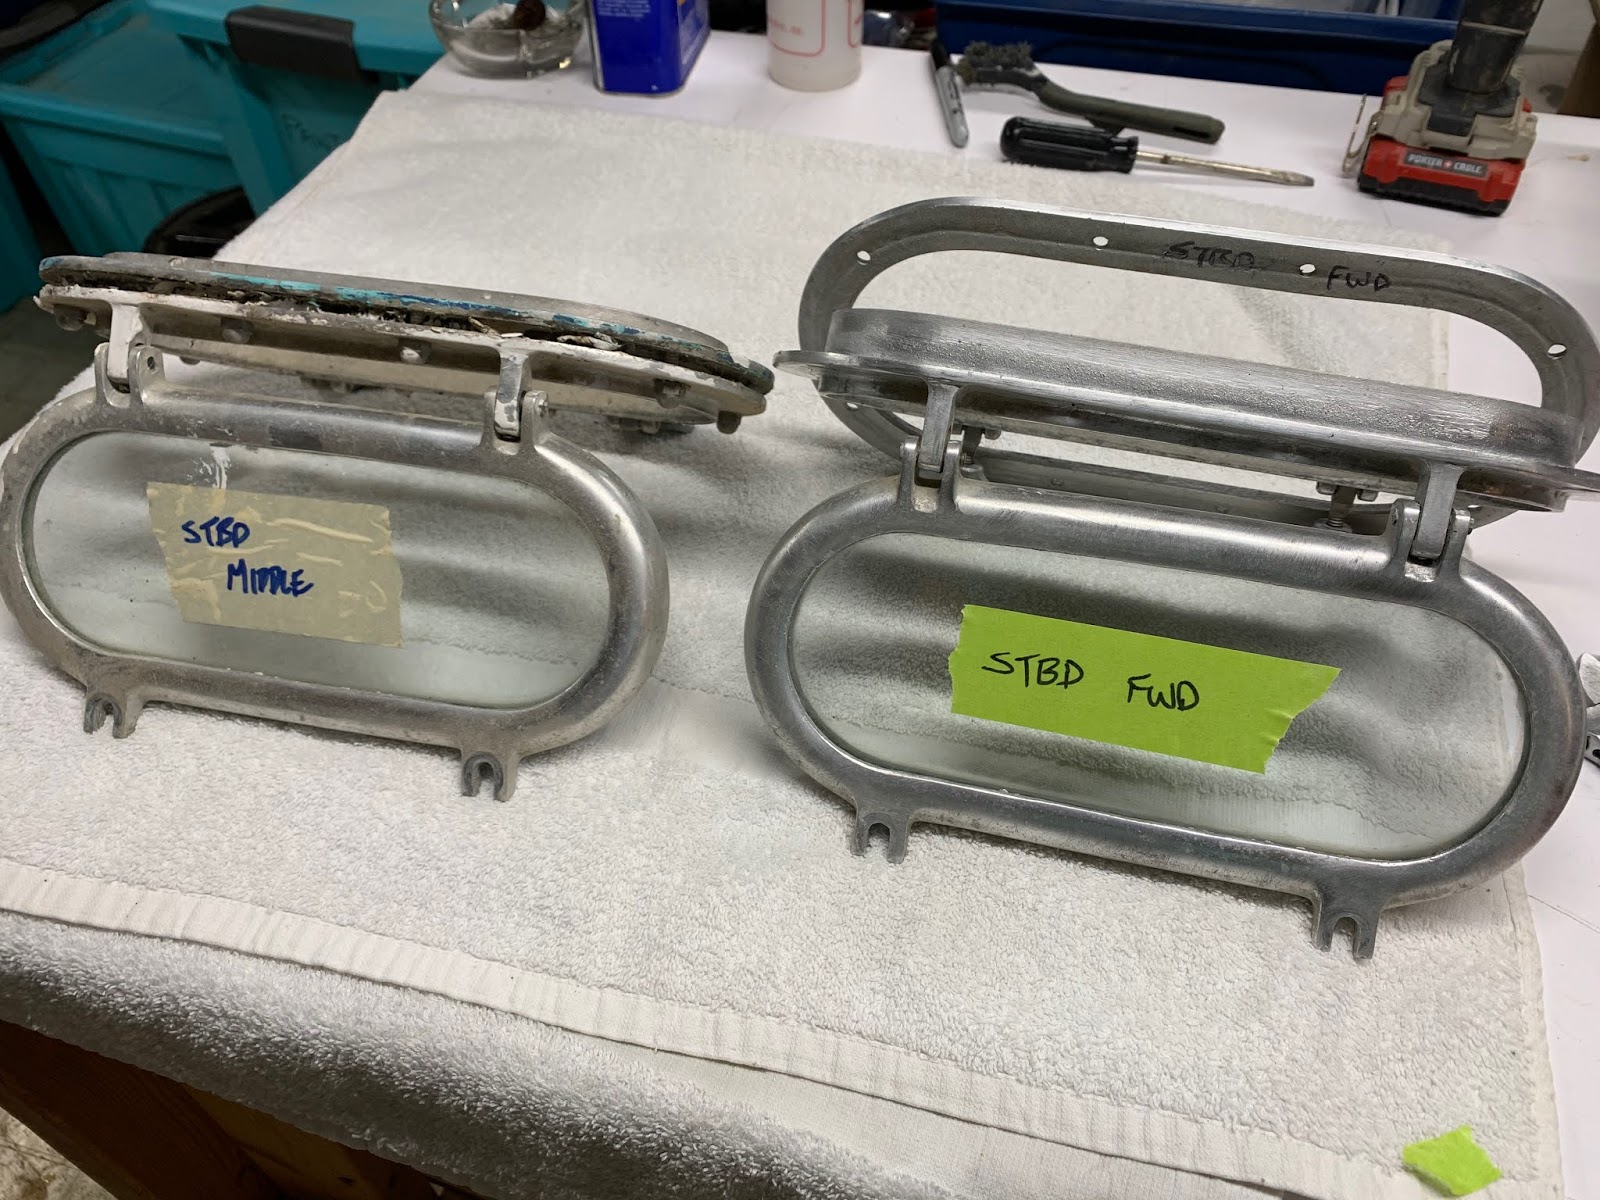
My next task in the shop today would be to begin work on prepping the old opening port lights for reinstallation. The ports were slathered (not an exaggeration) with butyl compound, as well as covered in sometimes two and three layers of paint - just sloppy is all I can say about the state of the previous installation on these ports. For the Allied 24, there are two large deadlights in the cabin, two opening port lights in the forward portion of the cabin, and then two opening port lights in the v-berth. I have already cleaned up the two deadlights, so I turned my attention to the remaining four opening port lights. I grabbed the starboard forward port to begin with, and removed all of the fasteners, washers and acorn nuts. I secured those bits and bobs on a template of the port light, aligning the particular fastener to its location on the template. After measuring the fasteners (#10x24 stainless steel machine screws, 3/4" in length), I decide to go ahead and order new fasteners that are originally 3/4" in length. The fasteners that I removed from the port light had been cut down to a certain length, suggesting a very custom installation of each fastener, which is why I originally taped each fastener to their location - an old habit. However, it appears that the laminate does not very considerably and that I will be able to get by with new #10x24 3/4" machine screws.

After tucking the fasteners into their tape blankets, I set out cleaning the surfaces of the exterior flange and the interior opening port. I used a mineral spirits to breakdown the butyl (acetone flashes off much too quickly), accompanied by various instruments, tools and devices. The photo below shows the marked improvement of the cleaned port light to the poor unfortunate soul! One down, three to go.
Total Time Today: 3.25 hrs


No comments:
Post a Comment