June 27, 2020
The day started out as if it might have been a wash, given weather systems moving through. The fact that the boat work bay had a roof was great; having no walls with weather systems moving through, not so great. But I made do, since there was work that could be done within the shop, and some of that work would be backing plates for the lazarette hatch. I culled a bit of the fiberglass from the project - old scraps from the redesign - and fabricated backing plates in short order. The lazerette hatch is ready for install, and I intended to get to it today but for the weather.

In between severe downpours and arc-light lightening, I managed to get out to the boat to install the cockpit scuppers. I bedded these in Sitka Flex 291 LOT, securely tightened the backing nuts from below, and then wiped up the squeeze out Sitka Flex.

Going down below, I started work on the port drain line....connecting it to the port side thru-hull. I had previously cut a section of drain hose and secured it with clamps, so today I worked on final positioning as well as the length of drain hose from the scupper to the thru-hull.

An ~9" run of hose to the thru-hull, double clamped, and the port side was completed.

I then moved over to the starboard side of the boat, and began the same installation process for the scupper to thru-hull drain line.

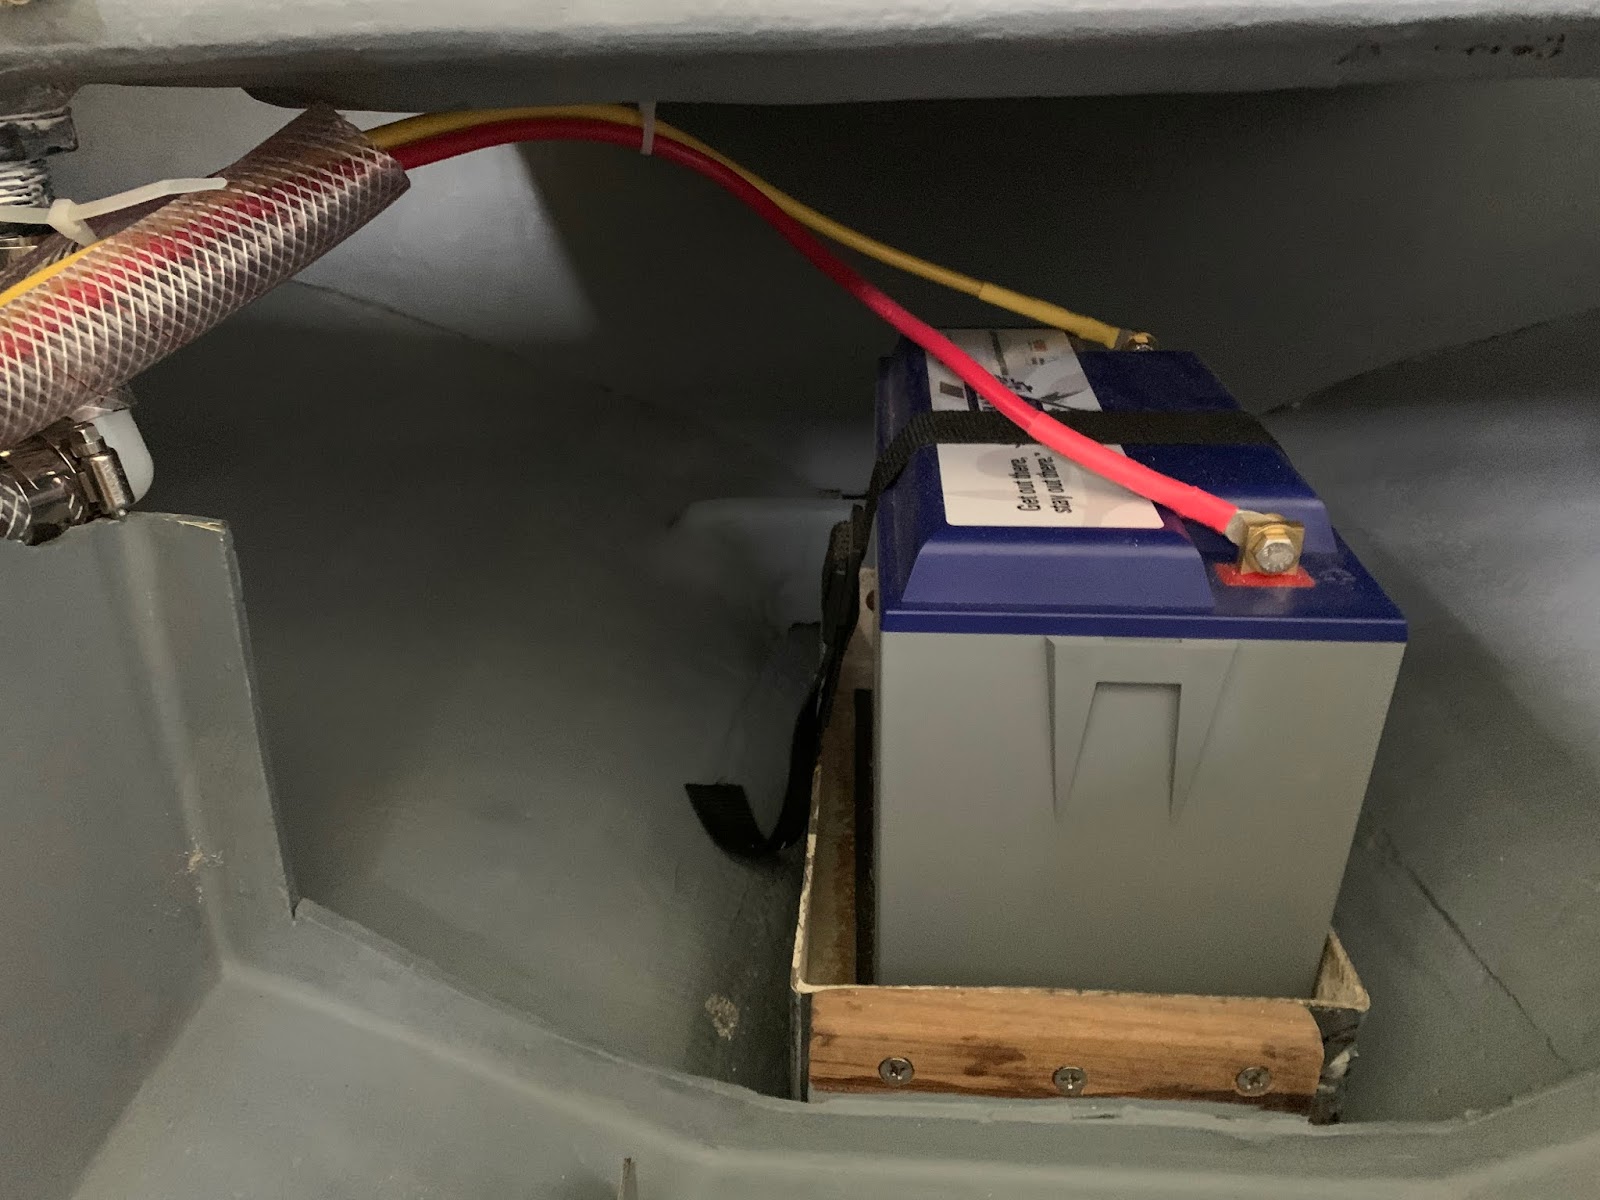
With a small ratchet, I manager to get the double-clamps secured, and with that completed the cockpit scupper drains. I also wrapped and zip-tied a length of chafe protection for the house battery cable runs.

Another shot of the house battery installation and cable run forward to the small starboard panel.
I returned to the shop to apply final coats of varnish on the brightwork that required it. Show below, the drop boards needed and final coat, as did the coaming boards' inboard surface.

The coaming return bocks also required their final coat.

I knocked off and then grabbed the tiller for another coat of varnish. With 320-grit paper, I sanded the surfaces of the tiller, cleaned with acetone, and then applied the 4th coat of varnish. I should manage another 2 to 3 coats for the tiller before I call it done.

Total Time Today: 3.5 hrs (Time and Materials not charged for the tiller)


No comments:
Post a Comment