Sunday, May 5, 2019

Sanding V-berth Bulkheads and Fairing Thru-Hull Patches


May 5, 2019


Prior to the necessary margaritas this evening, I wanted to follow up on the recent small bulkheads that I installed at the aft of the v-berth platform.  I had intentions of getting paint on in the interior of the v-berth lockers, but I would run out of time required to lay down "hot coats" of the epoxy barrier protection paint.  Leaving the paint on to dry over an extended amount of time would require coming back to water-wash the surface and then sand prior to subsequent coats of paint.  In the coming week, I intend to apply three coats of the epoxy paint within about 2 hours from the previous coat of paint.

Today, I was able to get to sanding and paint prep.  I began by water-washing the amine blush from the surface of the recent epoxy work, and then dried the surfaces.  I hand-sanded the tight areas, where a tool could not access, and then followed up the balance of the open spaces with the 5" DA random orbital sander.  


I started on the port side of the hull, sanding the forward and aft surface of the small bulkhead.


I then jumped over to the starboard side of the boat and sanded the forward and aft surfaces of the bulkhead.


Once paint goes down in these spaces, the overall appearance will be dramatically improved.


To further get things sorted out and ready for paint, I needed to get the new v-berth platform tops' aft cleats in place.  These cleats would be secured (glued and screwed) to the primary bulkheads and would provide support and rigidity to the platform tops.


Back in the shop, I grabbed some 1.5" x 3/4" mahogany cleat stock that I had previously prepared, and cut two 18" long cleats.  I then pre-drilled for screws (four per cleat), and countersunk for the screw heads.  With the new v-berth platform tops in place, I marked and then secured the cleats in place on the primary bulkhead face.  With the cleat in position, I then drilled a shallow hole to get things started with the fasteners.  I removed the cleat, set the screws, applied glue to the length of the cleat, and finally screwed the cleat in its final position.


These small cubbies on either side of the v-berth cabin would be great candidates for some open netting to be installed roughly half-way up to securely hold its contents but also allow one to see what is being stowed.  They will also be painted out with the epoxy barrier paint.


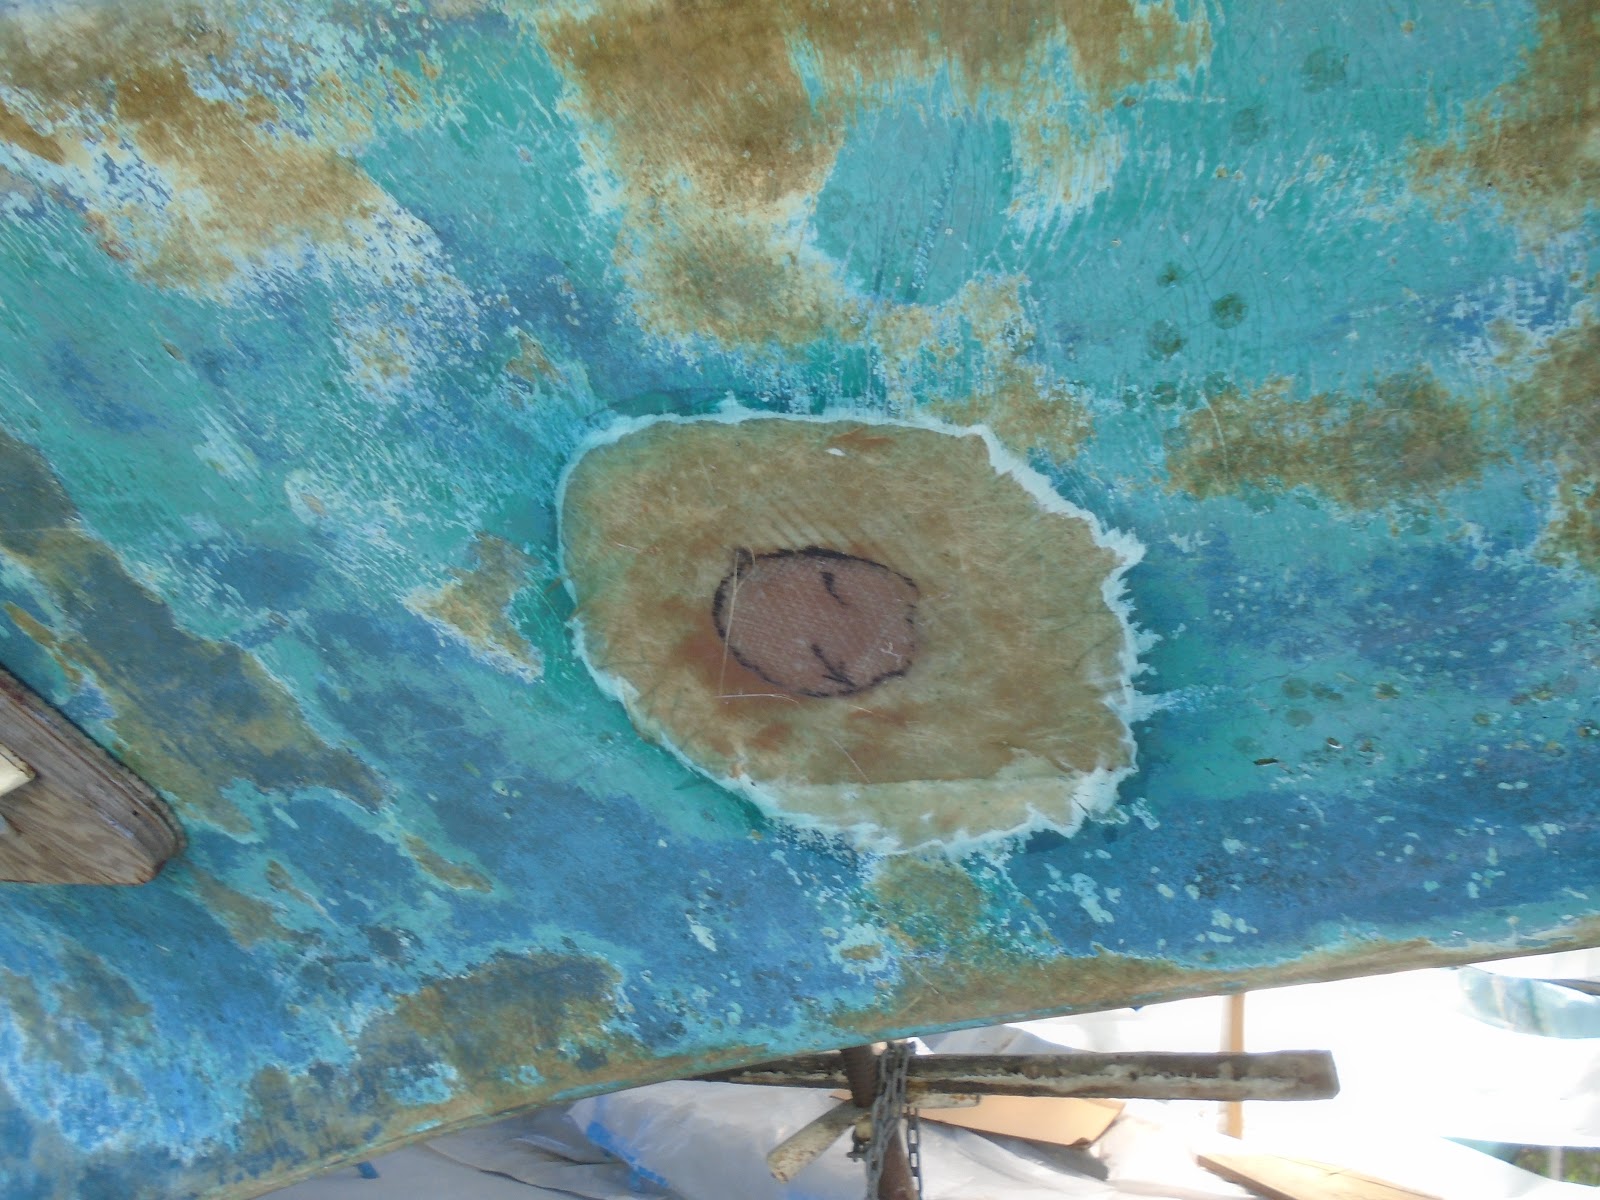
With the sander still out, I removed the peel ply from the recent thru-hull patches and sanded them to ensure there were no areas standing proud of the surrounding molded fiberglass liner.  


Satisfied that the patches were not standing proud, I cleaned them by vacuuming the surfaces followed by an acetone wash.  I applied epoxy resin next, and then applied thickened epoxy as a fairing compound to fill and shallow spots or depressions.  It appeared that I would be able to get away with but one application of fairing compound; sanding in the coming days should be all that is required prior to primer paint being applied.  That would complete the day's work.


Total Time Today: 3 hrs

Saturday, May 4, 2019

V-berth Platform Tops & Aft Bulkheads


May 4, 2019


I wanted to get the v-berth platform tops completed today, and ultimately prep them for final installation.  To that end, I needed to complete the locker lids and the supportive cleats: port, starboard and the forward center hatch.

I began by installing the already prepared cleats on the port half of the v-berth platform. I had cut out the locker hatch lid in a  previous work session, and I also had prepared the cleats for both the port and starboard lockers.  I marked the orientation lines for the four cleats, and one by one clamped them in place to pre-drill for fasteners.  With the fastener holes drilled, I wiped the surface down and then glued and screwed each cleat in its final resting place.


I wiped the excess glue (squeeze out) from the surface and then flipped the platform over to test the hatch lid.  Completed port half of the v-berth platform.


I repeated this exercise for the starboard half, but also had to cut out the hatch lid.  I did this by marking the hatch itself on the underside of the platform, and then used an oscillating tool to cut along the lines in order to allow my jigsaw to then access and cut the lines.  With the lid removed, I marked the center and cut out the finger hole.  I then installed the cleats by gluing and screwing, and the starboard half was then complete.


My next task was to create a new hatch lid for the locker that is forward and on the center line of the platform.  Since it was necessary to create the v-berth platform in two sections (to fit through the companionway), the center line hatch lid needed to be created from a new, single board.  I used the two halves to create a rough outline of the new hatch lid, and then created cleats to support the lid.


I installed the port side's center hatch support cleats.


I then installed the starboard side's center hatch support cleats.


With the two halves in situ, I then sanded and trimmed the center hatch lid to the point of it fitting well.  The v-berth platform is now complete, and nearly ready for final installation.


Before I epoxy the v-berth platform in place, I needed to get to the small bulkheads located at the aft of the v-berth itself.  The v-berth was open at this location on both sides, and to prevent items from rolling around the cabin or coming loose from their intended locker, I wanted to close off the aft ends of the v-berth to allow for more secure storage.  

I created templates of what would eventually become bulkheads, beginning with the starboard side.


I then completed the port side template.


Back in the shop, I laid the templates out onto 1/2" meranti plywood, traced the outlines and removed them from the material.


The bulkheads required a bit of fine tuning, but I quickly resolved them to their required dimensions. I checked for plumb - port bulkhead.


I repeated the shaping and fine tuning, and checked the starboard bulkhead for plumb.  With both bulkheads in place and plumb, I marked their outline on the hull itself, both forward and aft.  This would allow me to place a layer of thickened epoxy on the hull to help bed the bulkhead during installation.  I then wiped all surrounding surfaces down with acetone to prep for resin application.


Back in the shop, I prepared the lengths of 6" 1708 biaxial tape for the tabbing: four pieces at 20" in length, one on the forward and one on the aft side of each bulkhead.  Next, I mixed a small pot of resin and wet out the total surface of each bulkhead, and then the surface of the hull to prep for the bulkhead installation.   


I then mixed resin to wet out the tabbing material, the lengths of biaxial tape.  With the leftover resin, I thickened it with 406 colloidal silica and 407 low-density, and spread a layer along the hull where the bulkhead would touch it.  I placed the bulkhead into position, using a small tool to press the thickened epoxy into the gaps and clean up the excess.


With the bulkheads in place and the tabbing wet out, I then mixed more thickened epoxy resin and applied it to the forward and aft intersections of bulkhead and hull.  With the same small tool, I created a fillet along the length of the bulkhead-hull intersection.  This radius would allow the 1708 biaxial tabbing material to lay down without any voids forming, it would have continuous contact from bulkhead to hull.


I then applied the tabbing material to the forward and aft sides of the bulkhead.  This tabbing would strengthen the bulkheads installation by tying it onto the hull itself, spreading load across the length of the tabbing and up into the bulkhead - not that a low of load is expected for this little bulkhead.


I cleaned up the excess resin and then wrapped it up for the day.  It is likely that the next work session will involve sanding the recent epoxy work (no peel ply material was used), and then painting of the lockers prior to the v-berth final install.


Total Time Today: 5.75 hrs

Sunday, April 28, 2019

Finishing Mast Step, Strengthening Side Deck, and Applying Primer Guide Coat


April 28, 2019


I had a few hours today to tend to a few things that I had been itching to do for a couple weeks now.  So I carved out the time and, in the parlance of the south, "got'er done!"

There were concerning voids and cracked fiberglass laminate underneath the starboard side deck, at the transition from the coachroof's aft bulkhead and the cockpit.  I had built up new laminate around this area a couple months ago, but had missed completing the overall rebuild of the bottom skin.  In fact, with a visit from the owner to discuss the ongoing refit, his foot position while traversing from cockpit to foredeck was precisely placed in this area.  There was an audible flex, and I took note.  So, today would be the day.

I made my way over to the boat and solvent-washed the area that I had sanded just a few days prior.  I then took measurements of the areas to be repaired, took those measurements back to the shop, and then cut out a couple panels of 1708 biaxial.


While I had the 1708 biaxial out, I tackled the other project that I had on the day's to-do list.  I cut six 8" x 8" squares of 1708 biaxial to laminate onto the mast step - this would finish off the mast step, with just fairing left prior to primer.


I wet out the areas to be worked today with epoxy resin:  the two locations on the bottom skin of the starboard side deck and the mast step.  I then made my way back to the shop and wet out the side deck panels.  I first applied the new 1708 biaxial cloth to the side deck, and then finished it off with peel ply to cut down on sanding the interior.


I then applied a large panel to the underside of the old ice box that I had previously closed in with new bottom skin - core - and top skin.  I wanted to further tie in this repair to the original bottom skin laminate just forward of where the old ice box access had been located.  In the end I had to scrap the idea of applying peel ply here, as it was becoming increasingly obvious that I was about to make a huge mess.  I will have to water-wash this area and sand it prior to painting.


I returned to the shop to wet out the six 8" x 8" panels for the mast step.


I applied the six panels one at a time, ensuring that no air bubbles remained trapped between laminate layers.  


With the roughly 3/8" to 1/2" base of 1708 biaxial in place, I applied thickened epoxy to fill in the weave up on top and to also ease the transition around the sides of the base.  The thickened epoxy combination that I used was West System's 406 colloidal silica and 403 microfibers - having excellent gap-filling and bonding strength.


Finally, I further faired and eased the transitions around the mast step with a combination of 406 colloidal silica and 407 low-density fairing filler.


While  I was at the fairing task, I decided to mix another couple batches of the 406 and 407 combination, and fair out the entirety of the coachroof repair.  I had replaced the core material as it was suffering from water ingress and loss of structural integrity.  The mast step, over time and due to the wet core, had transformed into what I liked to refer to as the tank turret - a ~50 lb. hunk of stainless steel that, together with a steel supports below, was doing a not so great job of holding the mast in place.

I spread the fairing compound on with a large dry-wall knife in order to bridge a number of dips and valleys.  There will be more fairing and sanding to come here prior to paint.


Speaking of paint!  I had moved enough along on the balance of the boat that I was ready to get a "guide coat" of primer on.  Truth be told, I had a few reasons to get primer on some portions of the boat:  1. I really needed to get paint on to protect the cured epoxy resin from harmful UV damage, 2. I needed to help reveal small pinholes and voids that I was inevitably missing, 3. the application of primer would be a great first "guide coat" which would allow me to see areas that required a bit more fairing compound, and 4. I had some leftover Alex Seal 422 primer sitting around.

I mixed up the primer and converter in a 1:1 ratio, and stayed busy through the induction period by wiping down the surfaces to remove any dust or other contaminates prior to the paint application.  With the induction period over, I began rolling the paint on the aft deck.


I then worked my way froward through the cockpit and side decks - note that not all surfaces with in the cockpit were primed since some areas had obvious need for further fairing work.


I primed the bulkhead and coachroof around the companionway next.


Finally, I finished along the starboard side deck and cabin sides.  It was actually really nice to see the ugly fairing scars covered up with a monotone color applied.  My focus from here on out will be to get the balance of the fairing work finished, then sand and come back with a build primer to help further fill in the smallest of surface imperfections.  A finish primer will follow the build primer, and just prior to the topcoat paint application.


Total Time Today: 3.5 hrs

Saturday, April 27, 2019

Glassing in Old Thru-Hulls and Cockpit Well Drains


April 27, 2019


The aim today was to get the old thru-hulls closed in, as well as the cockpit drain holes that I had recently opened up by removing the scupper fittings.

I began by templating the layers of fiberglass that I would need in order to close in the various holes.


I laid out a sheet of plastic over the area to be repaired, marked the location, and then traced a pattern to be cut from the 1708 biaxial cloth I had back in the shop.  I marked the orientation of the layers of glass in order to ensure they would be applied as originally laid out.


I made my way around the boat, marking the four thru-hulls that would need to be closed in with laminations.


In a previous work session, I had ground tapers in the location of the old thru-hulls and followed the 12:1 taper rule radius of new fiberglass to width of existing laminate.


I then moved to the interior of the boat and marked for the laminate patches to be placed here, and started with the cockpit thru-hulls.


The port side was a solid laminate up through to the surface of the molded liner, while the starboard side contained a depression that would require more layers of glass to fill in.


I then moved up into the cockpit to create laminating patterns for the location of the recently removed drain fittings.  


We will be starting over in this area as well, with materials ordered in in transit.


I then moved forward in the interior of the boat, and created patterns for the location of the previously removed seacocks for the head.  The thru-hull fittings had been capped by a previous owner, so it was time to rid the boat of these. 


The new owner has elected not to reinstall a head with water intake and discharge, but rather go with a portable version since the boat would be used as a weekender / coastal cruiser.  These holes, along with the interior liner, will be completely glassed.


With all of my patterns created, I returned to the shop and cut the various layers of 1708 biaxial, making sure to keep things organized.


I began at the forward starboard thru-hull, and wet the surface out with resin.  I then proceeded to laminate the new 1708 biaxial cloth in place, bringing the surface up to relatively fairness with the surrounding liner.


I repeated the process on the port side, and then laid a layer of peel ply on top of the laminations.


I then moved back to the location of the cockpit well thru-hulls, and glassed those in.  I also sealed the surface with peel ply.


I moved up onto the cockpit well itself, and repeated the steps to glass in these holes.  I did apply a skim coat of thickened epoxy on each of these in addition.


Back outside, I moved around from old thru-hull location to location, and applied the laminating schedule to complete these repairs.  I began with the aft port thru-hull.  I wet the surface with resin and then apply a small amount of thickened epoxy to fill in the void between the interior fiberglass and the exterior surface of the hull.


I will no doubt need to come back and apply skim coats of thickened epoxy to bring the surfaces to fair.


I also applied the peel ply to these repairs, which will greatly reduce the need for sanding.


The forward starboard side of the boat was neglected for a few minutes, just enough time for things to begin kicking and preventing me from applying the final two layers of 1708 biaxial cloth.  Further laminating will have to wait until this repair cures and I can water-wash then sand it to prep for further laminations.  Happy with the progress, and much closer to paint!


Total Time Today: 4 hrs

July 29, 2020 The day had arrived!  Time to apply the name of the vessel...S/V Sea Hagg, hailing out of Key Largo (there's on...