July 1, 2020
Not being able to sleep, I turned out early in the morning and headed for the shop. There were some odds and ends that I needed to do to prep for coming work, so I decided to get straight into that. These were tasks tangibly associated with the boat but not to be billable hours. First task in the early morning hours was cutting bungs for the toe rails, aft cockpit trim, companionway threshold trim, bow cap, etc. I grabbed a few pieces of the teak scrap (offcuts), and proceeded to drill out bungs with the bung cutter heads on the small drill press. I ended up with a dozen 1/2" bungs, and quite a bag full of 3/8" bungs.
The other task for the morning was organizing and straightening up the shop. All of my boat projects tend to evolve into a disorganized shop, as I use this tool and that tool, and grab this part and that material...its a mess.

With my personnel tasks out of the way, the sun was just starting to illuminate the boat bay. I collected the needed tools and material and got to working on installing the port-side opening ports.
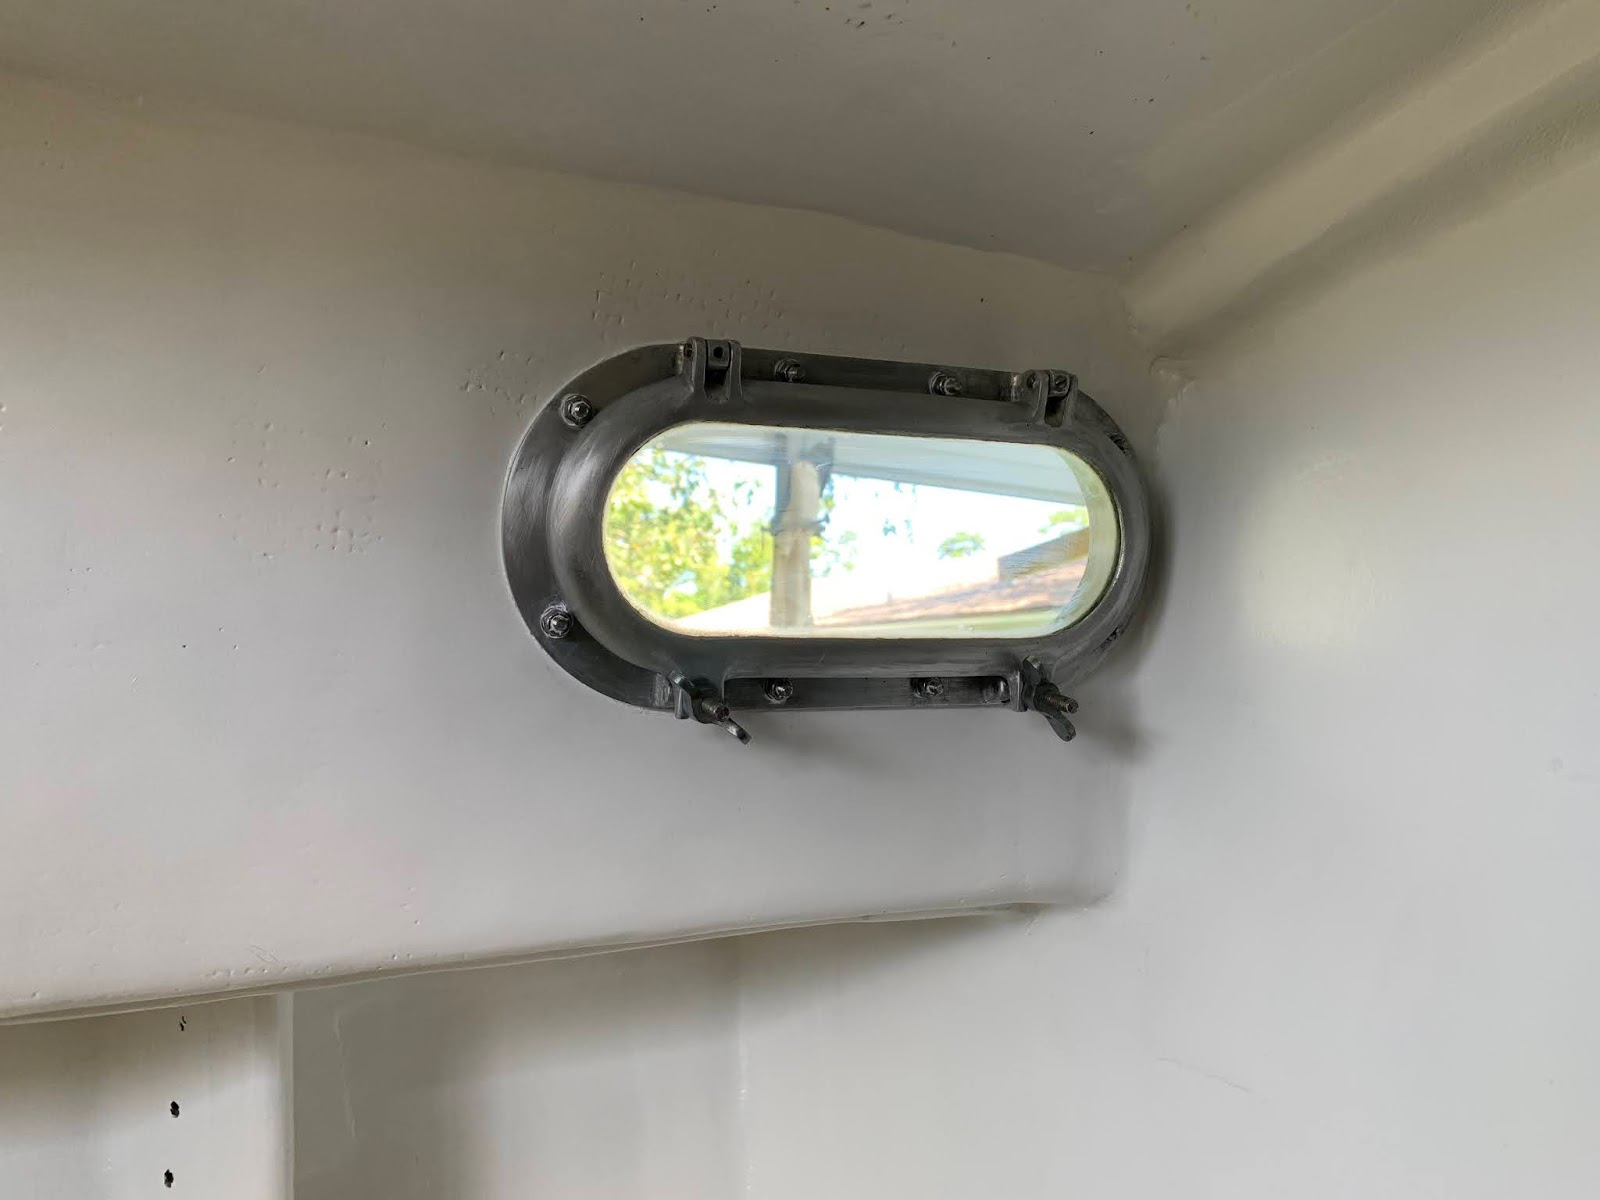
With Sitka-Flex 291 LOT, I applied a significant amount of bedding compound and then pushed the port frame in place. I also applied 291 LOT to the exterior flange and set it into position. I fastened the #10 machine screws from the outside, and then assembled the washers and nuts from the interior.

Using a screwdriver and a socket wrench, I secured each fastener, pulling the frame and flange tight onto the cabin side. I removed the excess squeeze out, and then cleaned the surfaces with mineral spirits.

Having glued up a base for a latch to keep the battery box / landing platform in an open position, I mounted said latch.

It seemed an appropriate time to go ahead and install the Torqueedo battery. I lugged the massive 48volt battery to the boat, heaved it up onto deck and into the cabin. I first slid the battery onto it supports - teak blocks with tabs to port and starboard as well as forward and aft. These tabs would keep the battery from moving to port, starboard, aft and to forward. I would also need to secure the battery from lifting off of its supports.

For that, I chose a couple straps that would tension onto itself, and also be threaded through the lateral strap slits - two on the starboard side and two on the port side.

The straps would hold the battery tight onto the battery supports and secured through these eyelits.

The battery box assembled, and 48volts all tucked away.

After lunch, I went right back to finishing the ports. I had just the port and starboard deadlights to complete. The starboard deadlight went in without and issue, and I was soon on to the port side deadlight. By this time I was pretty tired, having been working on or at the boat since 6am. With all of the fasteners in on the port deadlight, I made a fateful trip up out of the cockpit and onto the side deck...and ripped my foot across an exposed screw head! I could see the wound and significant amount of blood, so I quickly wrapped my foot in a towel, tapped it off....and without trying to be Hemingway, I completed the deadlight installation. I closed the shop and headed to the clinic, where an hour later I had 9 stitches in my foot. Pretty silly, but let's move on!

Total Time Today: 7.5 hrs


No comments:
Post a Comment