May 24, 2020
I picked up this afternoon where I had left off the previous day, which was working on the aft deck cleats and the nonskid surfaces. In the previous work session, I had marked for location and over-drilled and filled for the fasteners to secure the aft deck cleats. I sanded the thickened epoxy down to a relatively fair surface.

I started on the starboard side, and then repeated the effort for the port side cleat. I purposefully to the surface area of the filled over-drill areas to slightly concave as compared to the balance of the deck, knowing that I would finish off the prep with a skim coat of the TotalBoat TotalFair 2-part epoxy based fairing compound.

After thoroughly cleaning the deck surfaces, I mixed the two-part system and applied the fairing compound - starting on the starboard side.

I cleaned the surfaces on the port side and then applied the fairing compound. This particular two-part fairing compound is able to be sanded within hours of application, so knowing this I turned to the nonskid surface prep and would come back to this task towards the end of the work session.

I picked things back up on the port side of the boat, as it related to defining the nonskid surfaces. I began taping-off just forward of the port side coaming cubby, and moved forward from there.
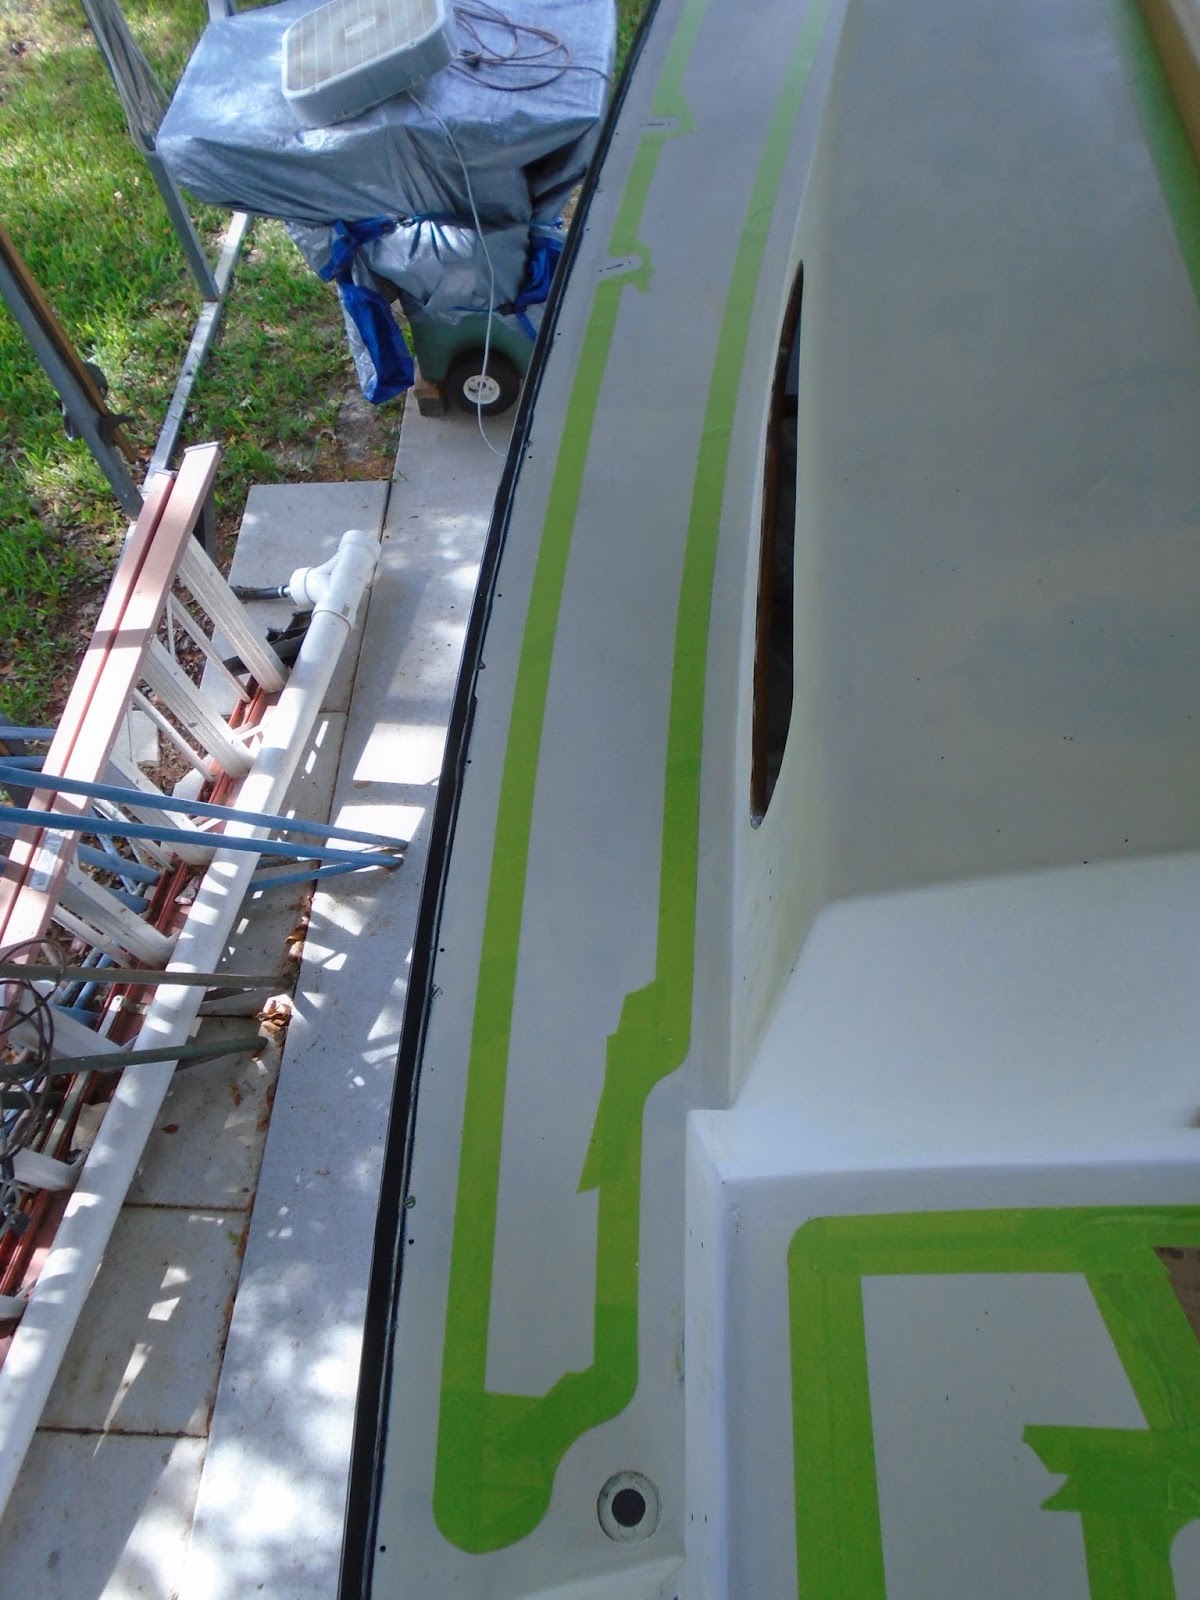
The detail work on the side decks were the chain plates, and got creative on the use of a carpenter's pencil sharpener to achieve the radius that provided the best aesthetic.

I worked my way to the bow, and laid out the foredeck nonskid. The basic design was a bifurcated port and starboard area of nonskid, offering balance, with a centerline area of glossy finish paint to include the bow cleat.

I then continued down the starboard side deck, again, taking time with the detail work around the chainplates.

I finished the decks with completing the starboard side deck just forward of the coaming cubby.

With the side decks completed, I moved up to the coachroof, on the starboard side. I used the same dimension reference of ~1.5" around the perimeter of structures and boundaries, but ran out of tape as I was about ready to make the turn on the port side companionway.

There is just a bit more nonskid surface layout remaining before turning to the application of the Alexseal topcoat paint for the deck / cockpit / and coachroof.

The two-part epoxy-based fairing compound was now ready for sanding, and so I brought the 5" orbital sander out with 180-grit discs to take the surface down to final fair. I started this time on the port side, and using the sander brought the surfaces fair to the surrounding deck surface.

Next, I set the port aft deck cleat in position and marked for drilling.
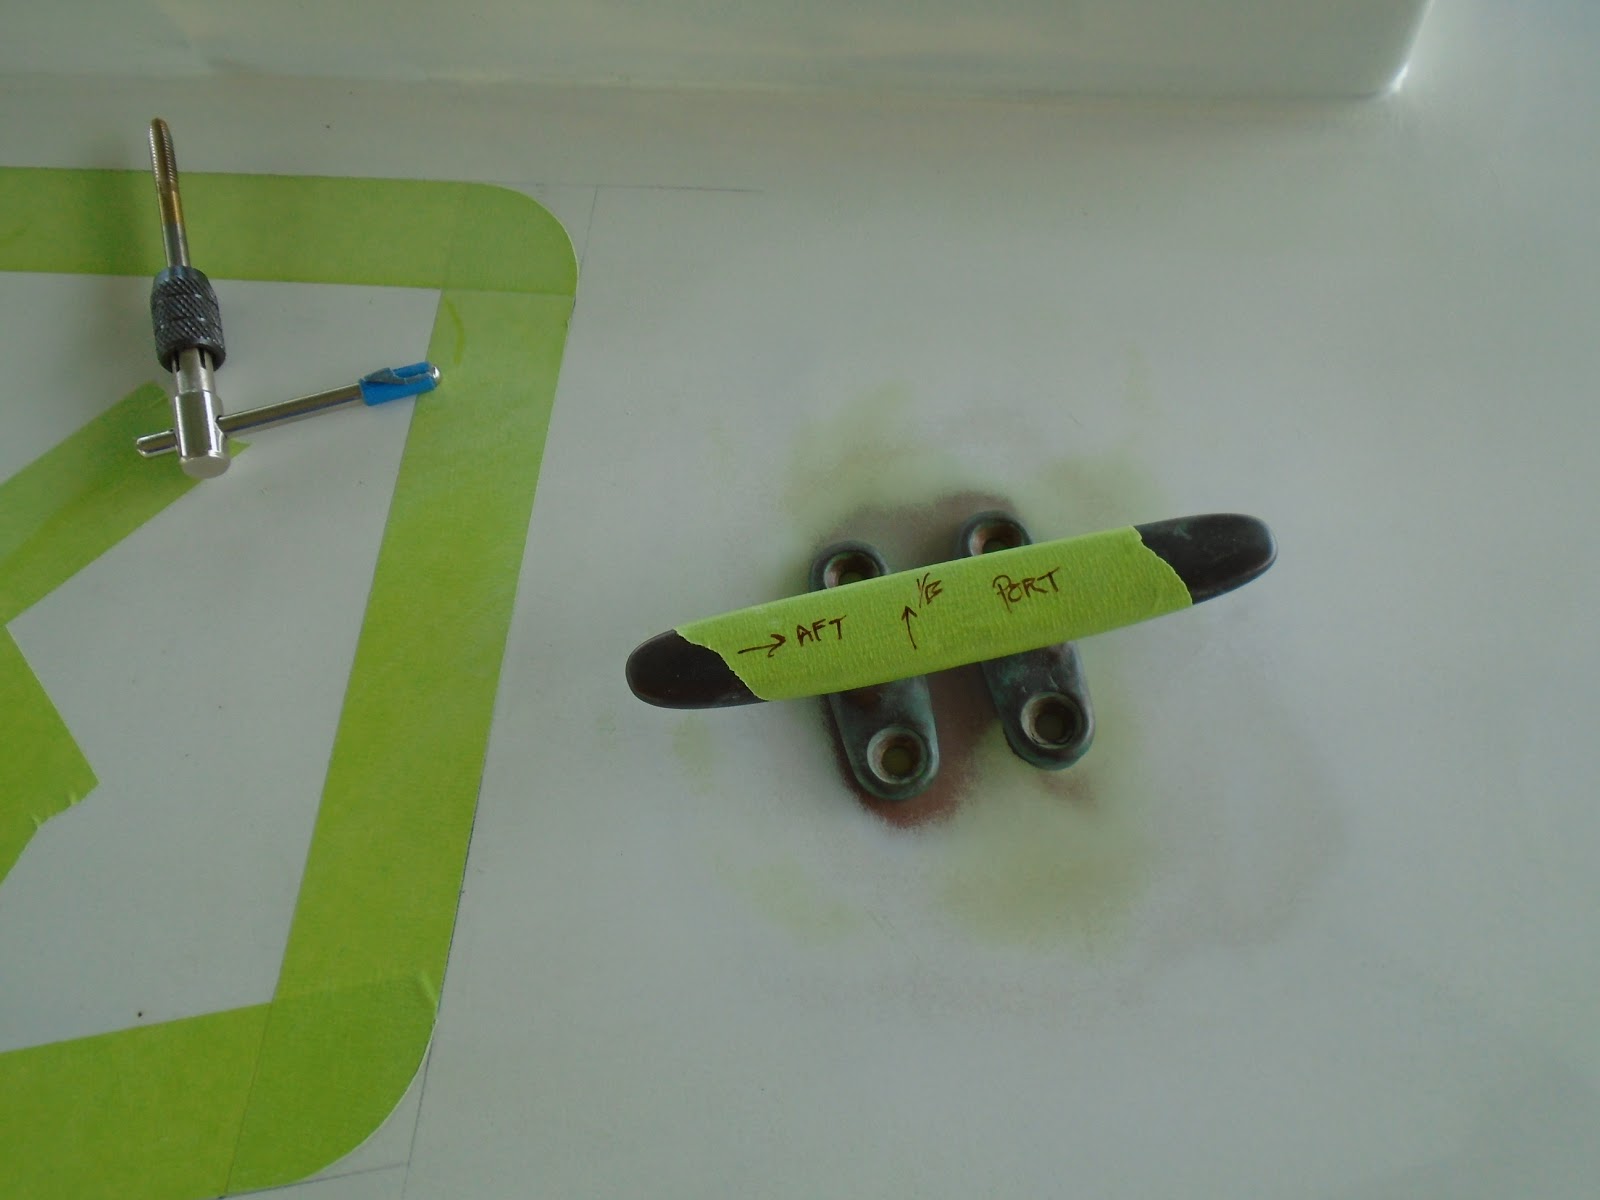
I selected the bit in order to drill and tap for 1/4" machine screws. I started with one of the four fasteners: drilled, tapped, and installed the machine screw with the cleat in place. I then moved to the opposite corner, and repeated those steps for that fastener. Again with the cleat in place, I completed the balance of the fasteners. This order of process ensured that the location for each fasteners was perfectly aligned with the cleat itself.

The port side completed, ready for a coat of primer.

I repeated the process that I outlined on the port side for the starboard cleat. Prior to the deck paint, I have a couple tasks left: repeating this aft deck cleat process for the foredeck cleat, and then priming these work areas.

Total Time Today: 4.75 hrs


No comments:
Post a Comment