April 17, 2020
The focus of today was to get the v-berth trim finished, or at least roughed in. When I refer to "roughed in", I mean that the dimensions of the individual trim pieces are cut so that they fit, but that rounding and smoothing of the edges still needs to take place. In addition, pre-drilling for fasteners, oiling the teak, and final installation would then follow the rough in.
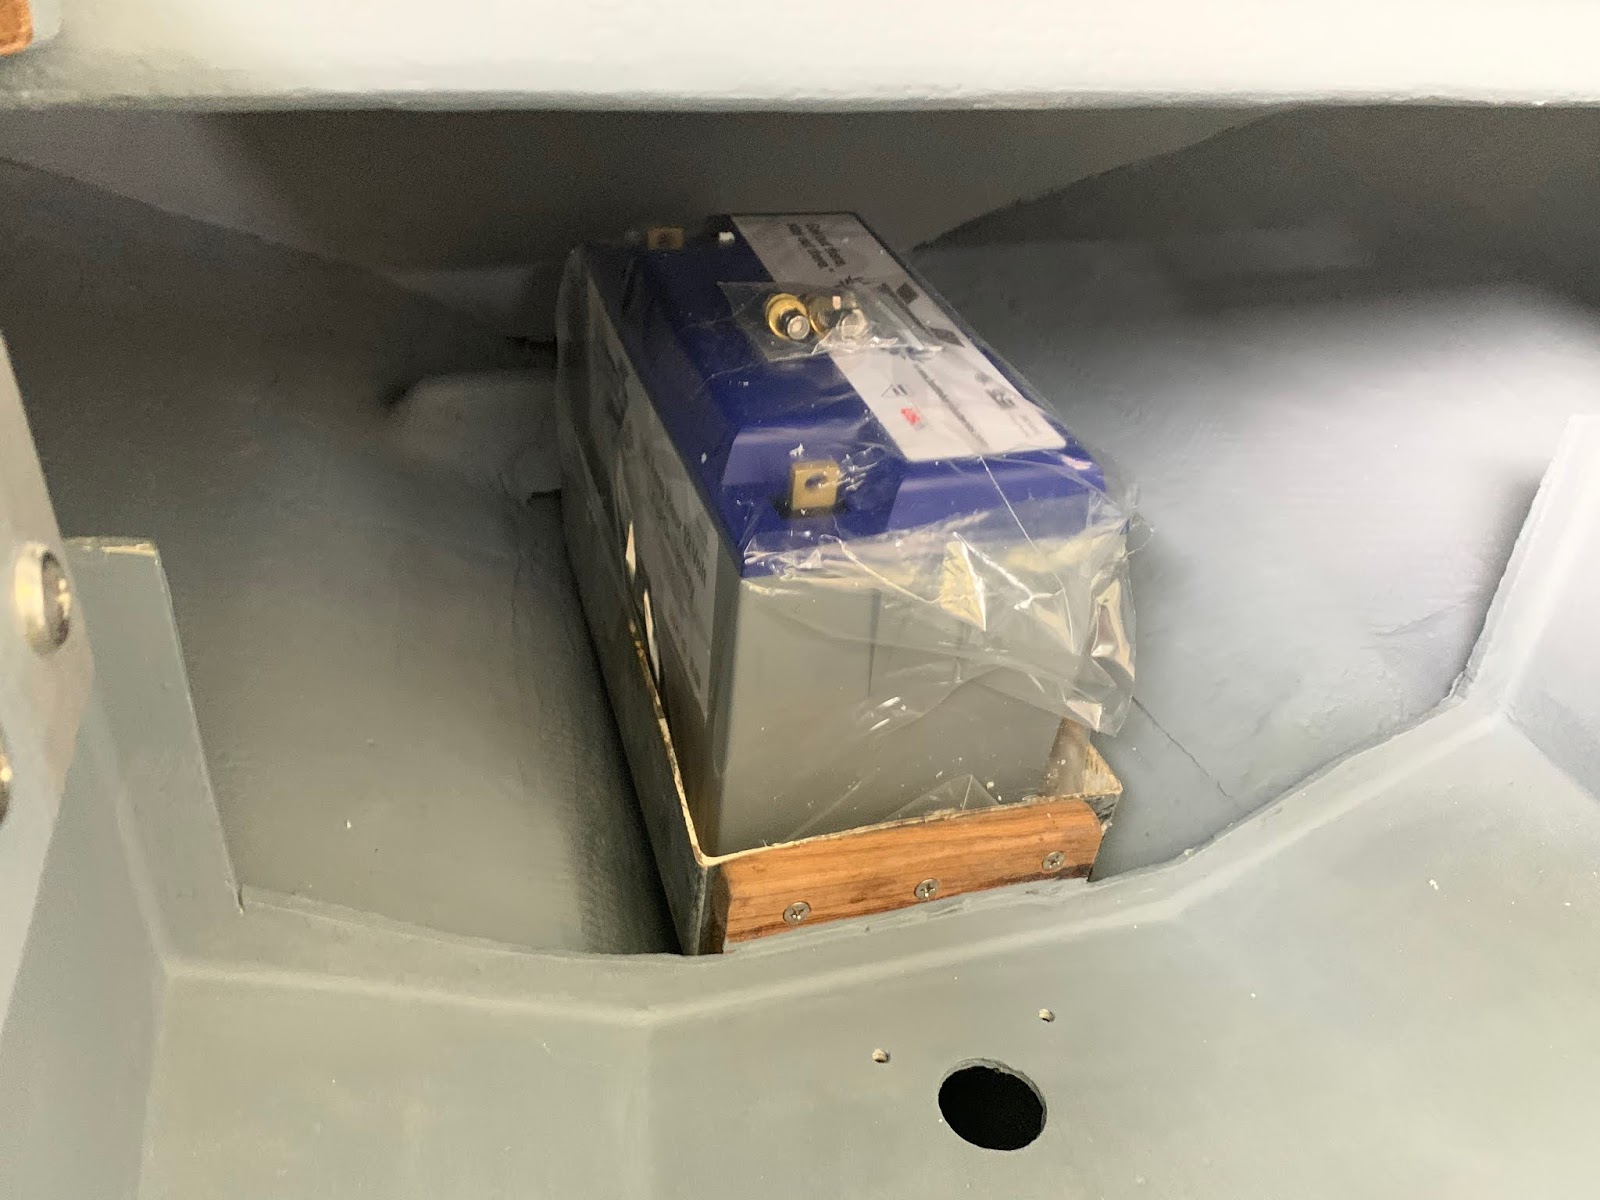
Prior to getting to the trim, I took a moment to test-fit the 12V battery in the newly installed battery tray. Granted, the location is not ideal; however, the light-weight lithium battery allows for easy installation and removal. Now, keep in mind that the Torqueedo 48V battery will be installed just forward of this 12V lithium ion battery, preventing ease of access. Since the lithium ion batteries are fairly maintenance-free, this solution will work.

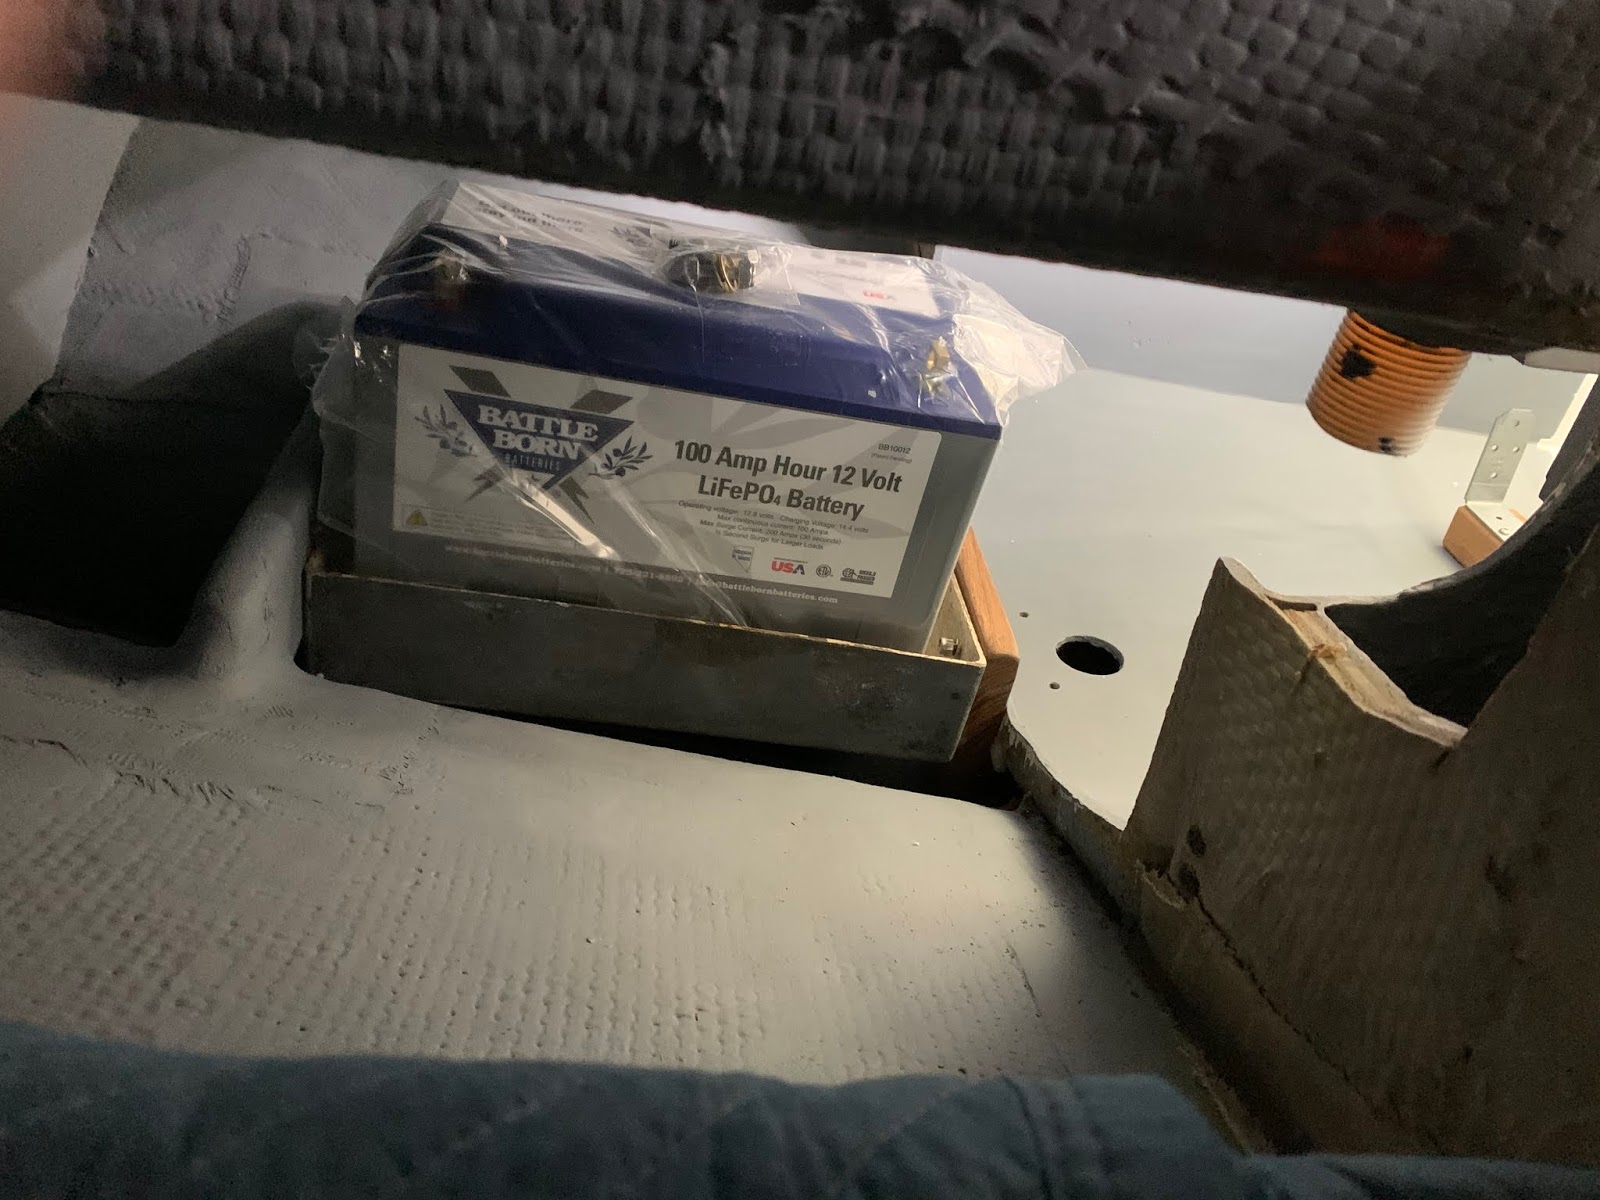
A close up of the battery in its tray, without restraints mind you.
If push comes to shove, and the battery required removal, it is light enough that the battery could be removed by rotating it out onto a towel, for example, and then pulled outboard far enough to pull into the starboard (or port) settee. Now for the trim...
I began by fabricating trim covering the intersection of the forward face of the primary bulkhead and the aft of the v-berth platform. This was fairly straight forward, and completed for both port and starboard sides. I then began on the trim for the inboard edge of the v-berth platform itself. I chose a 3" height, with 1" above the settee and 2" of rabbit to sit flush with the vertical surface of the v-berth itself.

I completed the starboard trim, covering the inboard edge of the v-berth...

...and then completed the port side. On both sides, I had obtuse angles to deal with for a tight fit, as well as having to notch in the athwartship trim boards, so I fiddle a bit until I was satisfied with the fit.

I worked my way forward to the location of the old head (removed, and through-hulls glassed in). This area had held a board to fill in the v-berth platform, and I wanted to replicate that for best use of space. With trim required to be consistent and aesthetic, and since I need the board to be removable, I could not then fasten the trim to the v-berth as that would prevent the board from lifting out. I would then need to fasten the trim pieces to the removable board itself. With the plan settled on, my next move was to cut a board to fit the space. I templated the space using hot-glut and a series of stir sticks (aka tongue depressors).

I carried the template back to the shop, transferred it to a piece of 3/4" meranti, and then removed it from the stock.

With a bit of minor dimensioning and sanding, I arrived at a good fit. My next issues was that the port cleat supporting the board was dropping in height as it moved from stern to bow. I removed the four screws, re-set its orientation, pre-drilled three new holes, and then reinstalled the cleat.

With the board in place and dimensioned, I began to fabricate the various trim pieces that would be fastened to it. Some where straight forward; some required hand-plaining.

In the end [of the day], I had 90% of the v-berth trim completed, or roughed in. I still would need to complete the aft pieces of trim on the removable board; small, 2.5" lengths of trim, but super finicky!

The interior is really beginning to come together.

Total Time Today: 5.25 hrs


No comments:
Post a Comment