January 5, 2020
I had intentions, upon arrival at the boat, to move straight into water-washing and sanding the fairing compound I applied the day previous. However, due to some lower overnight temperatures, I decided to push out the sanding and priming of the cockpit in order to give the epoxy fairing compound more time to fully cure. So instead, I turned my attention to one of the last items on the interior of the boat - the floor in the v-berth. This floor used to contain the head and two through-hulls (one for the seawater intake and one for the discharge of waster). When the boat came in to the yard, this space was occupied by a portable head (now in the rubbish), and the two through-hulls had been capped by a household/commercial type of pipe end-fitting.
I started by templated the space for the new floor. I choose a piece of scrap plywood that was the same thickness as the soon to be new meranti plywood. I then hot-glued a series of stir sticks (they are actually tongue depressors that I've been using for years now as stir sticks) to the plywood with the outboard edges just touching the fiberglass surfaces.

Back in the shop, I flipped the template over and laid it out onto the last sizable portion of 3/4" meranti that I had on hand. I transferred the outermost dimensions of the template onto the plywood...and essentially connected the dots. I paused for the moment on the new floor and moved back out to the boat.

I outlined and enlarged opening for the shallow space below the soon to be new floor, and with an oscillating tool cut the new opening. While I was down in this space, I re-sanded the surface of the bilge in order to reapply the gray barrier coat / bilge paint.

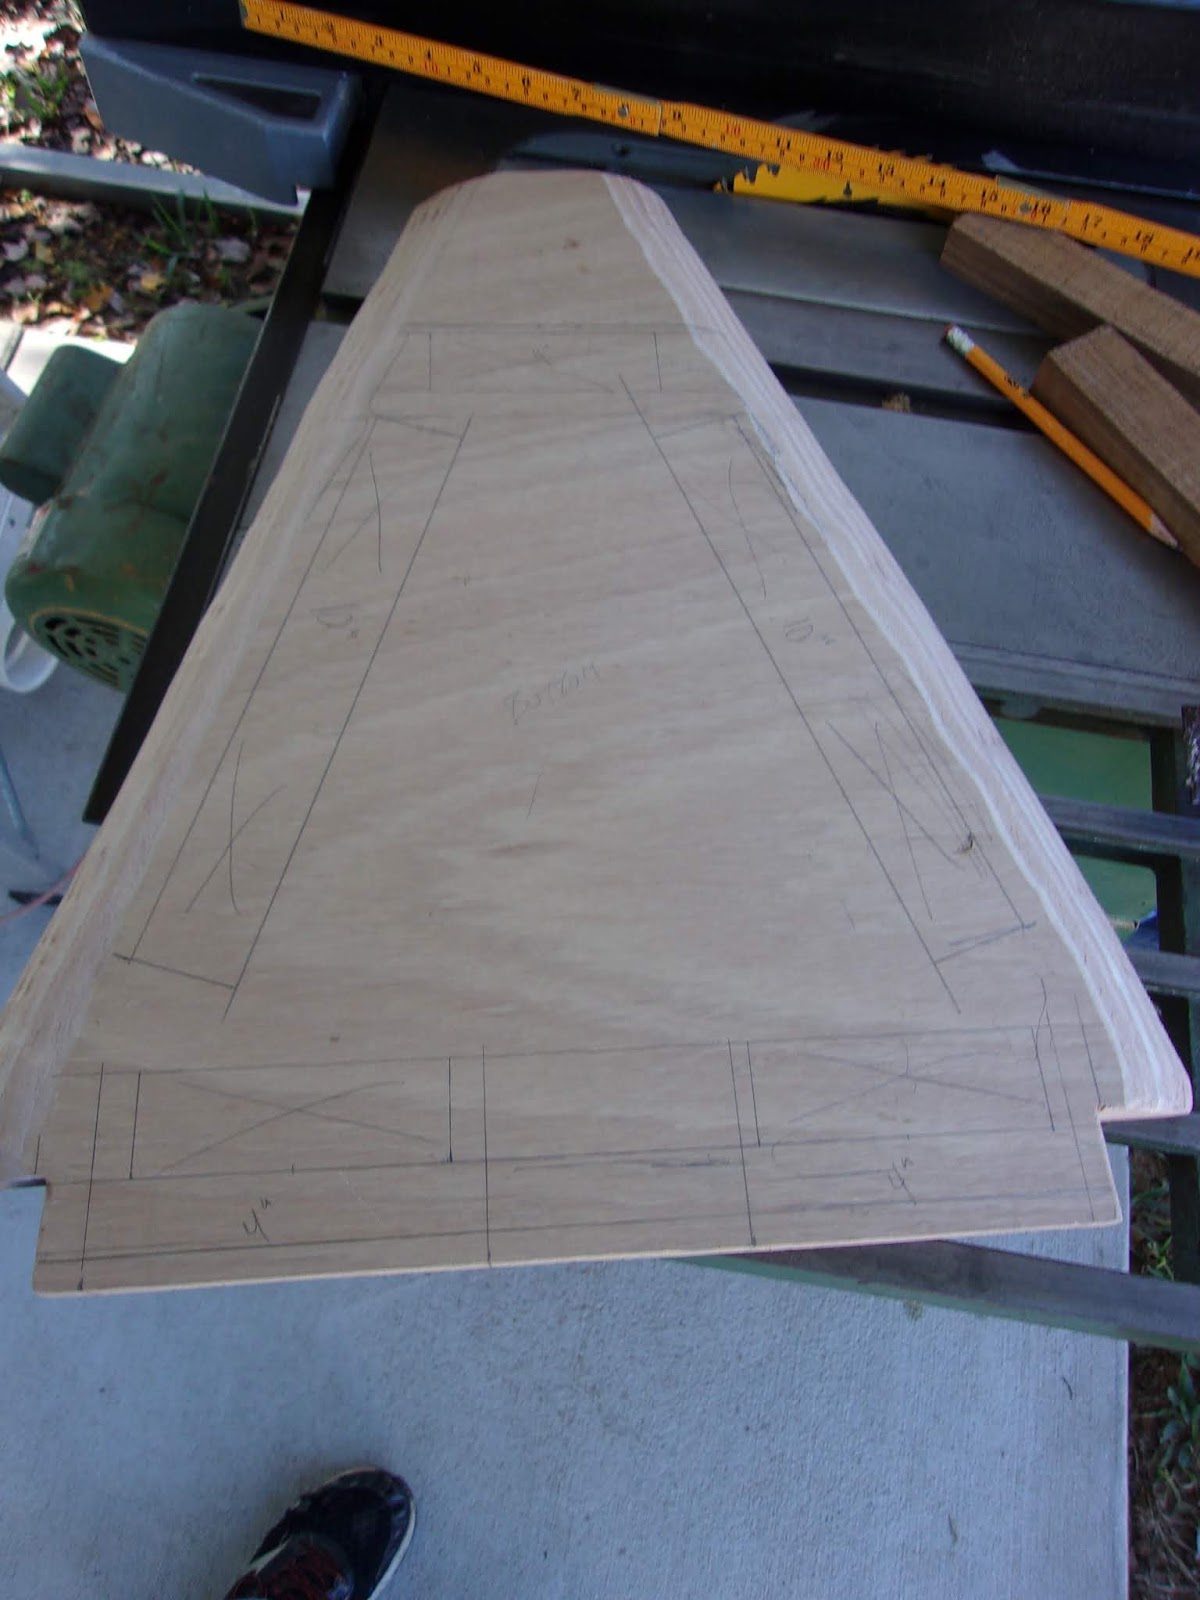
I undertook an iterative process of fitting-sanding-refitting the new floor until I was happy with the fit. I then used the access hole on the aft end of this small platform, with the incredibly short pencil seen below, to make some outline marks of the opening onto the bottom surface of the floor. The purpose here was two-fold: both to outline where the supporting cleats could be installed and then also where the access hatch could be cut out.

I made several marks on the bottom of the new floor for locations of cleats and the cut line for the access hatch.
I cut 5 lengths of teak to form the supportive cleat structure.

Finally, I cut out the access hatch.

After sanding and easing the edges of the floor and access hatch, I assembled for a test fit. The bottom of the floor would be sealed with epoxy resin and the bottom of the acmes hatch would be painted - both finished today.

Prior to installing the new floor I painted out the bilge space below, painting a couple spots that were tucked tight into corners that I could not reach with the smaller, previous access. I also renewed the majority of the bilge space with a new coat of paint. I had planned to install the cleats prior to tabbing the new floor in place, but due to a looming deadline today I got ahead of myself in the process. No worries though, as I will simply secure with epoxy glue and screws from the top surface of the floor and then finish the countersunk screw heads with fairing compound prior to primer and topcoat paint.

Total Time Today: 4.5 hrs


No comments:
Post a Comment