Monday, September 30, 2019

Building the Taff Rail


September 30, 2019


Having some time in the afternoon, I decided to get started on the taff rail - the aft most deck rail.  I began by templating the form of the deck, where it meets the hull.  The hull-to-deck joint on the Allied 24 consists of the hull with an inward flange and the deck simply placed on top of this flange, and through-bolted with machine screws, washers, and backing nuts.  


I also used the original taff rail as a template, lying it out onto a piece of fresh teak stock.  I used a combination of the original taff rail and the template taken off the aft deck to create a pattern to cut from the new teak board.  Happy with the transferred dimensions onto the new teak, I then cut out the new taff rail with a jigsaw.  I performed a number of fine-tuning techniques to arrive at a product that I was happy with - sanding by hand and tool, and planing by hand.


With the taff rail dimensioned and shaped, I now needed to remove most of the material on the bottom, to a quarter of an inch in depth, leaving a lip on the aft end of the taff rail.  The majority of the taff rail will rest on top of the deck, and the lower hanging lip will tuck tightly against the edge of the deck and the flange of the hull.  The drawing below shows the taff rail, flipped upside down, and its 1/4" lip.  What made this time-consuming and difficult was the compound curvature of the stern deck...but I managed through it.


I had my lovely snap a photo of the fit, as I am using both hands to conform the new taff rail over the stern of the boat - and its compound curve.  The toe rails will run through to the stern of the boat, with the taff rail between the toe rails.  Analogous to "these aren't the droids we're looking for," I say, "the hat he's wearing is not a pink one!"  


Total Time Today: 4 hrs

Sunday, September 29, 2019

Building the Toe Rails (Pt 2), and Caulking the Hatches


September 29, 2019


After running some morning errands, I began work close to noon and started with the toe rails once again.  At this point, the toe rails were cut to length and assigned to both port and starboard.  Today, I needed to cut a scarf joints on the ends were pieces would be glue together to create one continuous toe rail.  A scarf joint ( I decided to opt for a common scarf) is a angular cut made on one board and a parallel cut made on a second board to be glued together, creating a longer surface area for the glue contact.  I will be using epoxy to glue the boards together, and as a result the joint will be stronger than the natural wood toe rail. 

To accomplish this, I would need to create a scarf sled, or a board that locks into the channel of the table saw and has a cleat to which the toe rail sections could be clamped as the scarf joint was cut.  A typical scarf joint requires an 8:1 length to thickness ratio.  The toe rail is roughly an 1" thick, so the length of the scarf would be 8 inches.  I selected a scrap piece of plywood, with 90 degree corners, and laid out the angles.


I used a scrap piece of white oak to cut a rail that would fit snugly in the table saw channel.


The rail attached to the plywood scarfing sled.


On top of the scarfing sled, I attached a large cleat that would serve both as a point of contact for the toe rail sections to be clamped, but also as a handle that I could use to push the toe rail section into the blade.  The cleat's face to touch the toe rail section was planed, and then attached to the sled with screws.  The cleat was mounted such that it created the 8:1 cut required.


The first section of toe rail mounted on the scarfing sled, and cut!


I repeated this process for the two port rails and the two starboard rails.


When finished, I laid out the rails - both starboard and port - and took a measure on how much length I had with just the two boards per side.  Turns out, 19' and 5.75".  I would need to cut tails for both port and starboard to get to the required overall length bow to stern.


With the fifth board cut from the teak stock, I halved it and ran it through the same scarfing process.  Laying the toe rail sections out, I now had more than enough length for my needs.


Next, I moved on to cutting the rabbit in the underside of the toe rail sections to allow for the overlap from the outboard edge of the hull to the top of the deck.  The overall width of the rails is 1 and 3/8", with the rabbit being 1".  This 1" of material, 1/4" deep, would need to be removed from the bow to the stern.


I set up the router table to make several passes - with a straight-cutting bit - to remove the material for the rabbit.


This process took several passes, and then some finish work with the rabbiting plane and the hand plane.  Things came out well, with the toe rail section tops ready to be rounded over slightly and then the sections glued up.  I would wait on gluing them up until I had the decks and topsides primed, sanded, and ready for topcoat paint.


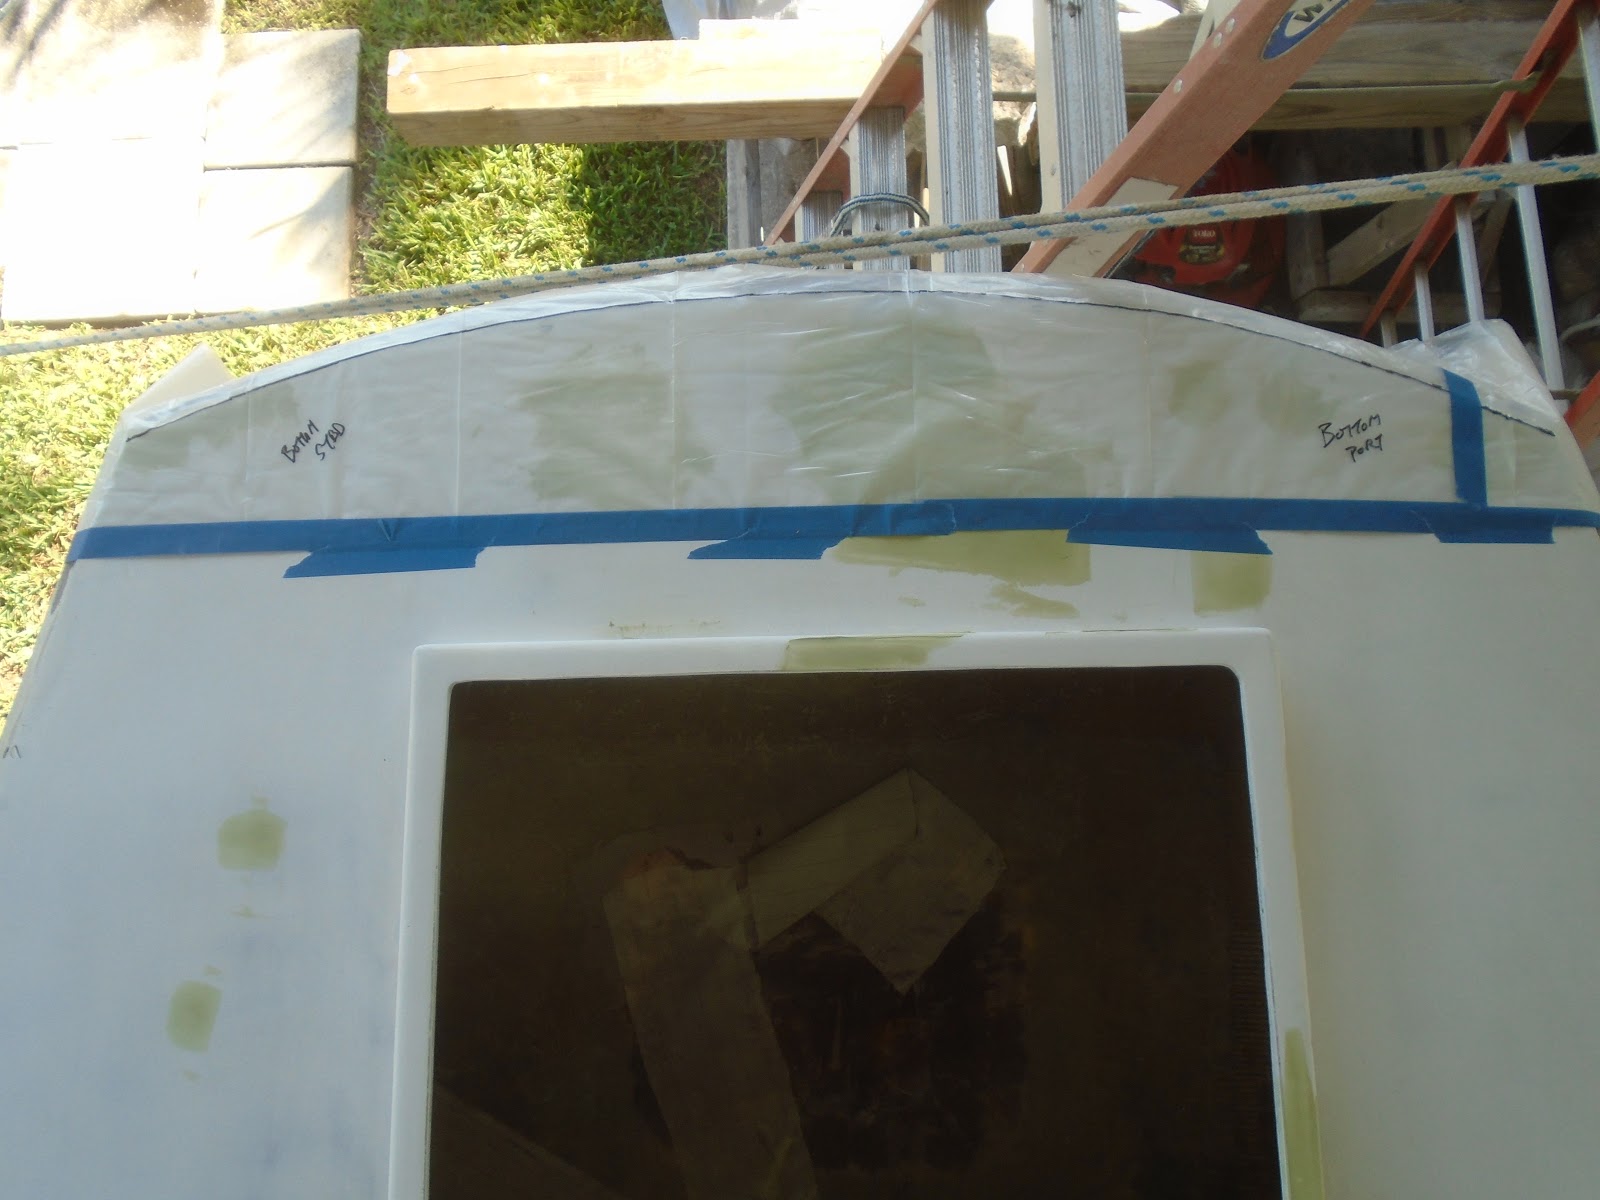
With the toe rails taken as far as I wanted, I then turned to caulking the hatches.  I am using BoatLife Teak Deck Sealant for this purpose.  To start, I lightly sanded the varnish sealer coat I applied several days ago.  Next, with compressed air I blew the dust off and then wiped the surface with acetone.


With the surface prepped, I then applied tape to protect the surrounding surfaces of the hatch from the messy teak deck sealant.


With both hatches ready, I began to apply the deck sealant from its caulking tube, squirting more than enough material in the grooves of the hatches.  As I completed one hatch, I used a plastic squeegee to force the teak deck sealant into the grove, pulling the squeegee across the surface.


As the deck sealant cures, I will remove the tape and come back to sand the application flush to the hatch top itself.  Several coats of varnish will follow to finish out the hatches.  I had but one tube of the teak deck sealant on hand, running out midway through the second hatch.  More on order.


I gathered the toe rail sections and set them to the side for safe keeping.


Total Time Today: 5.75 hrs

Saturday, September 28, 2019

Building the Toe Rails (Pt 1)


September 28, 2019


Having just arrived from a multi-day work trip, I spent some time with the family prior to getting to work on the Allied 24.  My focus today was to get the toe rails cut from the teak stock, and to apply the teak decking caulk to the forward and lazarette hatches; however, my available work time this afternoon would ultimately prove insufficient for the wish list I had.  In the end, I was able to get the toe rails dimensioned.

I grabbed the old rails and took some measurements off of them: 1 and 1/8" in height, by 1 and 3/8" width, the length being 23' and 5".

Based upon those measurements, I selected the board to be used: 8" in width, 1.5" in height, and 10' 2" in length.  On the table saw that I set up along side the boat, I ripped this board into 5 lengths measuring 1/4" more than the width and height dimensions.  This extra material would allow me to joint and plane to the final dimensions.  After I ripped the 5 pieces from the stock material, I laid them out in  a starboard - port arrangement that utilized the natural curve of the grain.  These two boards to port and two boards to starboard would allow for roughly 20' of the toe rail length, and would require that I scarf an aft section to make up the required length to the taff rail.


With the boards selected for port and starboard, I began the process of jointing and planing them to the final dimensions.  I performed this task one board at a time, using the calipers and a rule to gradually reduce material to the final dimension: 1 and 1/8" height by 1 and 3/8" width.  


The re-saw work was just too time consuming for me to get to the hatches, so I decided to push that to tomorrow.  The toe rails still require a rabbit to be cut into the bottom surface to fit tightly to the hull to deck joint, as well as some round overs on the outboard and inboard sides.  After these final shaping cuts are made I will cut scarf joints and glue them together.  


Total Time Today: 4 hrs

Monday, September 23, 2019

Building the Lazarette Hatch (Pt 4)


September 23, 2019


I wanted to keep things moving forward with the restoration, at least touching a bit everyday, barring any required travel.  So I grabbed the lazarette hatch to trim the excess material from patch that was protruding from the profile.  With the router and a flush cut bit, I trimmed the nearly all the excess away, leaving only a small amount that the round over bit would trim flush.


With the flush cutting bit having its pass, I replaced it with the round over and made another pass.  The repair was successful, and at least would add a bit of character to the aft hatch.


With a bit of hand sanding to blend the repair in, I called it successful.  I returned the tools and the hatch to the shop to prep for the sealer coat of Epifanes varnish.


I thoroughly wiped the surface with a rag and acetone to clear the surface of any remaining sanding residue.  I then prepared a small cup of varnish and thinner at a 1:1 ratio.  The highly thinned varnish penetrates deeply into the grain, serving to protect the wood along with the subsequent rounds of varnish.  Those subsequent rounds of varnish will be thinned only by 20% to 30%.


A picture of the starboard side of the hatch, with repaired area visible, but only slightly.  In the background, the forward hatch is just visible, and shows itself in a much darker hue of teak.  These natural materials are beautiful in their own right.


Total Time Today:  1 hr

Sunday, September 22, 2019

Building the Lazarette Hatch (Pt 3)


September 22, 2019


I started off the day by removing the clamps from the lazarette hatch frame and top, glued up in the previous work session.  With the router, and flush cut bit, I removed the overhanging material from the top.  With that complete, I outfitted the router with a 1/2" round-over bit and cut the profile desired.


In the process of removing the overhanging material (with the flush cutting bit), the guide bearing fell off and dug into the side of the hatch frame and top.  #$*@!  


Undeterred, I used a smaller flush cutting bit, set up with a fence to control the depth of cut, and removed the error from the side of the hatch.  I used a piece of teak from the same board used to make the hatch to prepare a patch to glue in.  I set this to the side for now.


Continuing with the task for the day, I used the small laminate router to cut the grooves in the hatch top (between the slats), to accept the black teak decking caulk.


I moved the hatch back over to the boat, along with a level and the compass. I had made the height of the hatch frame a bit higher than should be, to account for the camber in the deck. The excess material will no be removed by scribing the camber of the poop deck onto the lower portion of the hatch frame.


Back in the woof shop, I used the jigsaw to remove this excess material.  I then sanded the freshly cut area with 80-grit and 150-grit paper to smooth out any rough surfaces.  I also slight beveled the surface of the hatch frame that contacts the deck.  The fit was great....time to patch the hole.


I cleaned up the edges with a chisel, and thorough solvent-wiped the area to prep for expose work.


To protect the surrounding wood surface from unnecessary epoxy contact, I taped off the area around it.  I then solvent wiped the piece of teak to be used for the patch.  With all surfaces prepped, I wet out the surfaces tube glued together with epoxy resin.  With the balance of resin left in the cup, I thickened it with West System 406 colloidal silica.


I buttered the thickened epoxy onto the surface of the hatch and also onto the teak patch.  I then set the patch in place, and tapped it into position with a hammer.


I cleaned up any squeeze out, and removed the tape.  In the coming days, I will use the router to remove any excess material from the patch, and then seal with a thinned coat of varnish.


Total Time Today: 4 hrs

Saturday, September 21, 2019

Building the Forward Hatch (Pt 3), and the Lazarette Hatch (Pt 2)


September 21, 2019


From yesterday's glue-up of the lazarette hatch top, I disassembled the clamps and patchwork of weight used to hold things in place, and proceeded to clean up the surfaces.  There was ample epoxy squeeze out, suggesting that I had good surface contact on all critical joints.  I sanded the top and bottom with the Bosch 6" dual action sander with 80-grit discs.  With the surfaces cleaned up, I vacuumed and solvent-wiped them to remove the residual sanding dust.


I moved the work table back into the wood shop, and prepped for the hatch frame and top glue-up.  I wiped the surfaces to be glued together with acetone, and then mixed a small cup of epoxy resin.  I wet out those surfaces with the epoxy resin, and then mixed another small cup of resin, but this time thickened it with West System 406 colloidal silica.  After spreading a bit on the top of the hatch frame, I mounted the hatch frame and hatch top.  I applied clamps one at a time, working opposite sides as I went, and removing the epoxy squeeze out.  I ensured that my small reference lines were in contact with one another as I slowly tightened the clamps.  With the clamps secured, I cleaned the exterior of the hatch, wiping up the epoxy squeeze out, and then applied a fillet of thickened epoxy on the interior joints.  I set the lazarette hatch to the side to cure.


I moved back onto the forward hatch, with first selecting a flush cutting bit to remove the excess material from the hatch top - the overhang.


Using a piece of scrap lumber, I dialed in the round over profile that I wanted for the edge of the top of the hatch.  With the router bit set, I rounded the hatch top.


I moved the hatch over to the Allied 24 and set it in position.  With a wedge of wood, I found level for the hatch.


Using a small compass, I transferred the camber of the coach roof onto the hatch frame.  This would be the material that I would remove, allowing for a more low-profile appearance.


With a jigsaw, I carefully and slowly removed the excess material on the bottom of the hatch frame.  


I took the hatch back over to the boat, along with a pencil and various grits of sandpaper.  In an iterative process of marking the "high spots" on the underside of the hatch frame (where it contacts the coach roof), and then sanding these areas to remove the excess material, I eventually worked the hatch into a near mirror of the coach roof camber.


I stepped back, with the ladder, and snapped a couple photos.


Along with the balance of the new brightwork, the Allied 24 is going into her own!


I removed the hatch from the boat and headed back to the wood shop.  I grabbed some Epifanes clear  varnish, cut it 50/50 with Epifanes reducer, and applied a sealer/protective coat of varnish.  The hatch is not yet finished, as I have multiple layers of varnish to apply, but also the black teak decking caulk in between the slats that comprise the hatch top.


Total Time Today: 5.75 hrs

Friday, September 20, 2019

Building the Lazarette Hatch (Pt 2)


September 20, 2019


After removing the tape from the forward hatch frame and top glue-up, I could resist seeing the it atop the coachroof.  The hatch itself was riding a bit high since I have not yet transferred the camber of the coachroof to the hatch frame, and removed that excess material.


Nevertheless, the warmth of the teak has already done wonders for this old girl.


I tucked the forward hatch away for the time being and turned my attention to the lazarette hatch.  I removed the clamps from the hatch frame assembly, and then cleaned up the epoxy squeeze out by hand-sanding and using the small finish sander.


The remaining material from the teak I selected for the hatch frame would not get me the number of slats for the hatch top that I would need, and so I selected another teak board for re-sawing.  The width dimension I choose for the slats for the lazarette hatch was 1 and 7/8".  I set the table saw fence at 2", knowing that the jointing process would remove material down to the desired 1 and 7/8" width. I ran the teak stock over the table saw and secured the 13 2"-wide slats required.  The initial layout on the lazarette hatch frame showed promise!


I went through an iterative process of running the re-sawn slats through the planer, taking them from 1" in thickness to 3/4".  I then turned to the jointer.  I jointed both edges of the slats, by 1/16" of an inch, taking them to the desired 1 and 7/8".  With each of the slats fitting together nicely, edge to edge, I then flipped them over and ran the edges over the router table fixed with the chamfering bit.  The slight edge this gives me provides a great reference line to then run the small laminate router over, cutting the groove for the teak decking caulk.  Method to the madness!


Happy with the layout, I prepped the boards for epoxy resin.  I wiped the surfaces of the teak slats with acetone to remove the natural teal oils, and then set them out in their proper orientation.  I first wet out the edges to be glued up with epoxy resin (no thickener), and then came back with another small pot of epoxy, this time thickened with West System 406 colloidal silica.  I buttered a layer on each edge to be glue, clamped the boards on each side, and slowly tightened things up.  I made sure the boards were aligned on one end, and wiped up the initial epoxy squeeze out.  Next, I laid down another sheet of plastic on top of the hatch lid assembly, and then weighted the surface - excessively! As much as I could, I wiped the epoxy squeeze out as I further tightened the clamps.  That would conclude the day's work.


Total Time Today: 4.25 hrs

July 29, 2020 The day had arrived!  Time to apply the name of the vessel...S/V Sea Hagg, hailing out of Key Largo (there's on...