January 6, 2019
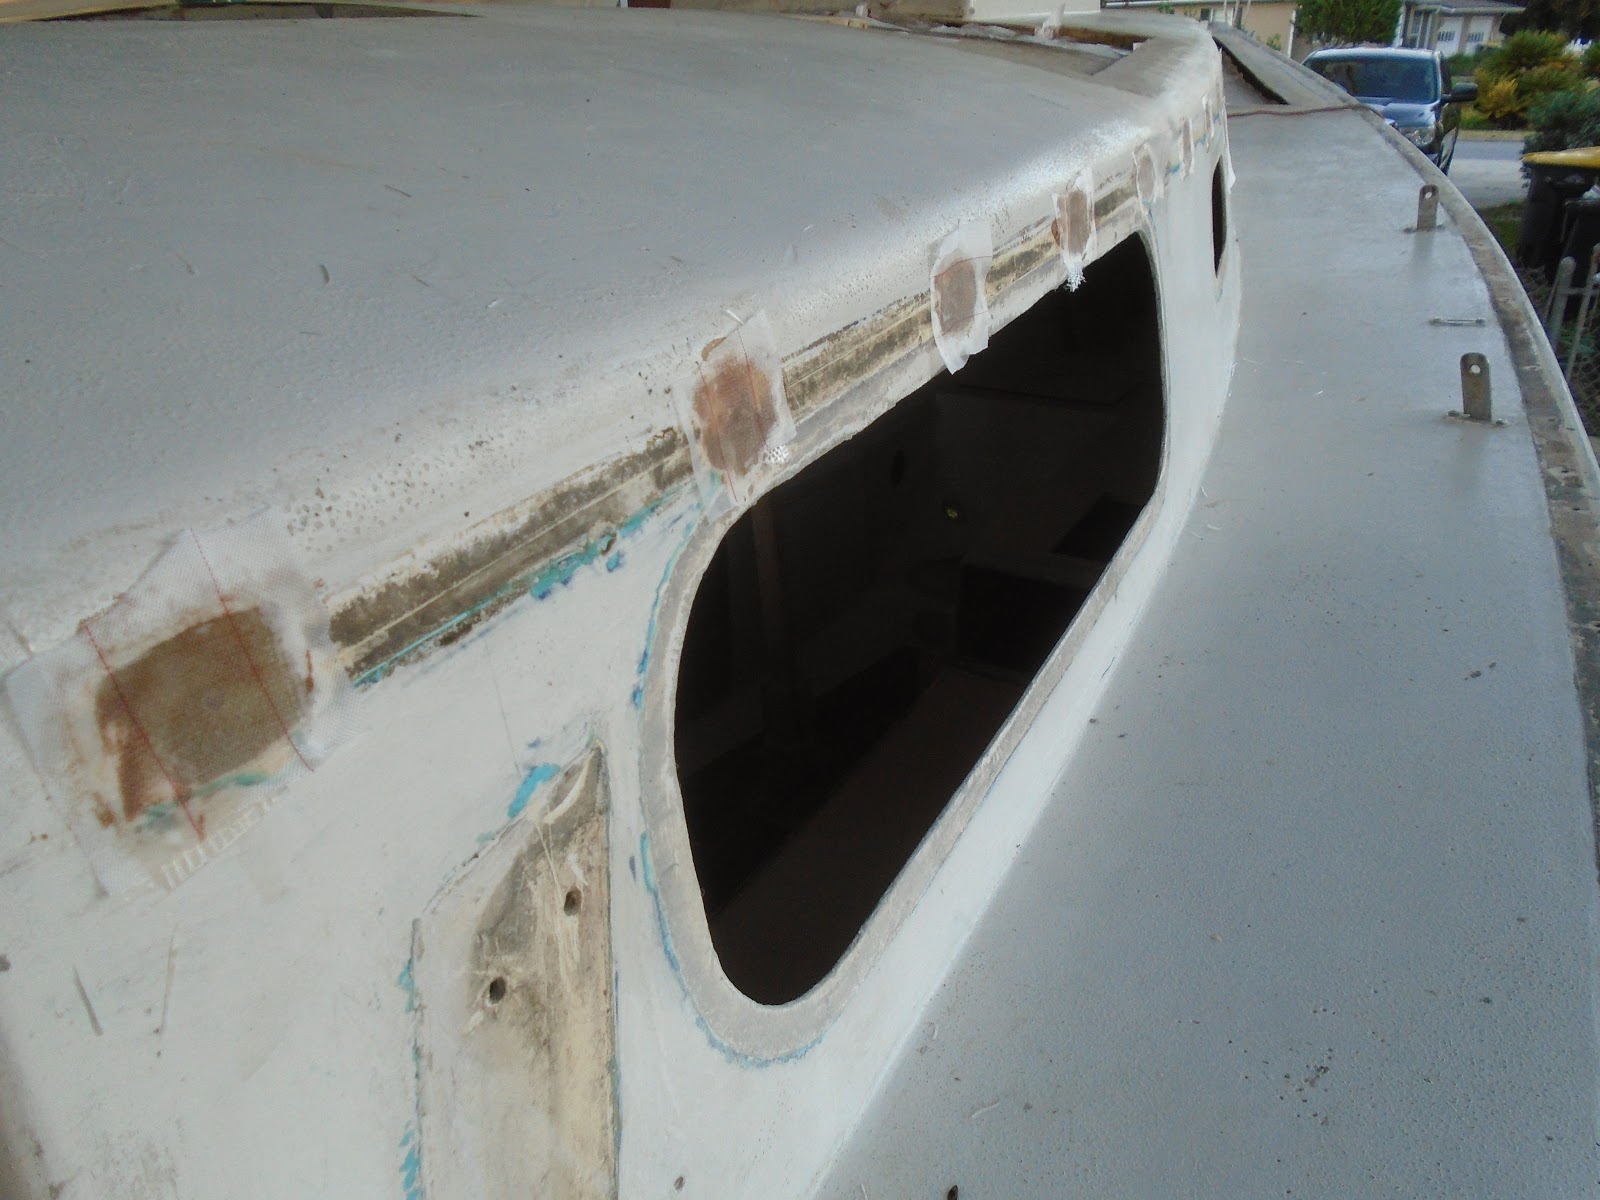
Continuing to close in the top skin of unnecessary holes, I tackled the coachroof today. I began by cleaning both sides of the openings with solvent, and then securing a bit of tape to the backside in order to prevent squeeze out of epoxy resin during the fill process.

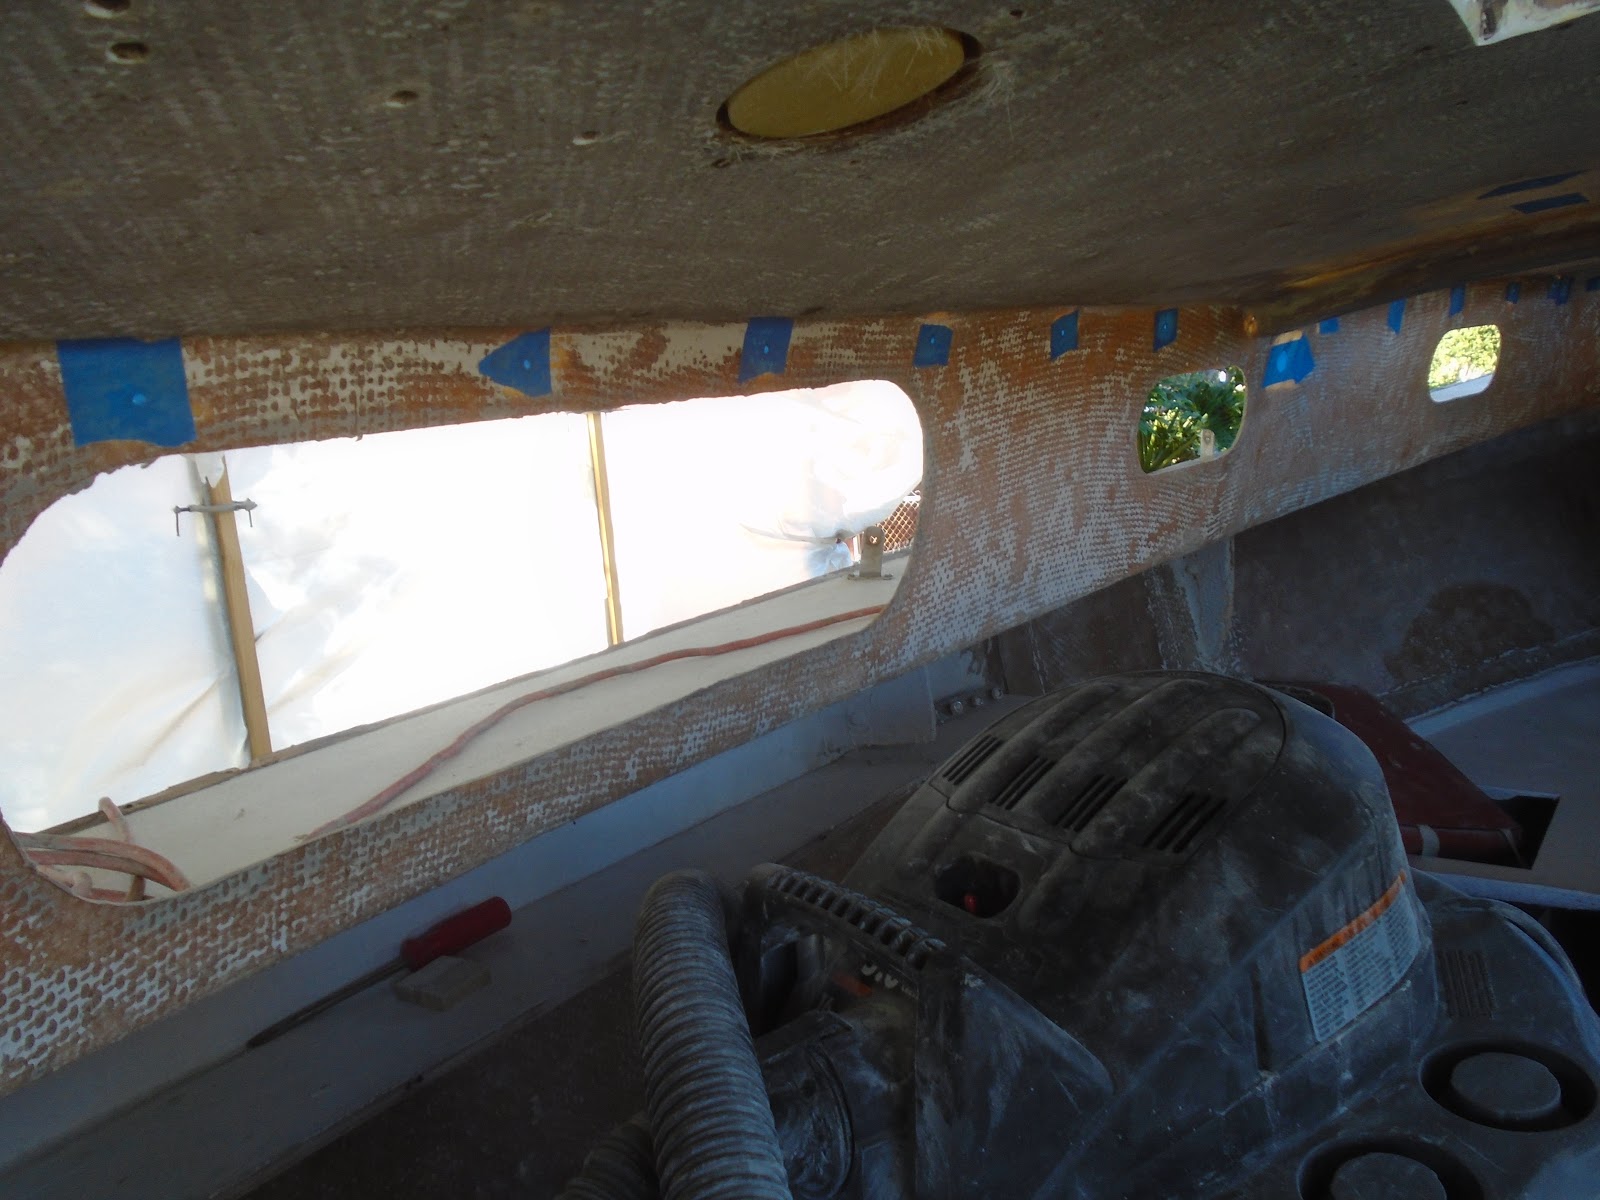
I made my way around the interior, from starboard to port and including the overhead, applying the tape.
My next step was to wet out the outside surfaces, which simply is painting on epoxy resin without any thickeners added to it. This process is to ensure I have good adhesion, a good chemical bond, throughout the work surfaces.

I then applied a thin film of epoxy resin, but this time thickened with a combination of West System's 406 colloidal silica and 407 low-density filler. I made sure to work the thickened epoxy into the cavity while also ensuring a thin smoothing layer across the surface.

With that finished, I then cut small patches of 6oz fiberglass cloth, and applied them to each of the prepared work areas. I pressed them in by hand, with gentle pressure, and then ensured that the weave in each of the patches was fully wet out, using a foam brush.

My final step was to apply a bit of peel ply, or release fabric, to each of the filled areas. This release fabric would prevent amine blush (a wax that forms of cured epoxy surfaces), and would also leave a textured surface ready for further laminating or fill work without having to clean and sand. This application of release fabric is a great time saver for me.

The work areas on the coachroof were the cabin sides, where the old eyebrow trim board was installed, working my way from starboard to forward and then back along the port side...
...as well as the coachroof itself, and finally the cabin's aft bulkhead.

Next step will be to pull the release fabric off, prep any areas that I suspect may have had amine blush from on the surface and then sand to create a textured surface that would promote a good mechanical resin bond, and then fill and fair the holes. General sanding off the deck will follow as well, but will come after I have filled the openings requiring closure.

Total Time Today: 2.5 hrs


No comments:
Post a Comment