September 29, 2018
After 8 weeks from a distal break of my ulna and radius, and with my injury sufficiently healed, I kicked off the restoration today. It was good to get back out there, as much physical as mental....plus, the Allied 24's owner is no doubt eager to see the project commence. Here we go!
My initial focus will be to remove the hardware and brightwork, from stern to bow. I began with the tiller. As can be seen in the picture, note the arrow, the aluminum tiller has a severe failure at the center through-bolt. I made note of the concern, and will address with the owner at a later date.

With the tiller removed, I could then gain access to the space beneath the cockpit and just forward of the aft-most bulkhead. I would like to noodle a bit on whether this "locker lid" can be removed while the tiller is installed. The aft portion of the tiller and the aft cockpit bulkhead is too tight a space for this locker lid to be removed. Perhaps a side project to come.

With the tiller removed, I turned my attention to the port cockpit locker, and removal of the battery, batter charge controller, and other miscellaneous electrical items.

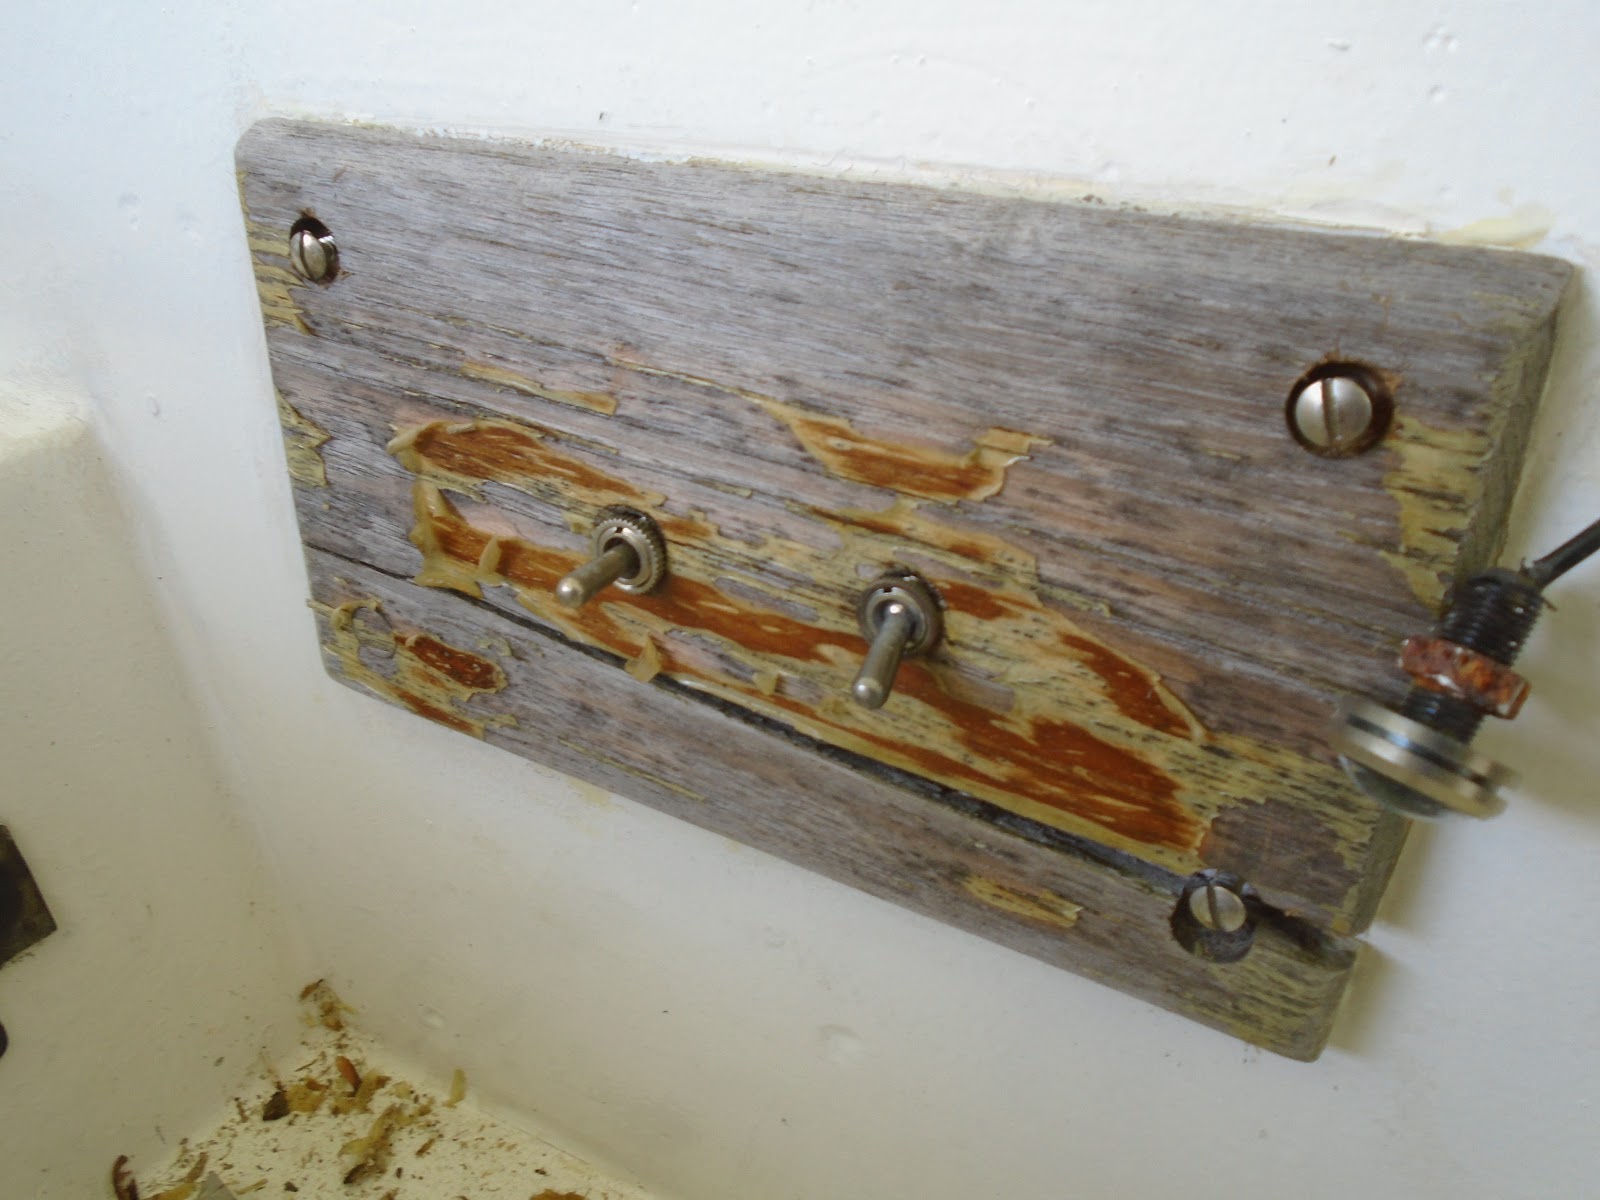
I removed a teak plate serving to mount a couple switches, as well as covering a hole that at one time housed the previous version.
The port cockpit locker was now free of the haphazardly contrived heart of the boat's electrics - household 12/2 wire and all!

I chased down the bilge pump and the shore power connection while I was at it, pulled the battery and the charge control module (below left), and scrapped the wiring and miscellaneous
(below right).

With the port and starboard cockpit lockers free of the clutter they were forced to endure, I turned my attention to the poop deck. I first set out to remove the lazarette hatch. I removed four machine screws and backing nuts per hinge - two total - and set the hatch to the side.

As can be seen to the forward port corner, the raised lip of the lazarette hatch will need some glass work to repair damage. My next task was to work on the hardware removal on the poop deck, cleats and chocks. Both the cleats and the chocks are bronze and in good shape, and will definitely need to be reinstalled on the Allied 24

I began on the starboard side, attached a pair of locking pliers on the nuts underneath the deck, and with a large flathead driver unscrewed the 1/4-20 bronze machine screws. The chock was secured with two machine screws and the cleat with four.

Working from starboard to port, my next piece of hardware following the starboard chock and cleat was the aft chainplate. The chainplate was held fast to the stern with 5 stainless bolts, secured within the lazarette with washers and nuts. All bolts were removed without issue.

My initial thoughts on the aft chainplate is that the plate has too much length, and could be shortened up a bit with at the same time widening the plate a bit.

With the chainplate removed, I then moved on to the port chock and cleat and repeated the starboard removal exercise.

Next in my sights was the mainsheet traveler.

The mainsheet traveler was secured with wood screws only, so removal was easy and straightforward.

I then removed the aft cockpit trim on which the traveler was mounted. Again, the trim was secured with wood screws, but they were hidden beneath bungs. The bungs were removed with relative ease, and the screws followed without issue.

The next obvious go-to was the starboard coaming. The coaming was held secure with 9 1/4-20 bronze screws. The aft four screws provided great access to the backing nuts via the cockpit locker. Moving forward, the ice box presented a bit more of a boat-yoga exercise. In the end, I was successful in removing the starboard coaming.

The port side offered a few stubborn backing nuts, but I eventually prevailed. The forward space beneath the cockpit was open on the port side, and made for easier access to the backing nuts. She eventually loosened her grip and was persuaded to part from the molded fiberglass coaming.

And with that, I called it a day...a first day! It was good to see forward progress on the Allied 24!

Total Time Today: 5.5 hrs


No comments:
Post a Comment