Sunday, September 30, 2018

Removing Hardware & Brightwork (Part 2)


September 30, 2018


I picked where I had left off in the previous day's work session - removing more hardware and brightwork.  My focus today would be the coach roof / cabin top, and companionway trim.  My first task was an easy one - removing the stainless steel companionway hatch slide rails.  The rails were secured by eight wood screws  and one machine screw backed with a nut, per side.


With the slide hatch rails removed, I got to work on removing the wood frame for the slide hatch.  The overhead in the boat was thick paint on a coarse weave, almost a roving, for the bottom fiberglass skin.  As a result of the unevenness of the overheard, the screw heads were a bit difficult to find, and when I found them I had to apply a cordless drill mounted wire wheel to remove the gobs of paint.


With the screw heads exposed and cleaned,  I removed the starboard teak rail.


I moved to the forward piece of trim for the companionway.  I faced the same issue with having to clean the screw heads, but once that was complete the screws backed out fairly easily.


Upon "peeling" off the forward companionway trim board, I was left with a sticky goo of mysterious origins.  The further I get into the refit, the more I am seeing that resembles "I'm out of time, so I'll just slap this together!"


I repeated the exercise for the port slide hatch teak trim and stainless steel slide rail.  This restoration will include all new brightwork across the boat, and I intent to lower the profile of the slide hatch trim.  The old rails just seemed a bit too high in proportion to the cabin top, but that's a few weeks out.  Next, I moved forward to remove the mast step, err, tank turret?  This thing is a monster!


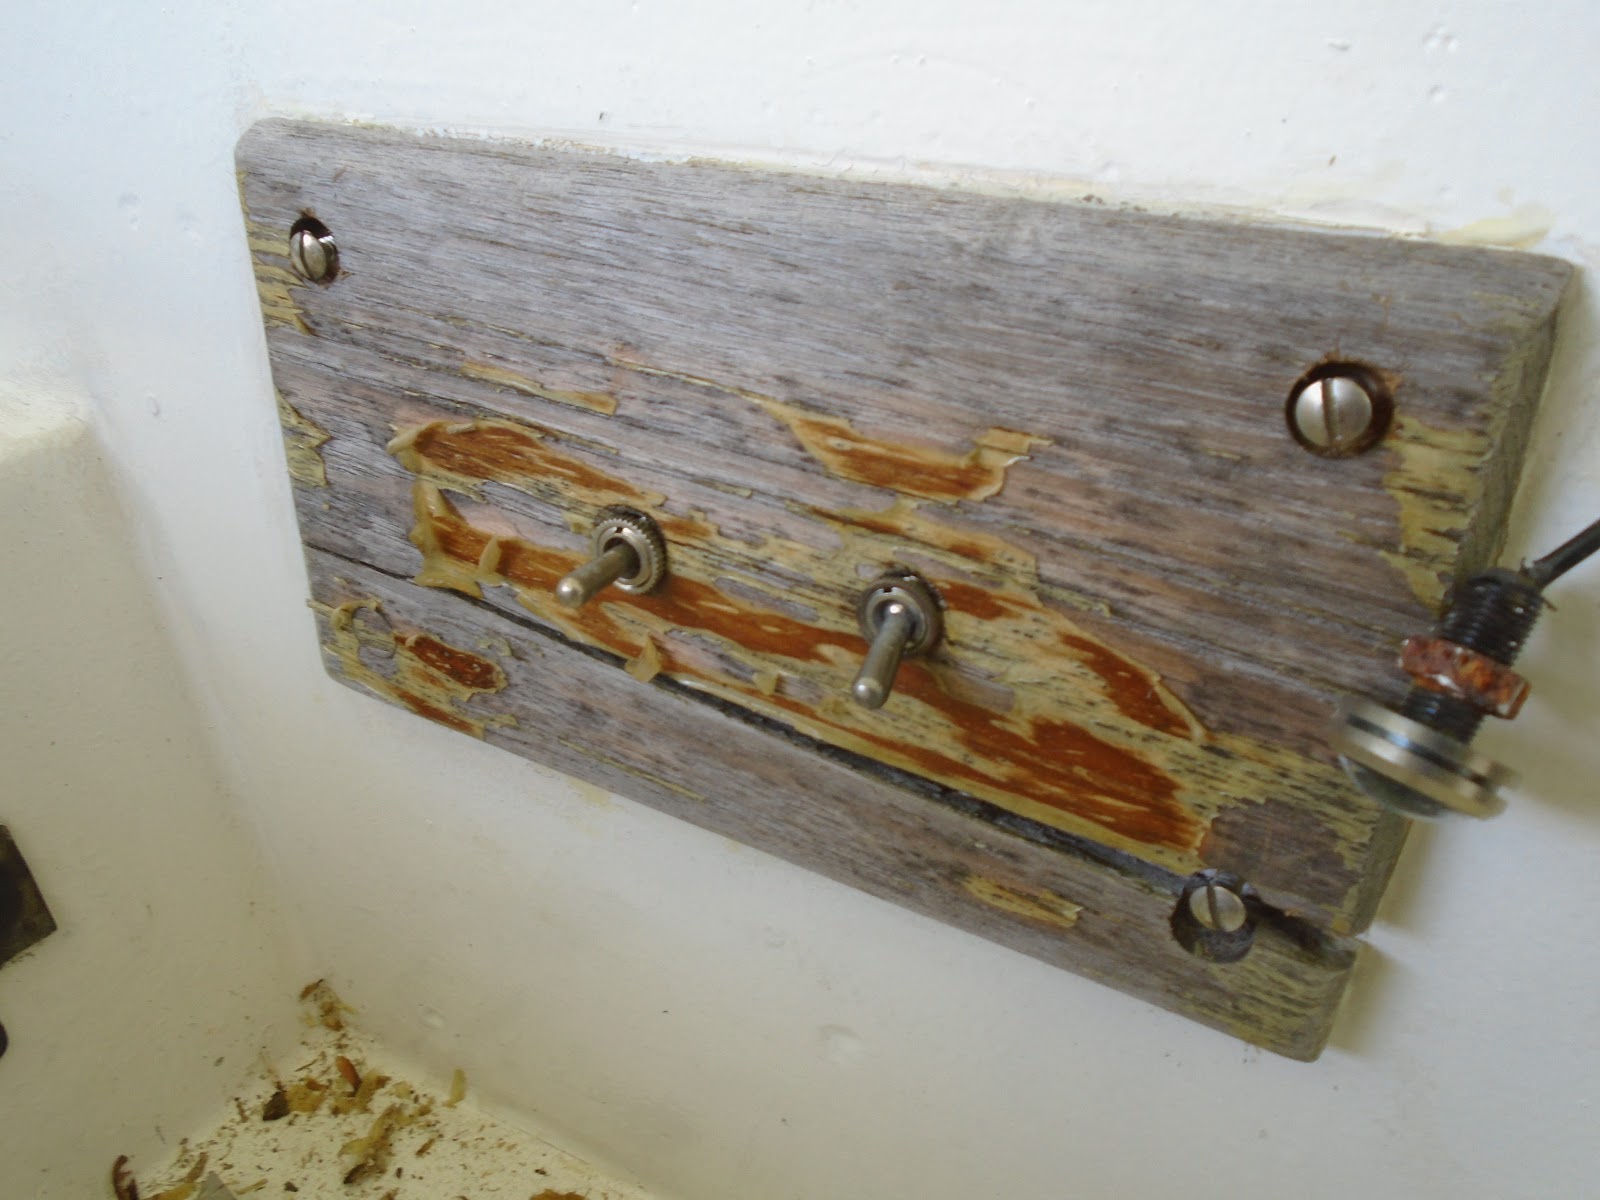
With a socket wrench up top...


...and a pair of locking pliers below, I managed to remove most of the through-bolts.


I progressed forward to the through-bolts just aft of the forward hatch, and then realized that space constraints were going to force me to remove the hatch before the last four bolts could be extracted.


I removed the clevis pins connecting the hinge components, and the removed the hatch.  I then removed the deck-mounted portion of the hatch hinge since these were through-bolted and would require removal prior to the mast step being removed.


I then removed the remaining four through-bolts on the forward section of the mast step.  Thankfully the mast step installer did not lay it down in a goopy puddle of 5200, but it was still tough getting her to break up with the coach roof deck.  I inserted several flathead screwdrivers underneath the mast step, and slowly the bond was broken.


I likely will not worry about taking the time to clean this material off since core work will be required here...across most of the cabin top.  There is deck compression in this space, so a thorough rebuild of the cabin top is required, along with new primary bulkheads and potentially a mast support beam spanning the new bulkheads....more to come.


With the tank turret safely on the ground, I set about disassembling the balance of the companionway trim.  The photo below shows a good example of questionable construction/reconstruction.  You can just make out the exposed balsa core between the top and bottom skin of the cabin top construction.  This will be corrected through the restoration.  The picture below also shows the post-removal of the vertical companionway trim, and also exposing the edge of a piece of plywood apparently installed to strengthen the bulkhead.  This too will be remedied. 


I them removed the companionway trim just above the bridge deck.


With the trim removed, I set out to remove those plywood panels.  They were secured with four machine screws, backed with nuts.  No adhesive was used to bond the panels to the existing fiberglass bulkhead.  With the starboard panel removed, I turned to the port.


The port was also secured with four machine screws and backing nuts.   My plan for the existing ~3/8" thick fiberglass bulkhead includes bonding balsa core on the interior and laying up glass over the core to add further strength and thickness.


Finally, I vacuumed the exterior and interior of the boat and generally organized the items removed.


Total Time Today:  3.25 hrs

Saturday, September 29, 2018

Removing Hardware & Brightwork (Part 1)


September 29, 2018


After 8 weeks from a distal break of my ulna and radius, and with my injury sufficiently healed, I kicked off the restoration today.  It was good to get back out there, as much physical as mental....plus, the Allied 24's owner is no doubt eager to see the project commence.  Here we go!

  My initial focus will be to remove the hardware and brightwork, from stern to bow.  I began with the tiller.  As can be seen in the picture, note the arrow, the aluminum tiller has a severe failure at the center through-bolt.  I made note of the concern, and will address with the owner at a later date.


With the tiller removed, I could then gain access to the space beneath the cockpit and just forward of the aft-most bulkhead.  I would like to noodle a bit on whether this "locker lid" can be removed while the tiller is installed.  The aft portion of the tiller and the aft cockpit bulkhead is too tight a space for this locker lid to be removed.  Perhaps a side project to come.


With the tiller removed, I turned my attention to the port cockpit locker, and removal of the battery, batter charge controller, and other miscellaneous electrical items.


I removed a teak plate serving to mount a couple switches, as well as covering a hole that at one time housed the previous version.


The port cockpit locker was now free of the haphazardly contrived heart of the boat's electrics - household 12/2 wire and all!


I chased down the bilge pump and the shore power connection while I was at it, pulled the battery and the charge control module (below left), and scrapped the wiring and miscellaneous
 (below right).


With the port and starboard cockpit lockers free of the clutter they were forced to endure, I turned my attention to the poop deck.  I first set out to remove the lazarette hatch.  I removed four machine screws and backing nuts per hinge - two total - and set the hatch to the side.


As can be seen to the forward port corner, the raised lip of the lazarette hatch will need some glass work to repair damage.  My next task was to work on the hardware removal on the poop deck, cleats and chocks.  Both the cleats and the chocks are bronze and in good shape, and will definitely need to be reinstalled on the Allied 24


I began on the starboard side, attached a pair of locking pliers on the nuts underneath the deck, and with a large flathead driver unscrewed the 1/4-20 bronze machine screws.  The chock was secured with two machine screws and the cleat with four.   


Working from starboard to port, my next piece of hardware following the starboard chock and cleat was the aft chainplate.  The chainplate was held fast to the stern with 5 stainless bolts, secured within the lazarette with washers and nuts.  All bolts were removed without issue.


My initial thoughts on the aft chainplate is that the plate has too much length, and could be shortened up a bit with at the same time widening the plate a bit.


With the chainplate removed, I then moved on to the port chock and cleat and repeated the starboard removal exercise.


Next in my sights was the mainsheet traveler.  


The mainsheet traveler was secured with wood screws only, so removal was easy and straightforward.


I then removed the aft cockpit trim on which the traveler was mounted.  Again, the trim was secured with wood screws, but they were hidden beneath bungs.  The bungs were removed with relative ease, and the screws followed without issue.


The next obvious go-to was the starboard coaming.  The coaming was held secure with 9 1/4-20 bronze screws.  The aft four screws provided great access to the backing nuts via the cockpit locker.  Moving forward, the ice box presented a bit more of a boat-yoga exercise.  In the end, I was successful in removing the starboard coaming.


The port side offered a few stubborn backing nuts, but I eventually prevailed. The forward space beneath the cockpit was open on the port side, and made for easier access to the backing nuts.  She eventually loosened her grip and was persuaded to part from the molded fiberglass coaming.


And with that, I called it a day...a first day!  It was good to see forward progress on the Allied 24!  


Total Time Today: 5.5 hrs

Thursday, September 6, 2018

Materials List for Brightwork, Bulkheads & Misc.


September 6, 2018


In the last few days, I scampered across the decks of the Allied 24, took measurements of all the brightwork to be replaced - which is 100% of it - and turned those measurements into a working materials list for the teak stock necessary for fabrication of new brightwork.  From bow to stern, she's getting all new teak on the exterior.  The list also includes a few sheets of meranti plywood, from which I will be pulling new primary bulkheads as well as general interior construction panels.  Delivery is estimated to be the 19th of the month, and will coincide with an on site meeting with the owner and the rigger to go over scope of work for the rig.


Total Time Today: 0 hrs

July 29, 2020 The day had arrived!  Time to apply the name of the vessel...S/V Sea Hagg, hailing out of Key Largo (there's on...