July 23, 2020
I managed to get over to the shop in the late afternoon to make repairs to the port side coaming block cap. The cap was damaged in the process of other work being performed on the boat, but the silver lining was that the break was clean and could easily be solved with the application of thickened epoxy and clamps.
I cleaned the surfaces of the two pieces with acetone to remove any residual teak oils, and then wet those same surfaces with neat epoxy (not thickened). With the remaining epoxy in the cup, I added a combination of 406 colloidal silica and teak wood flour (fine sanding dust that I collected after sanding many board feet of teak). I applied this thickened mixture, now more or less the color of teak, to the break and then clamped the pieces together securely. I added clamps to the sides as well as to the top and bottom. Installation to come in a day, or two.

While I was at the shop, I collected some of the older 1/4"-20 silicone bronze machine screws from when I deconstructed her deck hardware. I cleaned the usable pieces up for use in the installation of the winch cleats. These winch cleats would be used to secure the jib lines as they are sheeted in.
At the boat, I made a paper template for the location of the starboard cleat, and having symmetry between the port and starboard winch pads meant I could simply flip the template for the port installation. I marked the location for the starboard cleat's fasteners on the template, and then drilled for two of the four, opposite of one another. I drove the two 1/4" fasteners into these holes to secure the cleat, and then drilled the remaining two fastener holes.
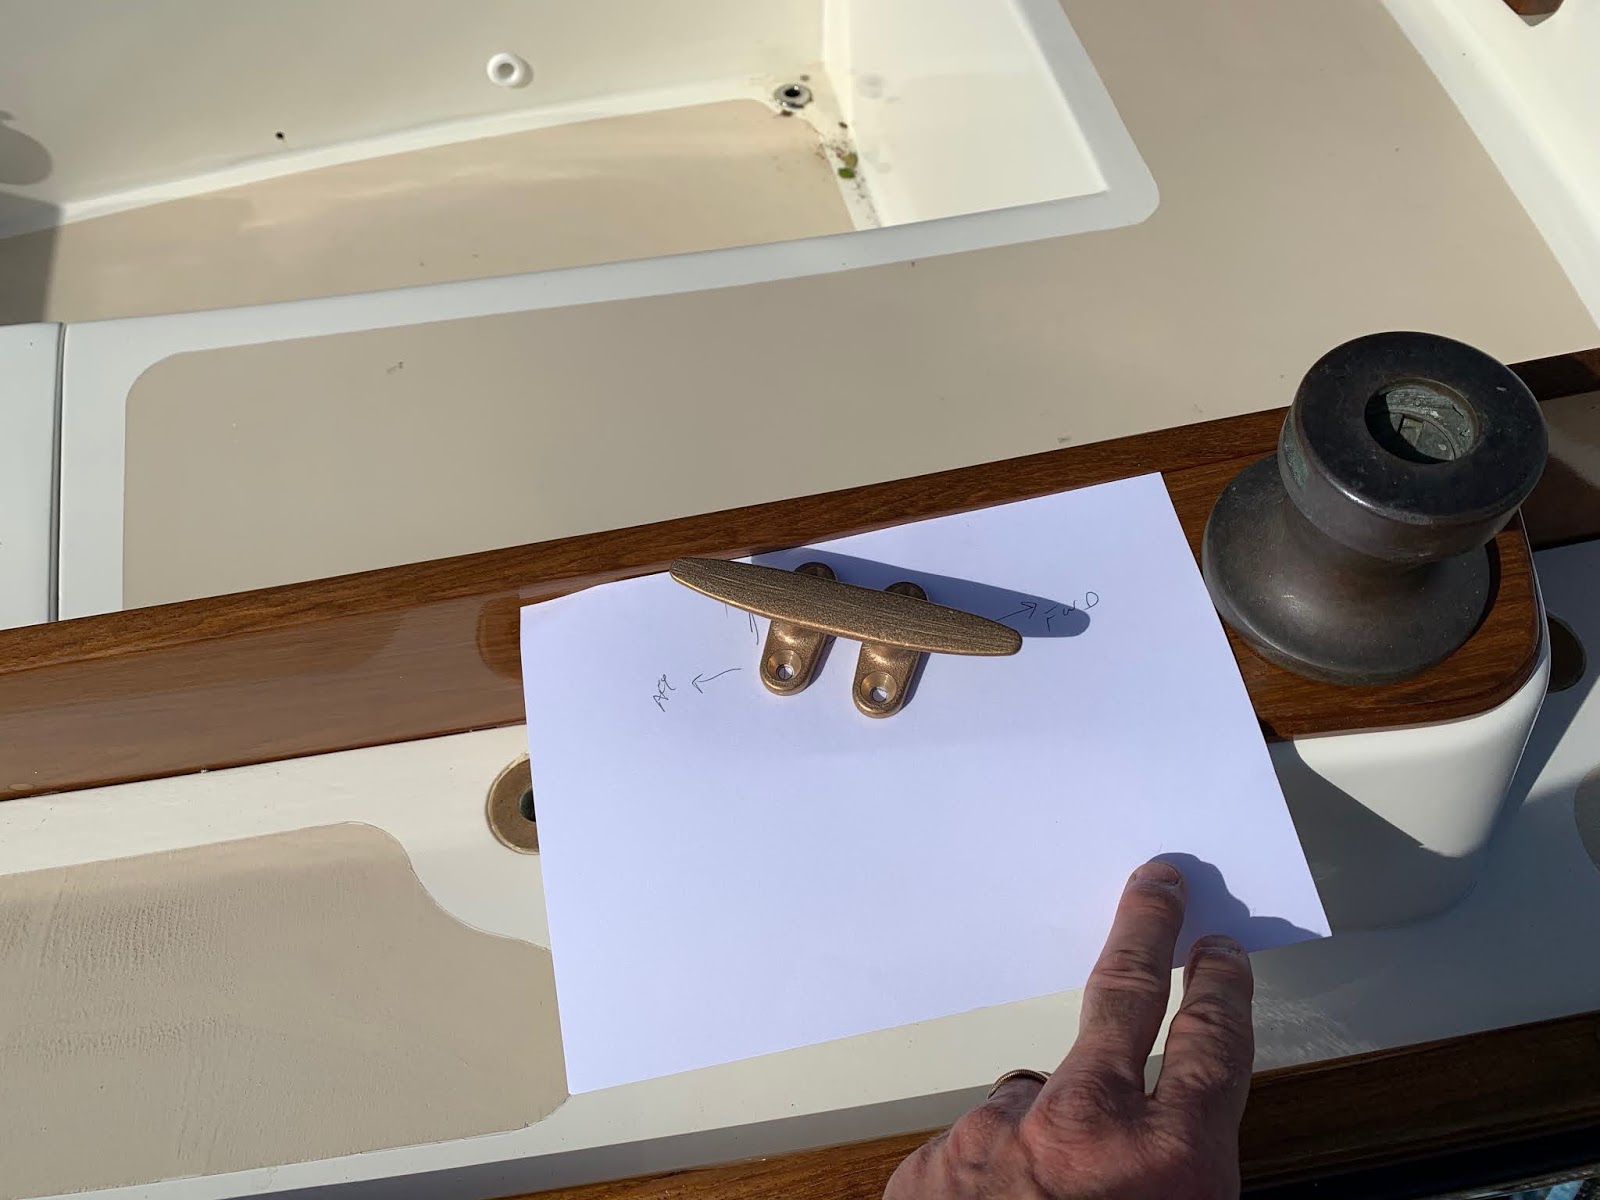
With the holes pre-drilled, I then tapped for the 1/4"-20 silicone bronze machine screws. Lastly, I tapered the openings with a countersink bit.

I applied a bit of Sitka Flex 291-LOT to the holes as well as the screws, and then seated and secured them. This finished the installation of the starboard winch cleat.

As I mentioned early, I simply flipped the paper template for the process of locating and drilling out the holes for the port winch cleat. I repeated the same process through to applying the bedding compound, seating, and securing the machine screws.

This finished the installation of the port side winch cleat.

The final task for the evening was to take some measurements on the stern for her name lettering.

Total Time Today: 2 hrs


No comments:
Post a Comment