December 17, 2019
My day began....last night! I put the third coat on late last night since I needed to get the subsequent coat on within a 12-hour period, and just before midnight would give me some breathing room in case something came up in the morning.

All was well, and I leisurely applied the fourth coat around 9 am. I set the varnish materials to the side and got ready to head out for the boat.

My first order of business, as per usual, was to water-wash the previous epoxy work - well, anything not covered in peel ply. This would include the cockpit locker lids, as well as a few areas within the lazarette. For the most part, I had protected the tabbing of the small longitudinal supports for the lazarette shelf, but there were areas of spill and some areas where the peel ply did not cover. So I removed the amine blush with a Scotch Brite pad, and toweled all of the surfaces dry.

I got to work sanding in the lazarette. Using my small hand-held 1" belt sander, I took down any rough edges that persisted after the tabbing session. I also eased most the transitions from new tabbing to old hull. I completed the sanding work in the lazarette by thoroughly vacuuming the surfaces, followed by a solvent wipe down to remove any remaining sanding dust.

I saw no reason why I couldn't apply paint to the lazarette locker - 95% of it that is. I temporarily placed the shelves into position in order to determine where the tabbing would be placed.

I taped off the port and starboard sides of the hull and aft cockpit bulkhead, marking the future locations of the fiberglass tabbing. I wanted to preserve the prepped surface beneath the tape, rather than having to sand off the newly applied paint.

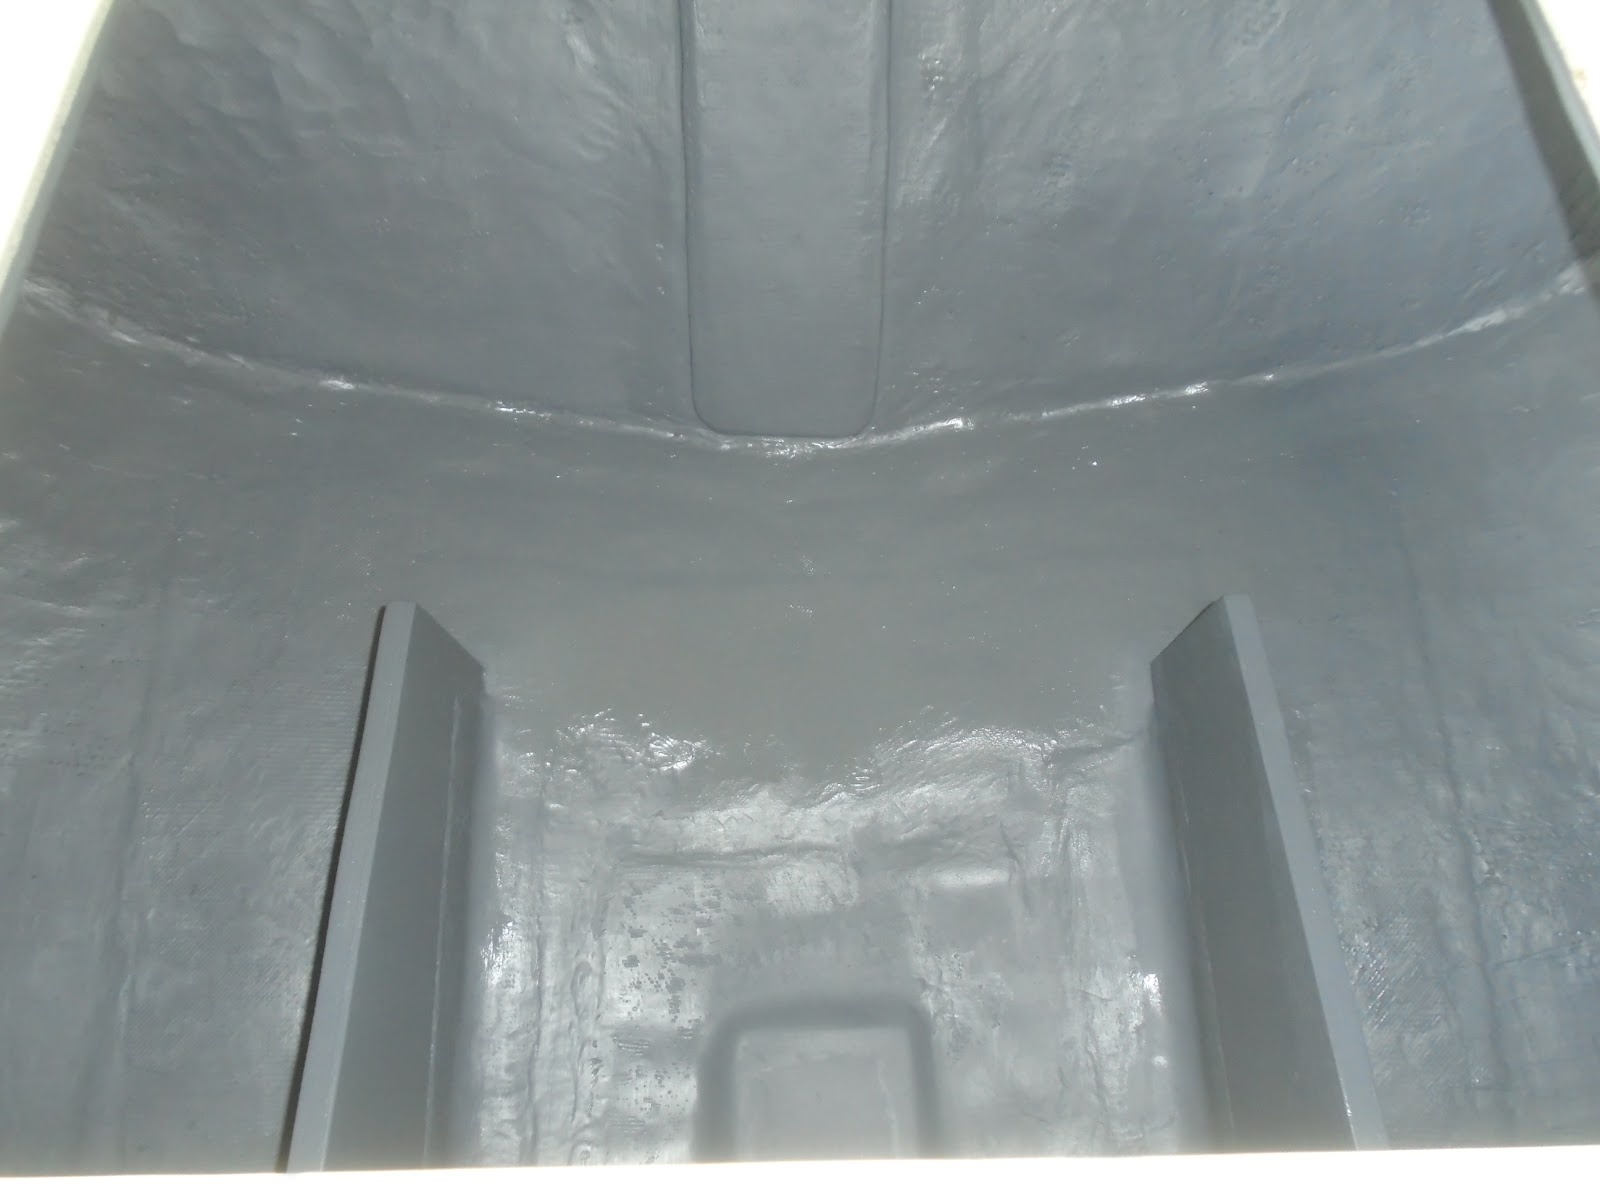
I applied three coats of the TotalBoat TotalProtect epoxy barrier coat. The wear durability of this paint makes it a great candidate for this stowage locker.

With the paint applied and tacking up, I carefully removed the protecting paint revealing the future locations of where the tabbing will be applied, securing the shelves to the hull.

Once the shelves are tabbed in, and the epoxy cured, I will come back and touch up these areas with the epoxy-based paint.

Lazarette freshly painted.
I had a bit of material left over after painting the lazarette, and so I painted the edges and bottom of the port lazarette shelf...

...and then the starboard lazarette shelf.

I closed up the shop for the day and headed home. Before cleaning up, I applied the fifth and final varnish coat to the lazratte hatch, the companionway sliding hatch, and the forward hatch. These hatches, with the exception of a sealer coat on their undersides, are complete.

Total Time Today: 3.25 hrs


No comments:
Post a Comment