July 20, 2019
With a full day to spend on the project, I got straight to work on the backing pads. In the previous session, I had created the ~5" round discs that would comprise the individual pads: one 1/4" pad and one 1/2" pad glued together with epoxy. I removed the pads from a protective sheet of plastic, water-washed them to remove amine blush, and then sanded them to remove the squeeze out thickened epoxy.

With the pads now cleaned up, I walked them over to the boat along with a seacock and again tested the fit.

The issue I was running into was that I could not get the drill in a perpendicular orientation to the backing pad...to drill holes for the threaded bolts (four of them around the base plate of the seacock. After removing the new meranti settee top, which will soon be permanently installed, I still could not get the drill bit in proper alignment.

I decided to cut a notch out of the original fiberglass molded settee tops in order to achieve the alignment I needed. I used an oscillating tool for this task.

With both settees modified, which will never be seen once the new settee tops are installed, I was ready to move forward with securing the backing pads to the hull surface.

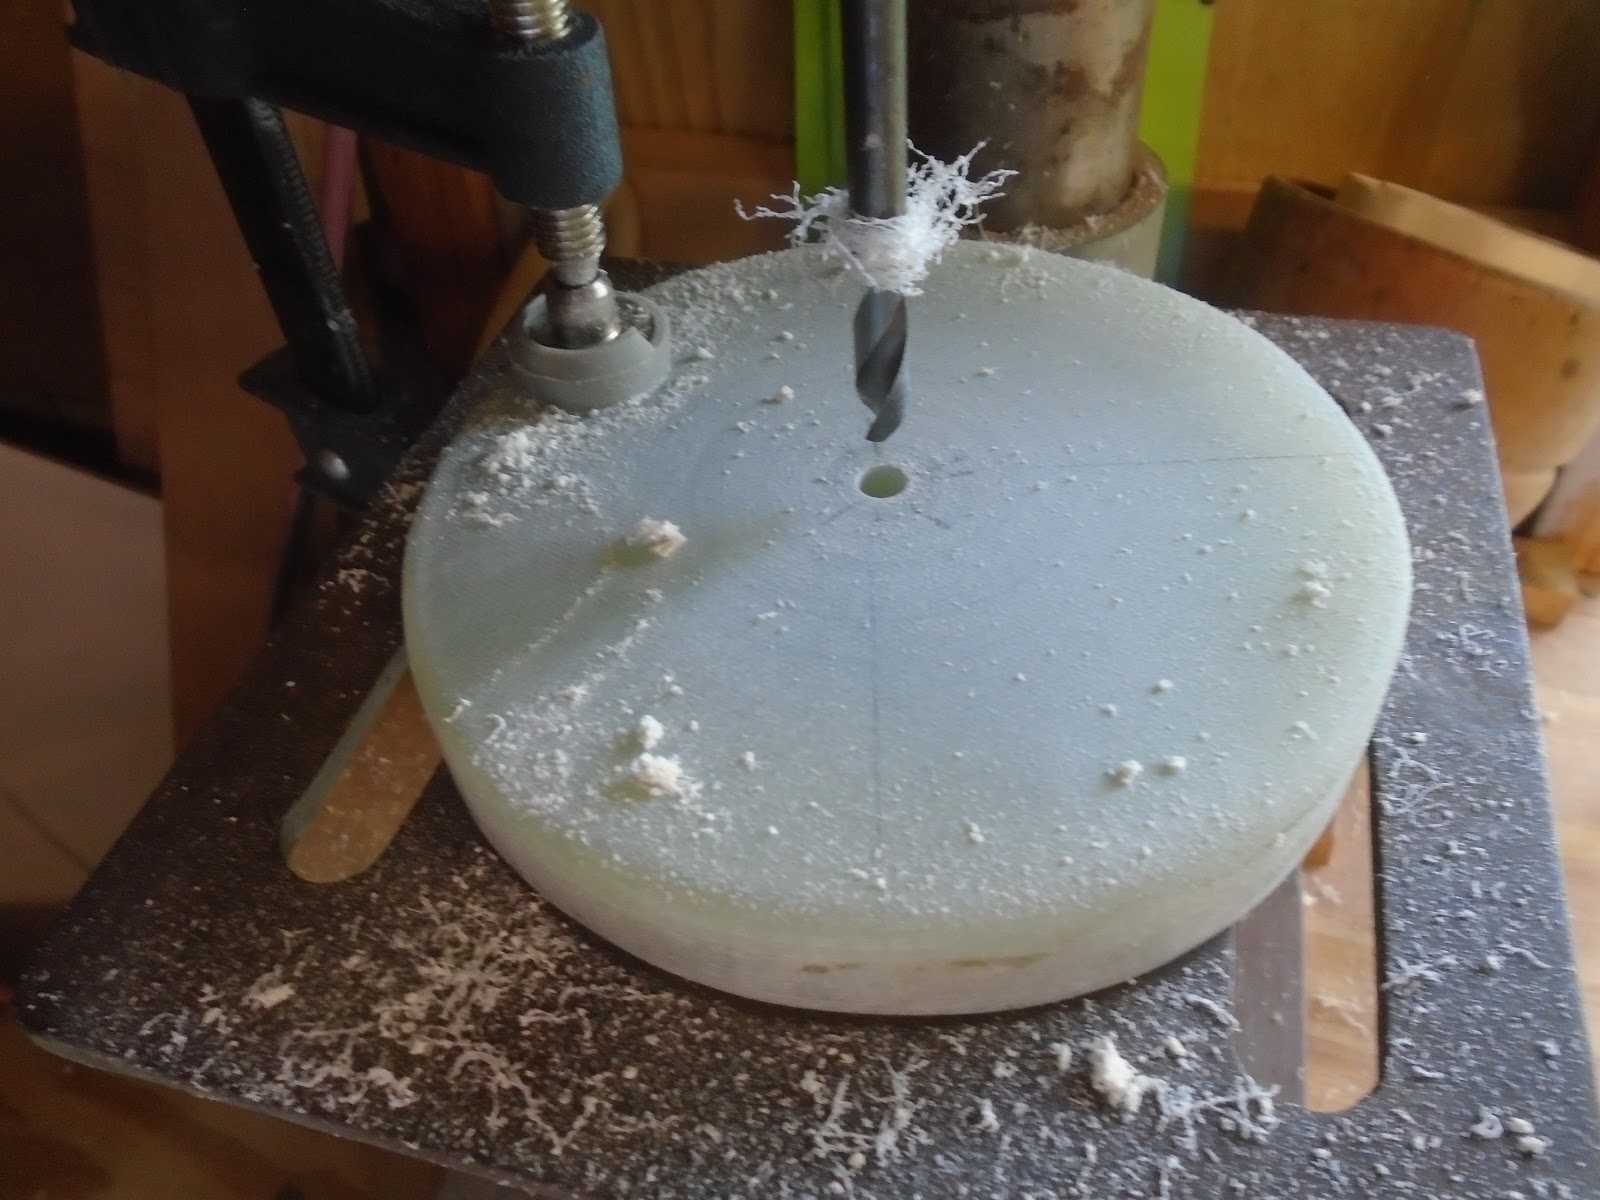
Before preparing the hull surface I decided to drill out the center of the backing pads with a 1/4" bit - this will be the same diameter of the starter bit for the hole saw. The hole saw will create the diameter needed for the through-hull fitting. Having this hole in the backing pads, with them cured to the hull, will allow me to easily continue the 1/4" hole through the boat while maintaining a perpendicular position. On the outside of the boat's hull, I will use the 1/4" hole to guide the hole saw on to the hull to cut for the through-hull fitting. More to come on this.
I used the 1" belt sander to remove the old paint in the area that the backing pads were to be glued down.

I then placed the backing pads where I wanted them to reside, and followed up by solvent-washing the area and applying tape to protect the surrounding surface from epoxy resin.

The next step was to apply resin to the hull's surface and to the backing plates themselves.

With the surfaces wet out with resin, I mixed another batch of resin and this time thickened it with West System's 403 microfibers. I buttered the backs of the pads, placed them onto the surface of the hull, and then formed a fillet around the circumference of the pads. I taped the pads just to ensure they didn't move, and left for curing. I will come back to water-wash and sand prior to continuing with the seacock installations.

With going as far as I could on the seacocks, I moved onto sanding the entirety of the cockpit and deck surfaces that had been previously primed - which was about half of that area. I was tired of draping cloth over the areas worked with epoxy and anxious to get going with finalizing the paint prep work. A good layer of primer would give the surface protection from the sun's UV rays, and would also show areas in the surface that needed filling and fairing work.

I vacuumed and solvent-washed the deck, cabin top, cockpit, and poop deck. Back in the shop, I mixed a large batch of Interlux Interprotect 2000e to help seal the old fiberglass and gelcoat surfaces.

With a foam roller, and after two large batches of the primer paint, I completed nearly all of the surface area I planned to paint. I was just short of paint to get to the vertical surface of the starboard cockpit seating. I will go back over the area painted today and sand it to prepare for the filling and fairing required prior to the finish paint primer, Alexseal Finish Primer 442.

Total Time Today: 6.75 hrs


No comments:
Post a Comment