July 9, 2019
A local rigger stopped by today, and along with the owner (via phone), we discussed the scope of work for the boat's standing rigging. The work ahead for the rigger, actually a husband and wife duo, will include wiring the mast for vhf, spreader lights, and a tri-color light; fabricating a new 7" x 7" mast step, a new aft chainplate, replicating the six shroud/stay chainplates; new standing rigging, to include staylock fitting, and roller furling for the head sail; a chart plotter and depth transducer; odds and ends for the mast and boom. Very excited for the owner!
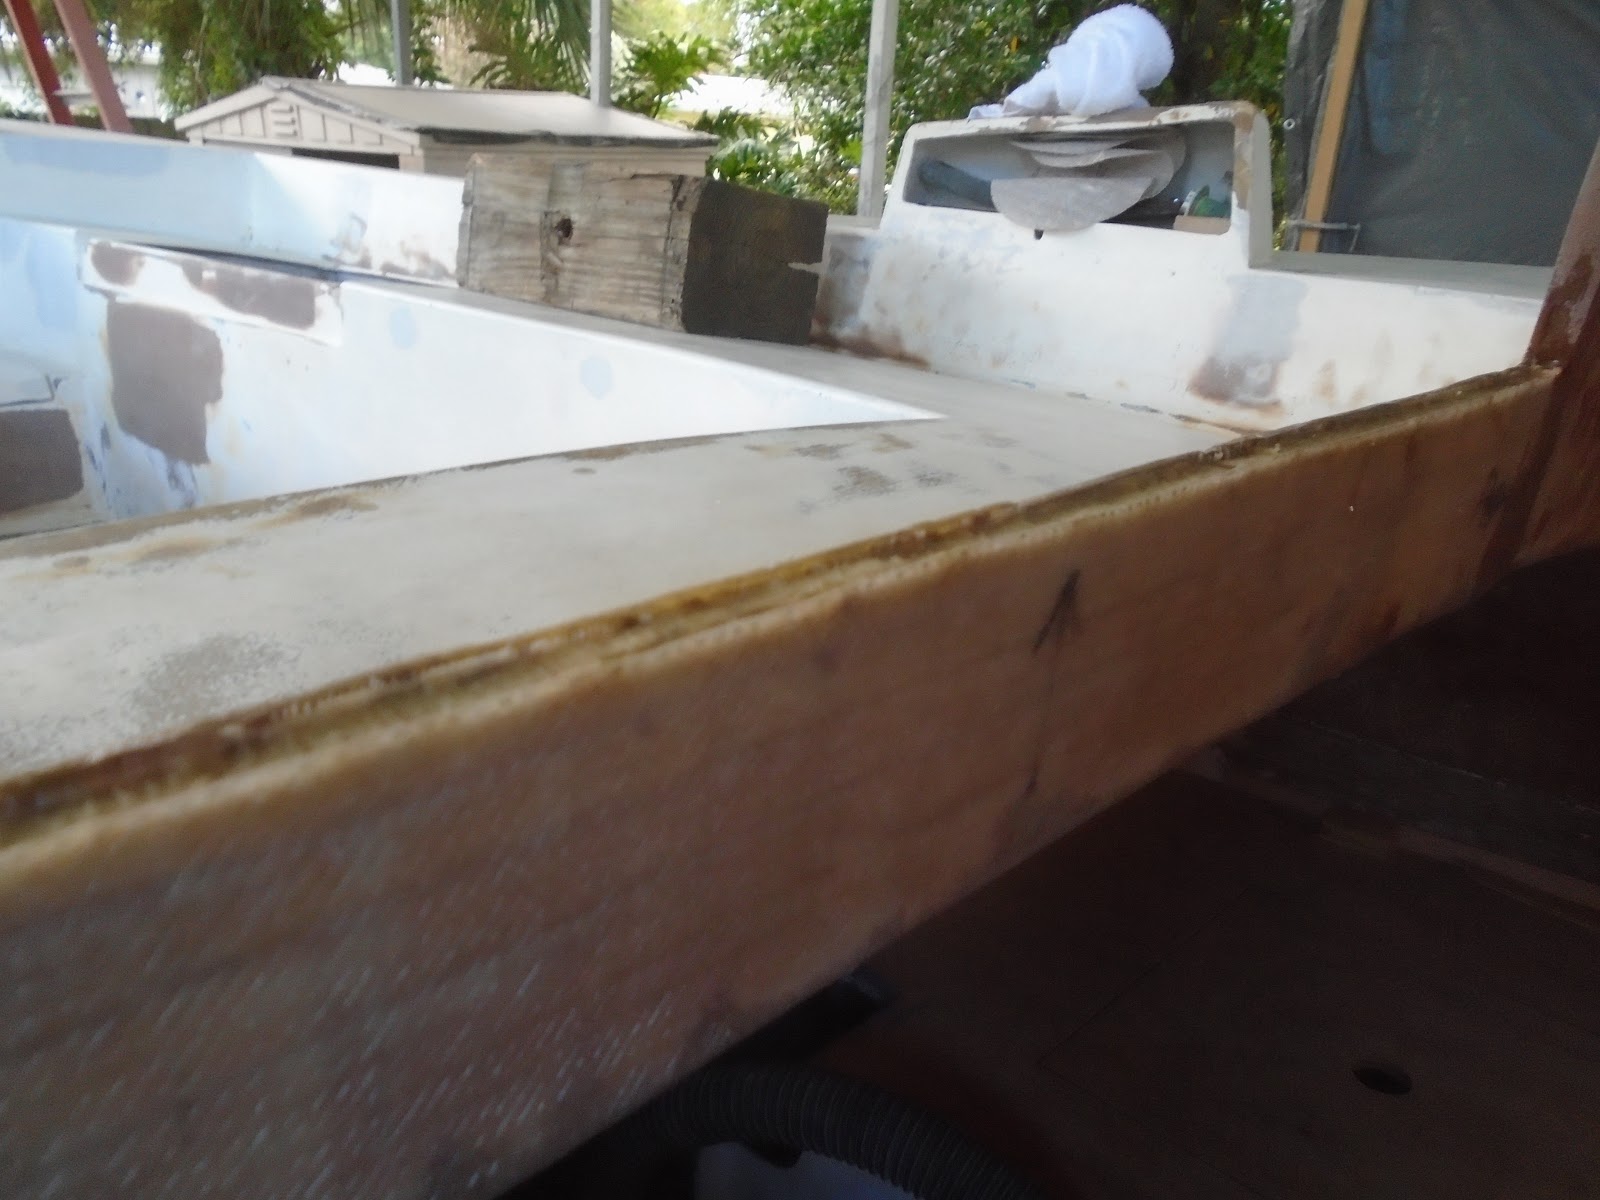
After getting my wee one to bed, and before grabbing dinner, I wanted to get a couple items done on the boat: a final layer of 1708 biaxial cloth fiberglass for the mast support beam, between the primary bulkheads, and sealing the balsa core on the interior of the companionway.
To get started, I went aboard and measured for the layer of fiberglass to be applied to the mast support beam: 20" in width by 10.75" in length. I also used a spiral saw and removed roughly an 1/8" of balsa core I installed at the companionway - seen in photos below.

I mixed a small bit of epoxy resin, and after solvent washing the mast support beam, I wet it out to prep for the application of fairing compound and eventually the 1708 biaxial cloth.

I also wet out the balsa core in the "trench" that I created with the spiral saw. The purpose here is to isolate the fresh balsa core from any potential water penetration, and thus ruining the strength of the sandwich core construction.
I returned to the shop to wet out the layer of 1708 biaxial cloth and mixed a small cup of thickened epoxy. I carried both the wet out cloth and the thickened epoxy to the boat for application. On the surface of the mast support beam, I applied the thickened epoxy to fill in low spot and very small voids, essentially smoothing things out for the the fiberglass cloth. I then applied the balance of the thickened epoxy to the "trench" at the companionway.

With the thickened epoxy on the mast support beam, I then applied the wet out fiberglass. I carried it to the boat on a scrap piece of cardboard covered with plastic, and as I was ready for it, I removed it from the plastic covered cardboard and set it into place. I pushed out all of the trapped air, ensuring that the fiberglass cloth had full contact with the mast support beat and transitioning over the applied fillets and onto the overhead. I finished the installation with a layer of peel ply. This peel ply would eliminate the need for water-washing to remove the amine blush and sanding in order to proceed with additional epoxy/painting work.

I mixed another small cup of thickened epoxy and faired the surface of middle portion of the core work on the aft bulkhead of the cabin.

I finally received the new seacocks today, after waiting nearly 6 weeks, and was interested to see how they would orient inside the settees. I selected the 1" Perko with a 90 degree elbow.

The 90 degree elbow would allow the incoming drain lines to neatly fit through the existing cutouts in the molded fiberglass settees. The original through hulls (no seacock) were installed inboard of the fiberglass molded settees, and in that location were both unsightly and would interfere with the Torqeedo battery box, which would also serve as the landing platform as one would go below. I intentionally left the area unpainted since I would need to install a backing pad for the seacock to be installed on. As can be seen in the photo below, even with the backing pad there is ample room for the new seacocks to be tucked away in the fully accessible settee lockers.

Total Time Today: 1 hr


No comments:
Post a Comment