May 19, 2019
Picking up where I left off in the previous work session, I quickly got to work water-washing the final skim coat of fairing compound on the thru-hull patches. With the amine blush removed, I set up the 5" DA sander to knock down and smooth out the patches prior to sealing them with a coat of neat epoxy resin. Since the fairing compound would live under the waterline, and since fairing compound has an inherent susceptibility of eventual water ingress, it needs to be sealed with epoxy resin...or the like. In this case, I will be sealing with resin as well as applying a coat or two of epoxy-based barrier coat that is designed specifically for below the waterline.

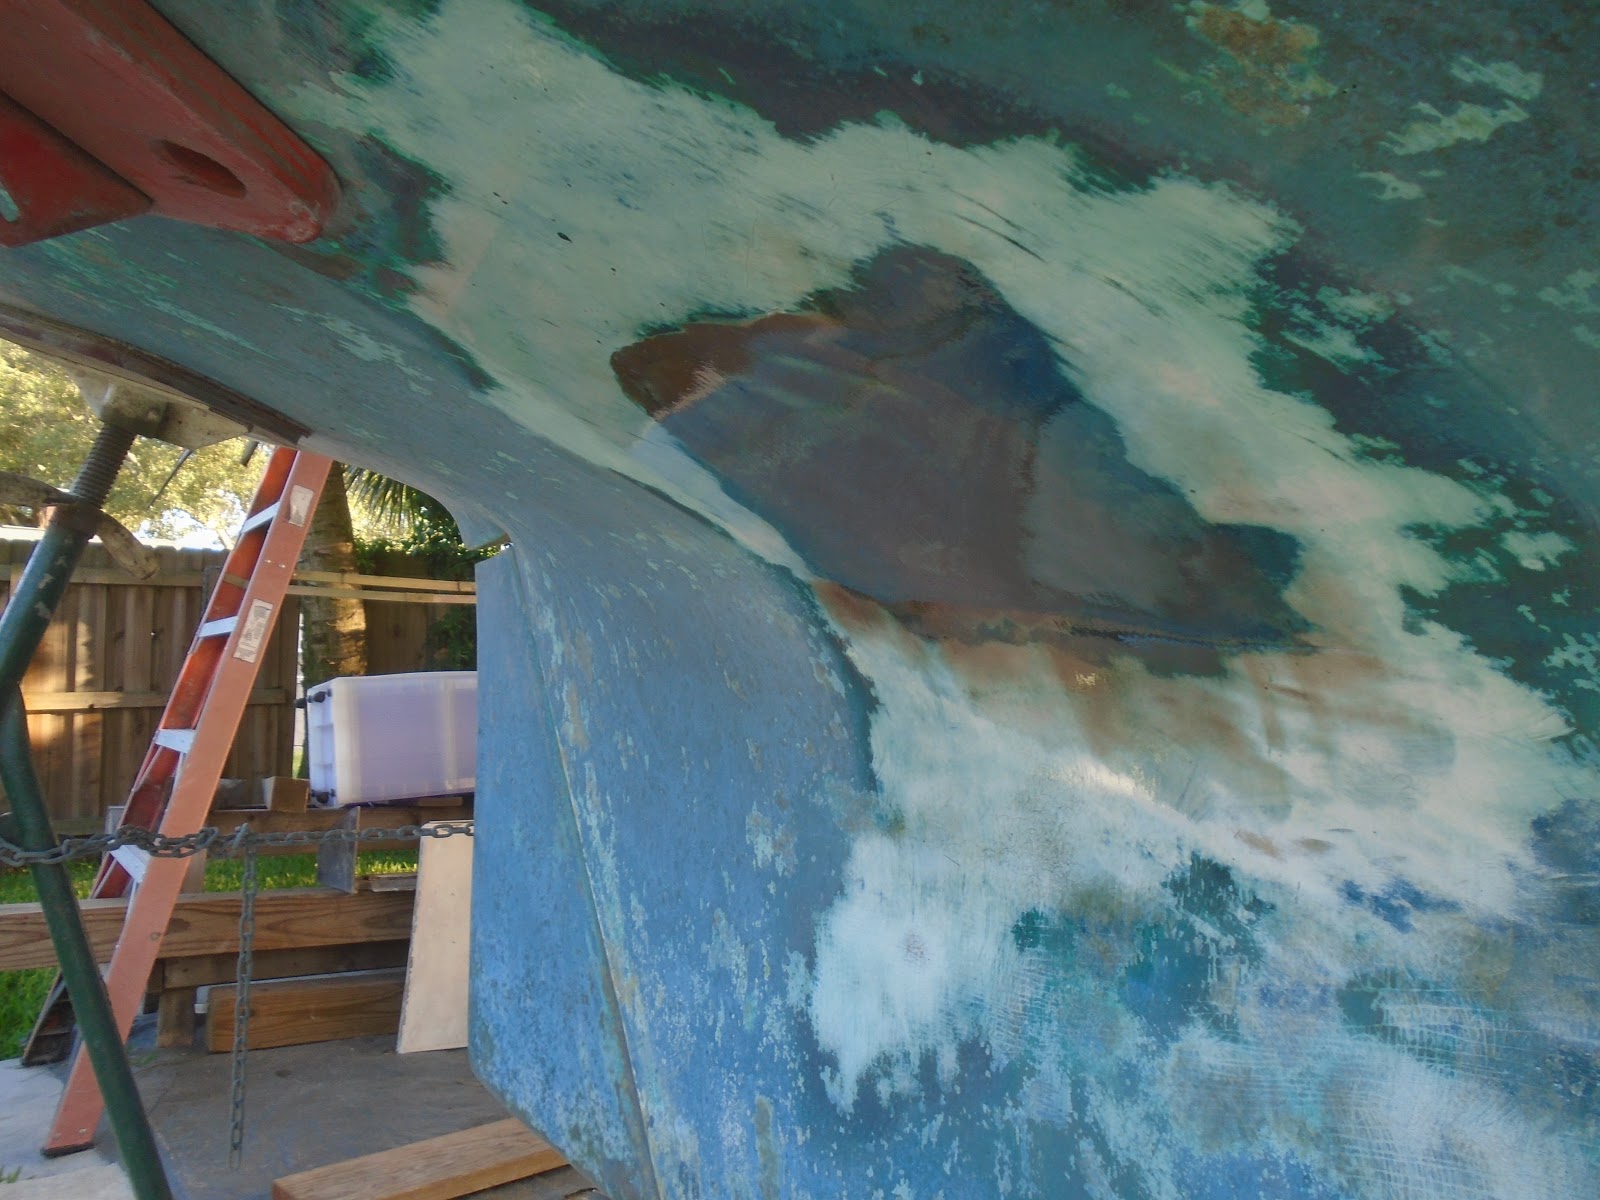
I quickly made my way around the bow the Allied 24, sanding both the port and starboard patches. The skim coat from the day previous was just that - a light application to just hit the occasional low spot or void.

I worked aft to also quickly sand the port and starboard patches located there. With the sanding completed, I solvent-washed the patches to remove the sanding residue and to generally prepare them for epoxy resin coating.

I mixed a small pot of neat epoxy resin - resin without any thickening agents like 406 colloidal silica, 407 low-density fairing compound, and the like. I then applied this neat epoxy to the patches with a 2" foam brush, and essentially tipped the application to even the flow out and produce a nice and flat surface. The next time the barrier coat paint comes out these four patches will get a few applications to complete their repair.
Back in the shop, I removed the reassembled sail drive mounting tray that I had cut into two halves along its center line. I cut the mounting tray in half to both remove the sail drive mounting pad (shown below, inside the mounting tray, and to provide some room for bedding compound since the original fit was extremely tight.

Show below, the mounting pad inside the mounting tray. As described in a previous post, the mounting tray will be glassed onto the counter of the Allied 24, supported by many layers of 1708 biaxial cloth to help spread the load which will be generated by the sail drive itself.

I also water-washed the reassembled mounting tray, and then proceeded to sand all surfaces. By the time I had come to the close of my available work time, but things were set for the next phase of the mounting tray - filling the fiberglass weave with fairing compound and generally preparing it to be installed onto the boat.

Total Time Today: 1.25 hrs


No comments:
Post a Comment