February 10, 2019
Continuing where I had left off from the previous day, I went straight into work on the cockpit: starboard seating and floor of the cockpit well. I began by creating a template the cockpit floor repair area to prepare for two layers of 1708 biaxial, as well as the new balsa core material.

While I was at it, I took measurements for a layer of cloth to be placed on the underside of the cockpit well, since I had both cut through the bottom skin, but also because there was an existing hole that required filling. Placing a layer of glass below would keep the thickened epoxy in its needed place. I used the templates to remove a couple layers of top skin and the underside layer of fiberglass from the roll of 1708 biaxial. I also used the template to remove a section of new balsa core.

My first order of business was to thoroughly clean the underside of the cockpit well with a solvent (I had sanded this area previously), and then to wet out the surface with epoxy resin. With that done, I then wet out the small sheet of 1708 biaxial, flipped it over and placed in on a prepared sheet of peel ply, and finally placed that onto a sheet of plastic to carry over to the boat.
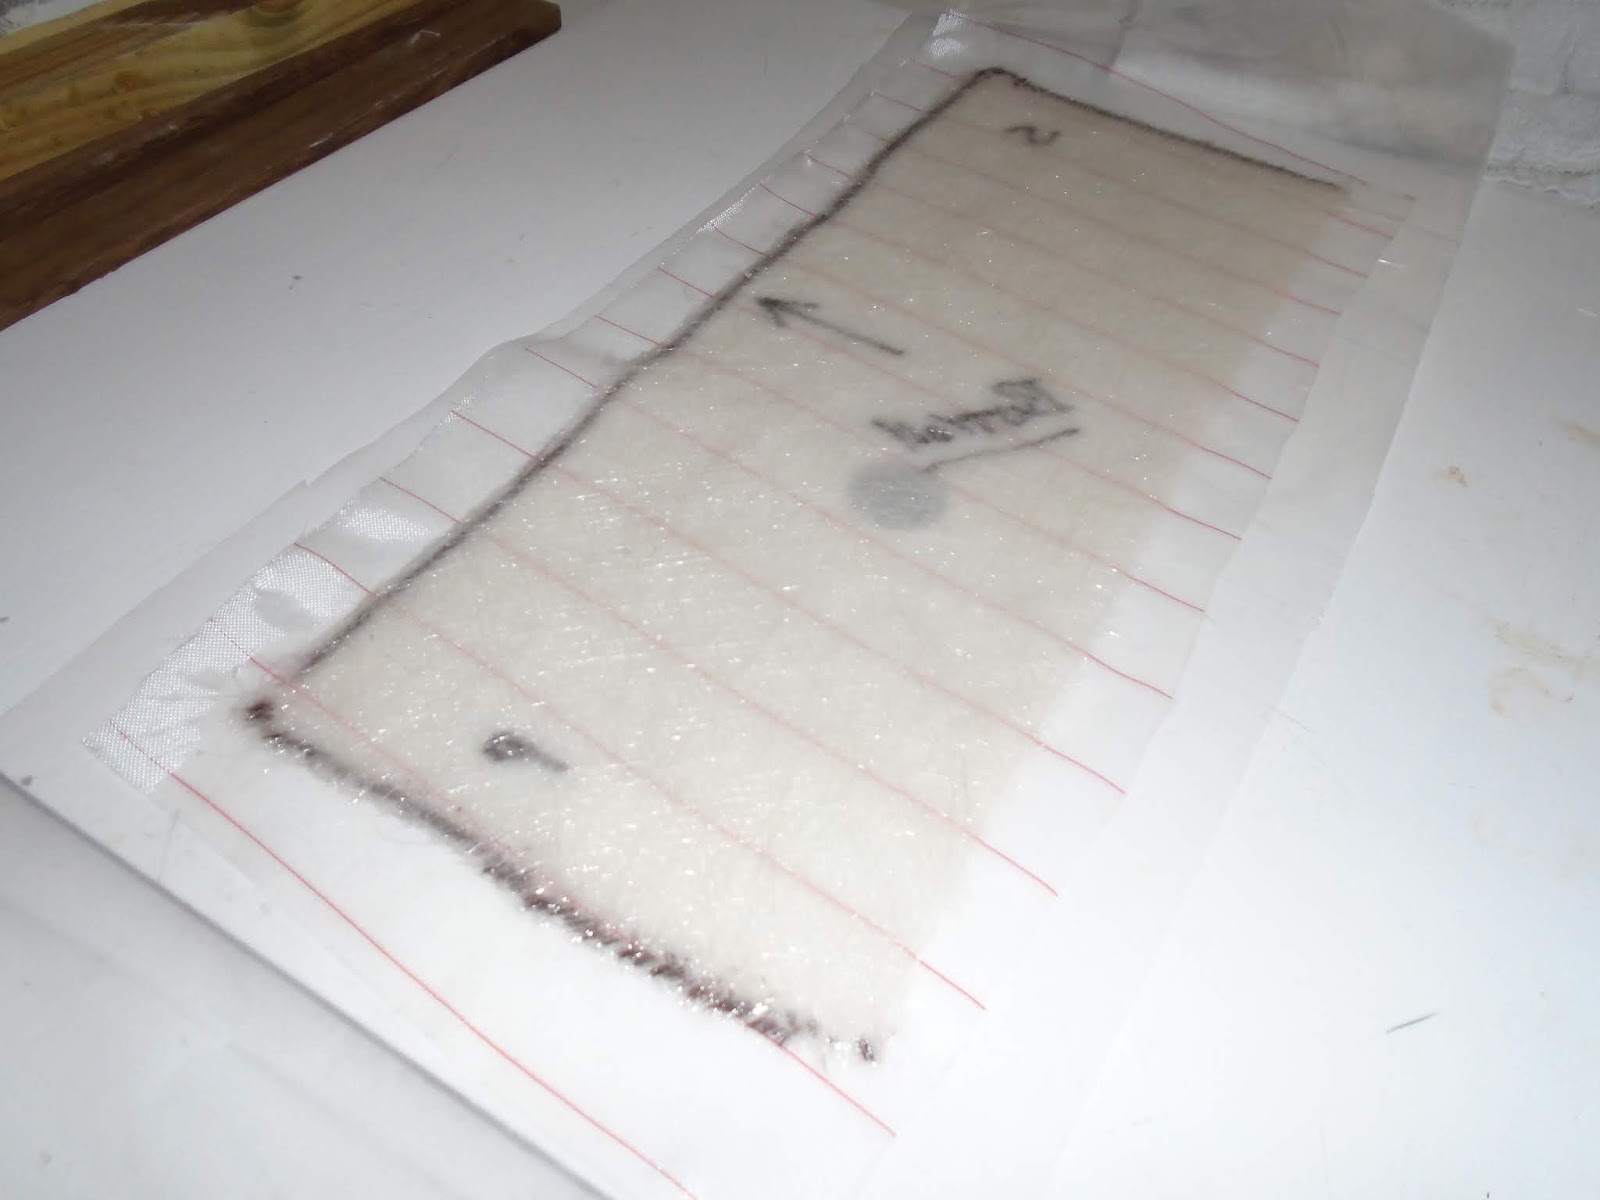
I carefully placed the fiberglass into position, and then secured it with tape.

Back in the cockpit well, the fresh 1708 biaxial could be seen and would serve as backing to trowel the thickened epoxy onto. I brushed on some epoxy resin to the area to be cored.

Next, I mixed a pot of epoxy resin to accomplish a few tasks: to wet out the two layers of 1708 biaxial that would serve as the new top skin, to wet out the underside of the new core, and to also thicken with 406 colloidal silica and 407 low-density to create a bedding compound for the balsa core.

With those tasks complete, I set the new core into position and firmly pressed it into the thickened epoxy.

I placed the new layers of top skin into position, and felt that I need another layer of glass to help bring the assembly into fair with the surrounding surfaces. I wet out another layer of 1708, placed it onto the patch, and then applied a skim coat of thickened epoxy to finish it off.

Finally, I placed a sheet of peel ply onto the patch. As with all of the new core work, there will be some sanding and fairing to come here.

With the cockpit sole taken care of, I turned my attention to the old icebox hatch/access on the starboard seat. I decided to set up an epoxy work station since I anticipated the need to apply layers of 1708 biaxial as needed to bring the bottom skin up to a point where it would be ready to accept the new core as well as a couple layers 1708 biaxial for the top skin. At the moment, the cavity what was the old icebox access was too deep for the 1/2" balsa core material, so would require build up of the bottom skin. To further complicate matters, the depth of the cavity increased as you moved aft. The epoxy work station would save me from the up and down and back and forth.

In the end, I laid up two full sheet of 1708 biaxial and a number of smaller strips that created a tapering from the aft end and moving forward. The bottom skin was then skim coated with thickened epoxy.

Finally, I sheet of peel ply was set onto the epoxy work. The new balsa core will go in next, followed by its new top skin layers of 1708 biaxial.

Total Time Today: 3.25 hrs


No comments:
Post a Comment